DIY Fall Centerpiece With Flowers and Dried Fruit
How to create an easy DIY Fall centerpiece using dried fruit and beautiful fall flowers in earthy colors!

If you’re ready to bring a touch of fall decor into your house, this DIY fall centerpiece is an easy way to get started!
It’s also super inexpensive to make! You can put one together using things you already have on hand.
Items Recommended for A DIY Fall Centerpiece
Here’s a quick list of suggested items needed to make your own pretty fall centerpiece:
- Fall flowers, greenery, branches
- Two clear glass vases/jars in graduated sizes
- Oranges or fruit, sliced and dried
- Floral cutters or scissors
For my centerpiece, I used flowers from my yard. I just chose whatever was blooming and looked healthy. You could even use dried flowers, branches, or whatever else you have around that looks interesting.
If you don’t have a yard with flowers, I would suggest Trader Joe’s for fresh flowers. They have such a good selection for fair prices.
Arranging The Vases For Your Floral Arrangement
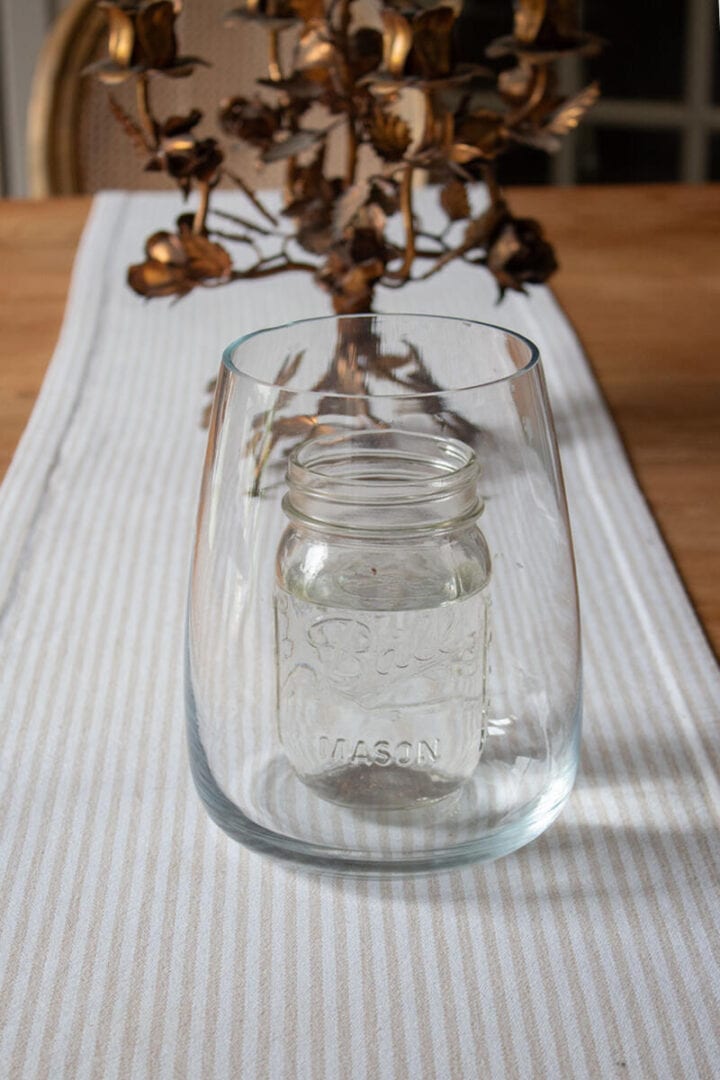
You will need two clear glass vases or jars to get this look. One that fits inside of the other as shown above.
For best results, use two that aren’t too different in size. You just want to leave a little bit of room for the dried fruit slices. Otherwise, you will need A LOT of fruit to fill it up.
I ended up switching my outer vase to a recycled pickle jar for that reason.
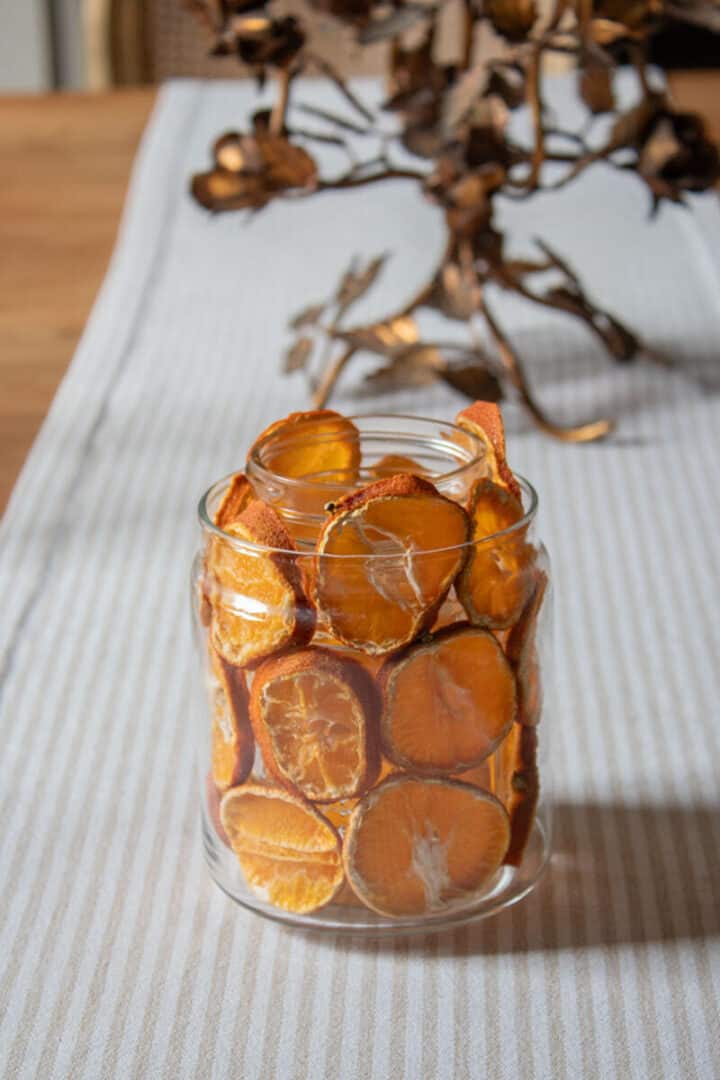
The first thing I did was to make dried fruit slices. You can find these already made in stores. However, I make them myself because it’s cheaper.
For the dried fruit, I used clementines. I wanted a smaller floral arrangement so I figured those would work better than oranges.
How To Dry Fruit

Dried fruit is great for seasonal and holiday decorating. Once dried the fruit should last about 2 years.
Here are the quick steps to drying fruit in the oven.
- Slice your fruit of choice
- Place on a baking sheet lined with parchment paper
- Bake at 175 degrees for about 4 hours
- Flip every 30-45 minutes to avoid burning
If the slices feel sticky they’re not quite done yet. If some pieces dry faster than others, just remove those when flipping.
By the way, these aren’t just for decoration. You can eat them after drying.
Assembling the floral arrangement
Once the dried fruit slices are cool, fill your outer vase with them.
Next, fill your inner glass jar (I used a mason jar) with water.

Now add your fall flowers. Remember to cut the stems at an angle and remove any leaves that will be below the water line.
Removing the lower leaves helps prevent bacteria and will help the arrangement last longer.
For this arrangement, I bought one bunch of grocery store flowers. Other than that, the rest are from my garden. Unfortunately, my gardens didn’t produce as many flowers this year as usual.
As I mentioned, I love the selection of flowers from Trader Joe’s. That’s where I found these orange Dahlia’s. Initially, I was hoping to find orange ranunculus but they didn’t have those.
I wanted to start with a base of beautiful fall colors and these Dahlia’s were a great option.
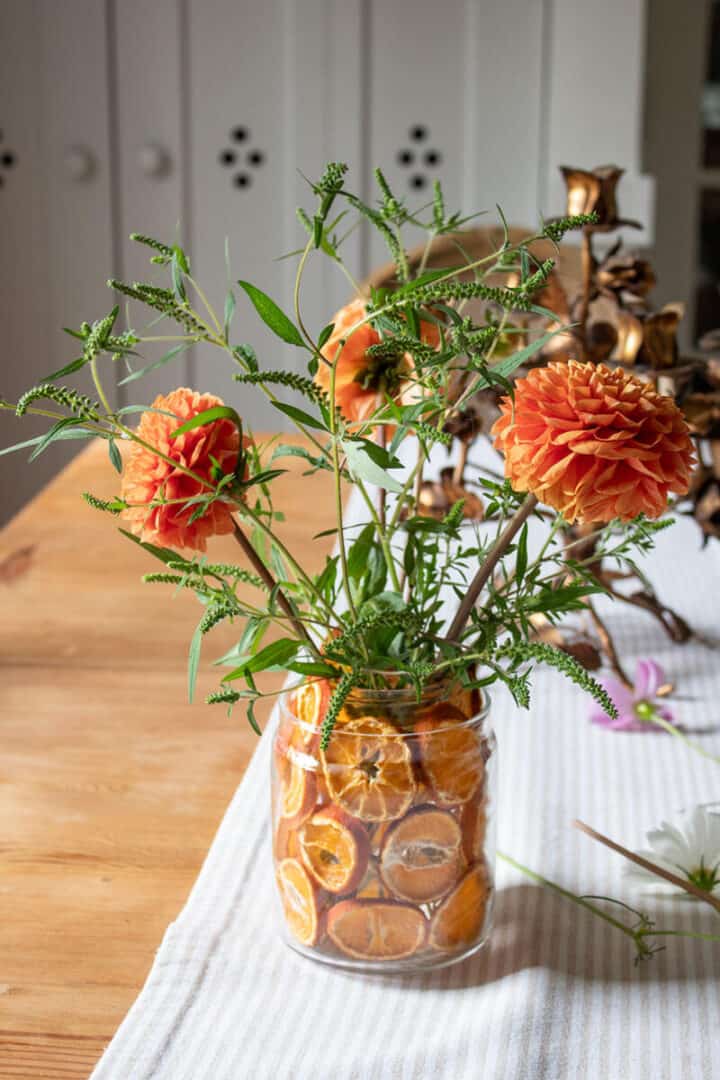
The greenery is from my garden. I started those from seeds a few years ago to use as vase fillers. They come back every year but I’ve forgotten what it’s called.
The reason I bought orange flowers was to contrast with the deep purple Cosmos I had growing in the garden.
I used those along with white Cosmos, and Zinnia. The contrast in the flowers is the color palette I was looking for.
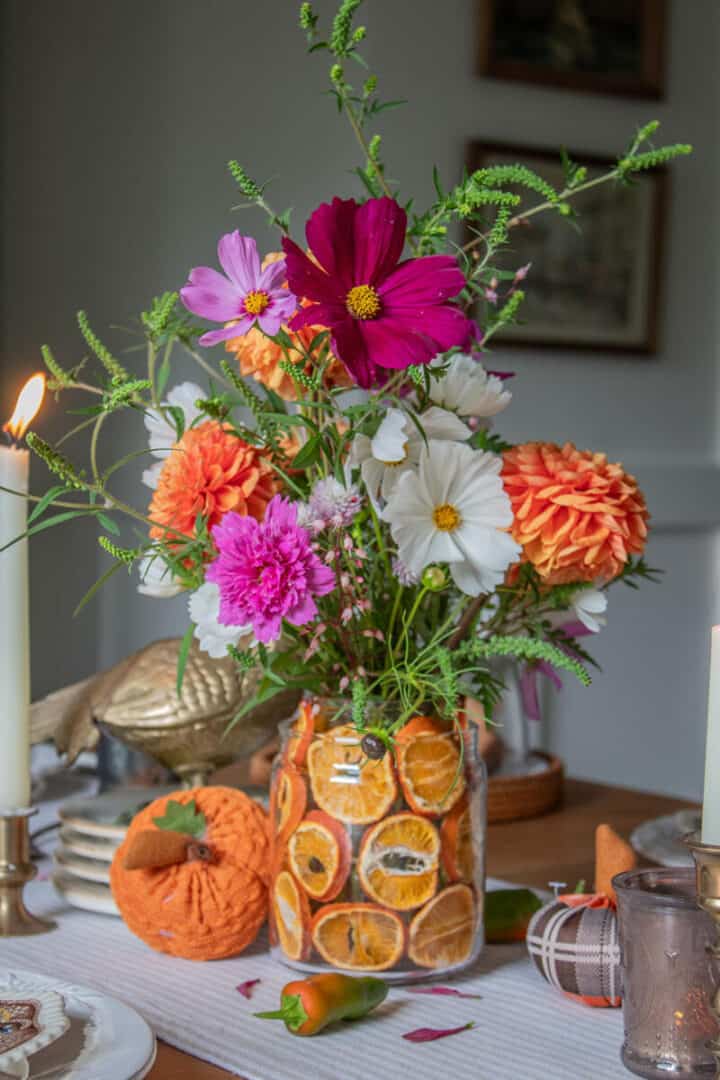
Lastly, I accented it with sprigs from my Coral Bells plants.
I love this seasonal centerpiece because it works for a casual gathering as well as a more formal dinner party! A gorgeous centerpiece doesn’t have to be difficult.
Additionally, this would also work as a Thanksgiving centerpiece.
Another idea is to make it much larger and even add in tree branches for effect! Use whatever speaks to you to create a personalized focal point on your dining table!
Fall Table Decor
Once my DIY fall centerpiece was finished, I added fall table decor. First, I put down my favorite table runner. It’s a simple striped pattern. It makes a great neutral base for table settings.
Next, I went with my usual go-to items such as mini pumpkins, votive candles, and harvested fruit. Which in this case are jalapeno peppers my husband grew this year.
Some other ideas could be pine cones, acorns, fall foliage, or scattered fall leaves. You could also add a pretty scent with cinnamon sticks.
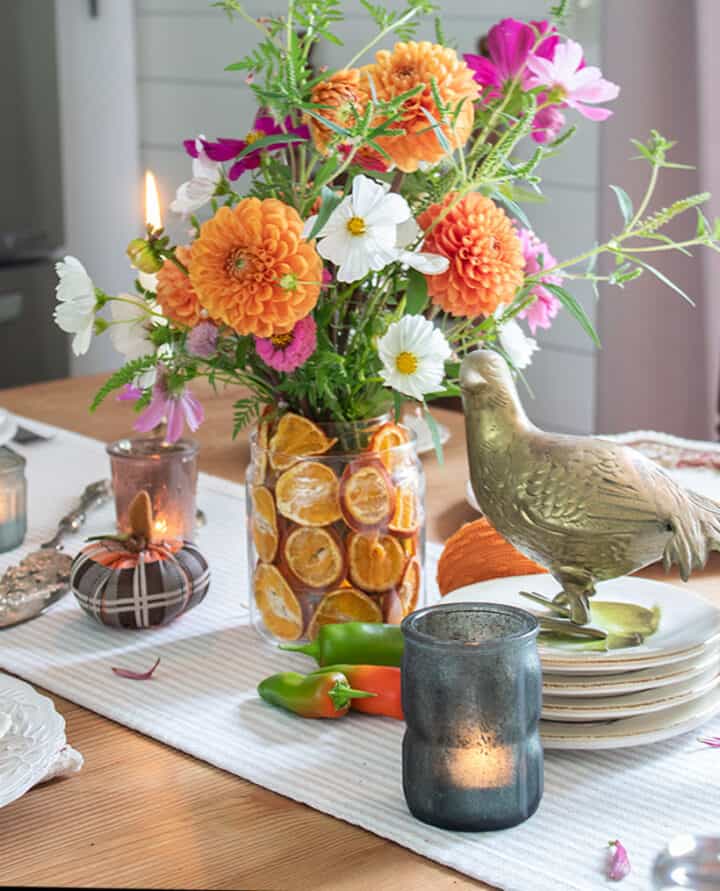
For a touch of unexpected, I placed one of my vintage brass pheasants on the table.
Despite passing them up at a sale last year, I realized after I left I had to have them! I couldn’t stop thinking about them. Fortunately, I had the woman’s number and was able to go back and buy them.
I’ve never been a big fan of bird decor, but they were so unique they won me over.

I scattered a few more brass candleholders and vintage pie servers around the table for additional decoration.
Seasonal dishes
I have a really pretty set of white dishes that I keep for all holiday meals. Often, I will buy different salad plates for table settings. This way, I can switch those up with the seasons or for different occasions.
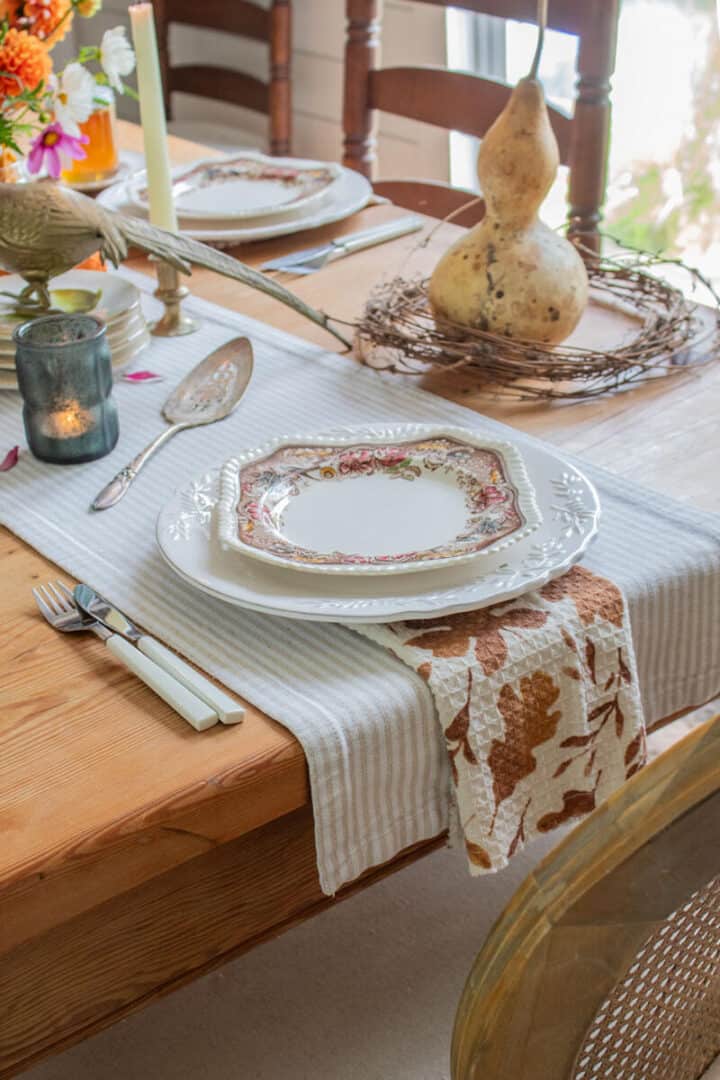
The salad plates I have here are squared off on the corners. I found those at a flea market and really loved the unusual design.
Not only are the colors perfect for fall, but they will also work for Christmas. The shades of maroon in them could be used with emerald green or gold for that.
I’ve really been loving vintage dishes lately. I have quite the collection going. I find too many to keep myself! For that reason, many have been brought to the antique shop.
Fall decorating might be my favorite. The options are basically endless! Additionally, it’s fun to add the rich colors of the fall season to my usually monochromatic house.
I hope this inspired you to create your own beautiful centerpiece!
YOU MIGHT ALSO LIKE:

The centerpiece is a lovely accent for a fall table. You grow beautiful flowers!
Very inspiring! I like the way you drape the napkins under each plate and over the side of the table. Thanks for the JC Penny tip. With all the options now, it’s not the first place that would come to mind. (And I am old enough to remember the catalogs!)
Such a beautiful arrangement.