How To Add A Frame To Your Bathroom Mirror – The Easy Way!
IF YOU’VE BEEN WONDERING HOW TO ADD A FRAME TO YOUR BATHROOM MIRROR – THIS IS BY FAR THE EASIEST WAY TO DO IT!
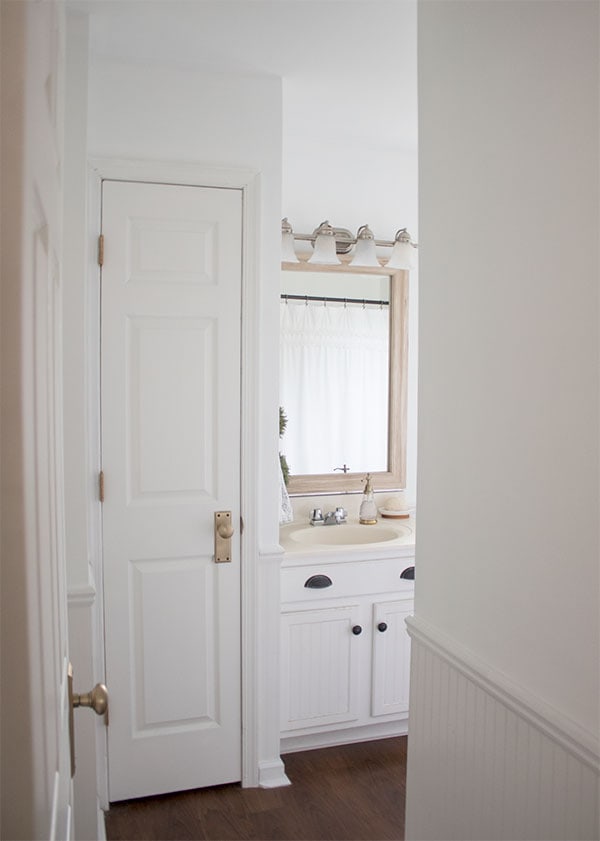
Before I share with you how to add a frame to your bathroom mirror, please keep in mind my bathroom isn’t perfect!
But rather than wait to share what I’ve been working on until I do a bathroom makeover, I wanted to share this easy project even if the rest of the room needs updating!
What I was starting with in this bathroom
So this is what my bathroom looked like about a month ago. The walls had been blue for years, and I was really getting tired of it so I painted them white. I used Behr Premium Plus Ultra in Ultra Pure White*. A rep from Behr recommended this as a super durable choice for a bathroom. I also bought a beautiful shade of green paint called Vine Leaf from Behr with the intent of repainting the vanity that color. The entire vanity area is what is in dire need of updating.

Then I changed the doorknobs and that was a total game changer. I absolutely love the antique brass with the white so now I’m reconsidering going with a green vanity. I definitely plan to change the hardware, faucet, and light fixture all to antique brass for a pop of color which will probably look pretty without the green vanity.
Easy Mirror Frame
My builder-grade bathroom mirror didn’t come with a frame. It didn’t look terrible that way, but I knew framing it would take the room up a notch.
I thought about making a DIY bathroom mirror frame, but I’m not great with power tools. And I couldn’t imagine making those 45-degree angle cuts!
While looking for ideas, I came across a company called Mirror Mate.
They offer custom mirror frames in a large variety of colors and styles. First I ordered several samples and ultimately I picked the Cherokee Montauk Sand. The finish on this one is just beautiful.
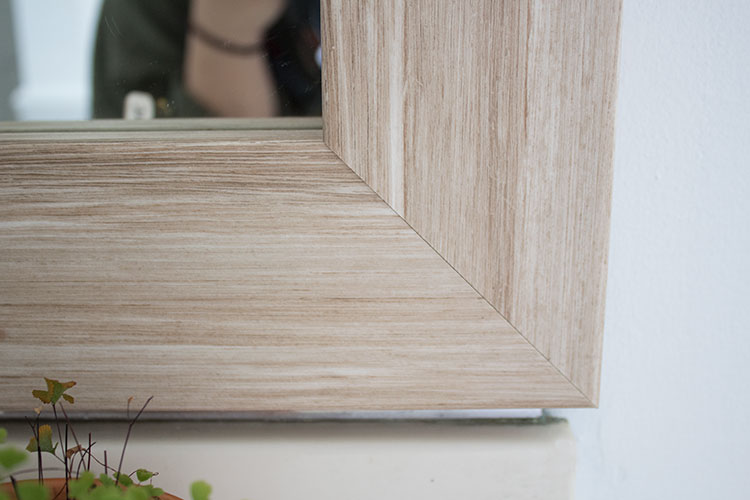
First Step: Measure Your existing mirror
How it works with Mirror Mate is, that you first will get your mirror measurements. They provide easy instructions on how to do this so it’s exactly right.
I watched this video on how to measure on the site which made it super easy to understand. It gives the details on how to handle existing plastic clips, outlets nearby, and anything else that could be a potential problem.
If your existing plain mirror has mirror clips or even a metal strip, don’t worry. They design the mirror frame so that it will fit right over those!
They even provide a worksheet for you to fill out as you go. All you need is a tape measure. Once you fill that out, submit it to them along with your frame style of choice.
Then sit back and wait for your new frame to arrive!
Installing Your Frame Pieces
Your new frame will arrive in four pieces. But don’t worry, this is so easy to install I did it by myself. No power tools are needed!
On the day I was ready to install it, I watched the short how-to install video and got to work.
First thing, you’ll assemble the frame pieces before attaching them to your vanity mirror.
The pieces come marked top and bottom, right side and left. Which makes it easy to assemble. Lay the pieces down on a flat surface.
I first set up the bottom piece and then the other three. Then you’ll need to turn them upside down to assemble. You want the back of the frame facing up for the next step.
The frame comes with a mirror kit that contains special glue. I’m not sure if it’s wood glue or more like liquid nails, but it works well. Once you have your frame laid out (upside down), you simply apply the glue to the inside edge of your corner pieces and press them together.
The kit also comes with small connectors which you insert into the back side of the corners of the frame after glueing them. This helps hold it all together, no clamps are needed!
Let the glue dry as per the instructions.
Now just flip your frame right side up and get ready to install it to your large mirror. You may want to hold it up to your mirror before proceeding to be sure the size is correct.
Attaching Mirror Frame To The Mirror
Attaching this frame really could not be easier.
First, prep your mirror by wiping the edges with rubbing alcohol.
The frame comes with adhesive on the back covered by tape backing. Begin to pull about an inch of the backing off and fold it over.
Hold your frame up to the mirror letting the top half tilt toward you and the bottom of the frame rest on the sink backsplash. Line the frame up and then pull off the tape backing. You can grab it by the pieces you folded over.
Lastly, firmly press the frame into the mirror to help it adhere.
That’s it. You guys, this is such an easy DIY project! The how-to video recommends two people to install but I was able to do it alone.
The process of assembling and installing this mirror frame is so simple that I didn’t even think to take photos because it went so fast. The entire thing only took about an hour.
One quick tip
The only thing I wanted to mention is that if your vanity light fixture is close to your builder-grade mirror, like mine, you may have to remove the light covers. I did have to remove those as well as the light bulbs so that they weren’t in the way of the frame.
Not a big deal, but I thought it was worth mentioning before you begin.
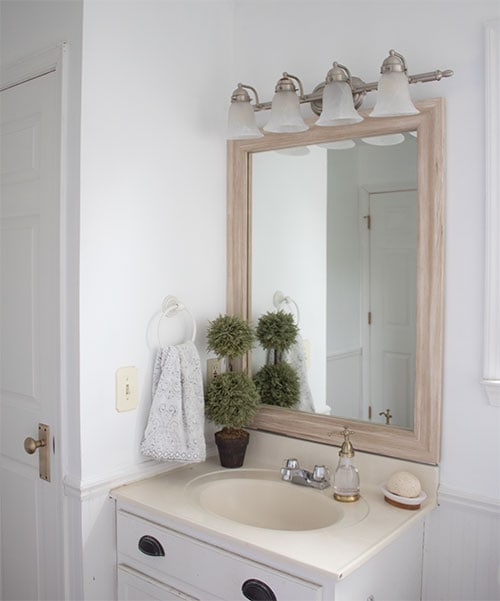
I really like how the wood tone of the new frame compliments the new doorknobs. It made a huge impact in our master bathroom!
The Mirror Mate frame is a great option if you don’t want to work with power tools and make twenty trips to Home Depot or any of the home improvement stores.
As I mentioned, the vanity needs updating as well as the light fixture but that’s going to be on hold until after the holidays. In the meantime, I dressed it up a bit with new accessories from Home Goods.
(UPDATE: See how I painted the sink, it made a huge difference!)
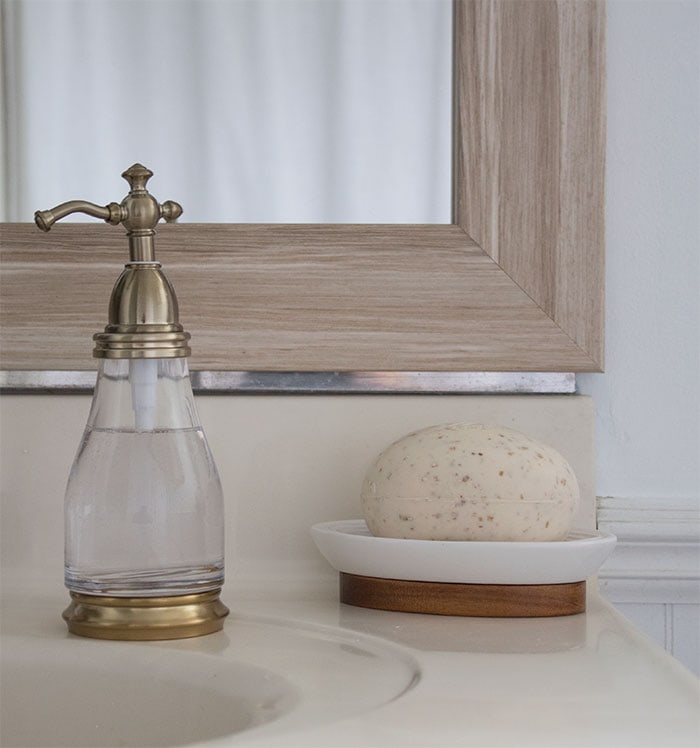
One other thought I had was potentially painting the beadboard in this bathroom green rather than the vanity. The jury is out on that too.
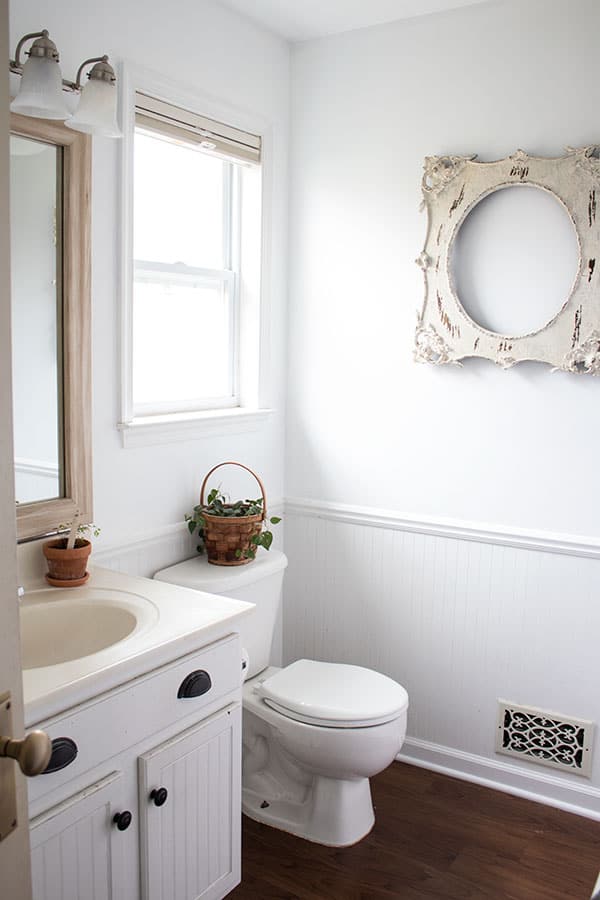
In the meantime, I am happy with the small improvements here so far. The white paint and the mirror frame made a huge difference. While there is nothing wrong with a frameless mirror I like the finished look with the frame.
It looks like a new mirror!
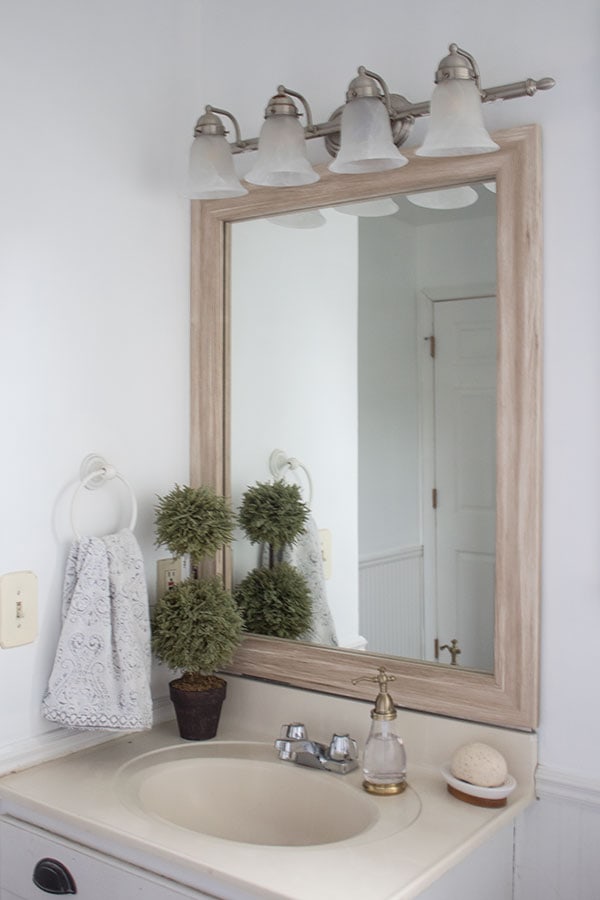
If you’re looking to frame a mirror in your home I would say using Mirror Mate is the easiest way to do it!
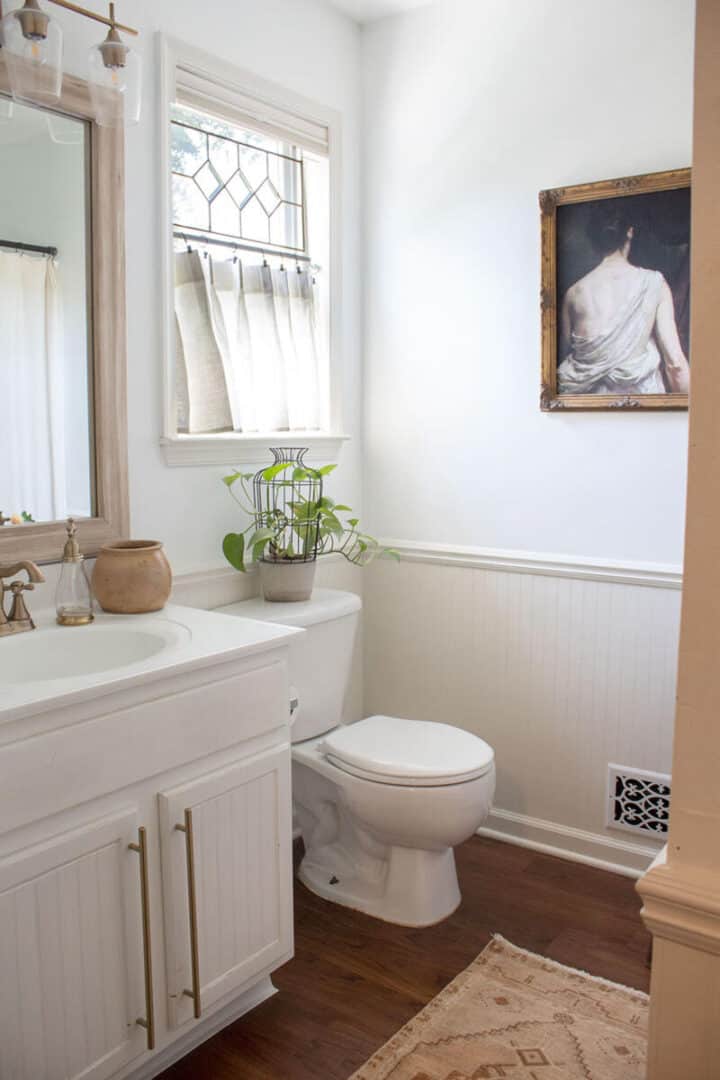
UPDATE: You can see the finished bathroom here!! As well as another bathroom update here. (This is the latest version below!) Good things take time! Especially when you DIY everything!
*This post was in partnership with Mirror Mate, all opinions are my own. You can read my full disclosure here.


A pretty update so far! 🙂 The doorknobs are to die for!
I think the vanity would be a nice pop of color in green. I have the habit of changing my mind…or suddenly thinking of something else while in the middle of a project…sometimes it is best to go with the first inspiration, through. 🙂 Have fun with the rest of the update…post-holiday.