Framing Vintage Photos in old picture frames
Creating a gallery wall using a mix of new and old picture frames makes it look more interesting. Sometimes framing vintage photos in old picture frames can be tricky. The older frames can be harder to work with depending on the backing.
However, as long as you can remove whatever existing backing there is, you can easily seal it back up.
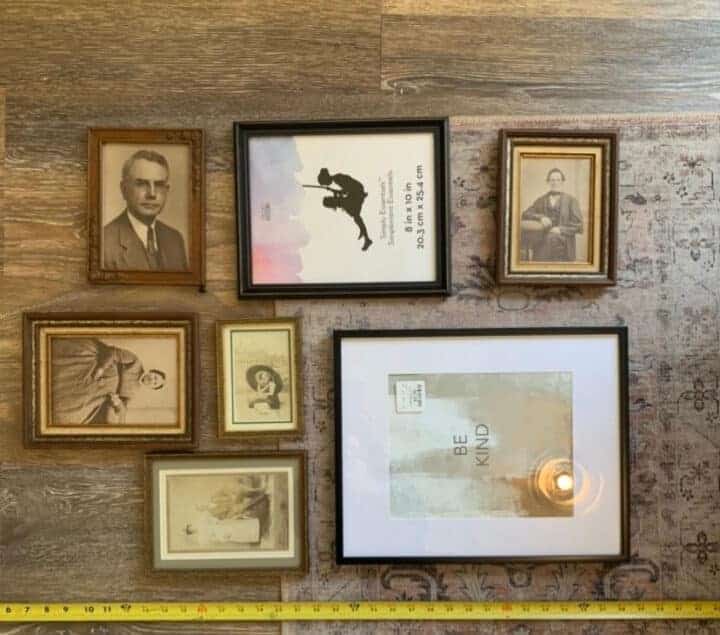
The photo above is a set of old picture frames I ordered on marketplace along with two newer frames. (The black frames are the new ones).
Framing VIntage Photos: Remove the Backing From Old Picture Frame
To replace the art in the old picture frames I began by using a box cutter to cut off the paper backing.
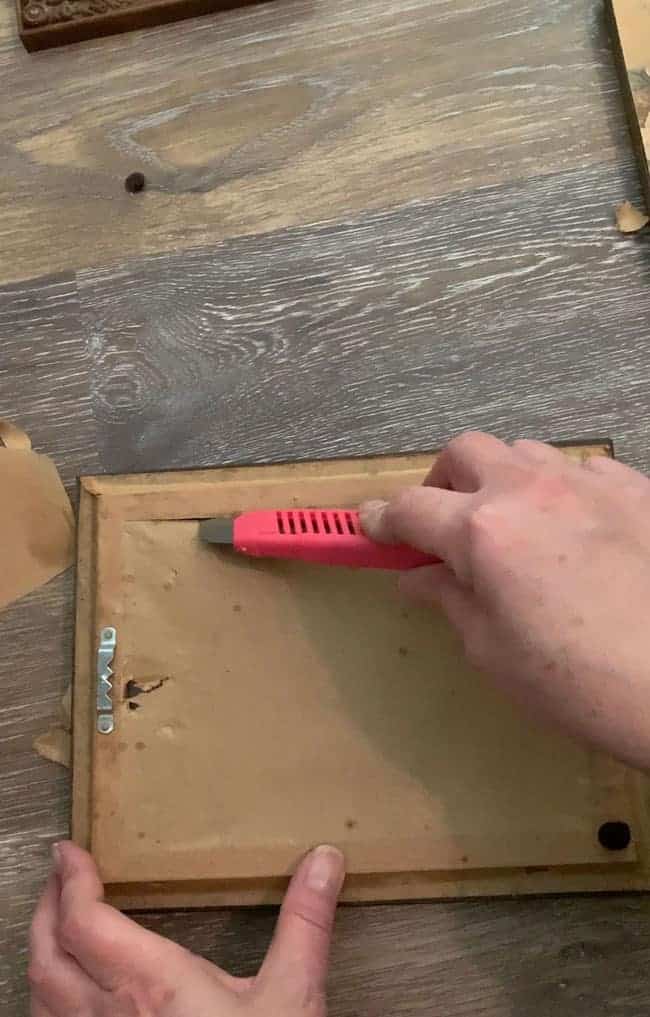
These particular frames had the square pins that are easy to bend up with a flathead screwdriver. Sometimes older art will have nails that will need to be removed.

Whenever I take apart old art, I always hope to find something hidden inside. It hasn’t happened yet but one day I may find some treasure!
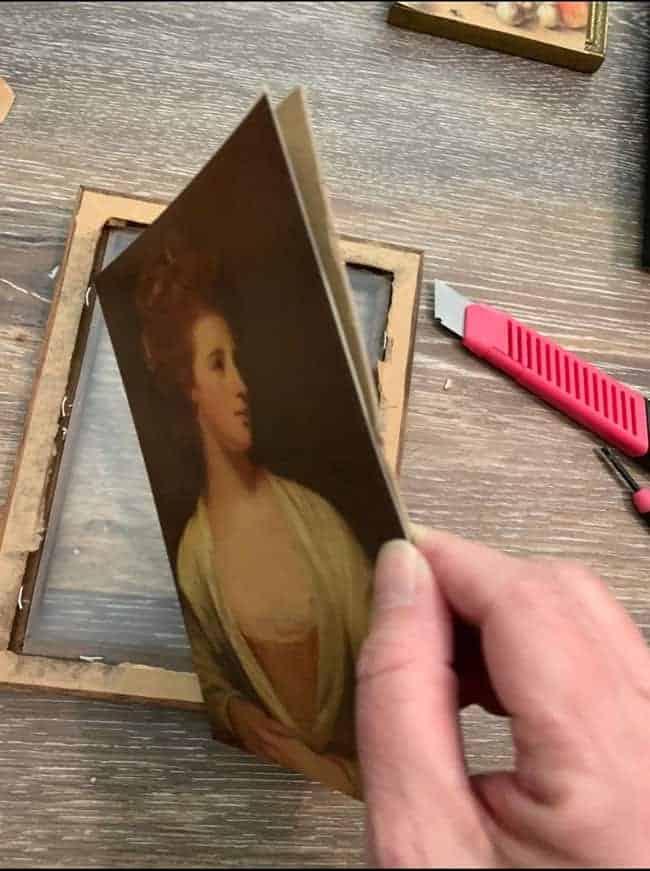
I replaced the old art with a portrait print. Portrait prints have been huge lately and I swore I’d never have one because they feel like a haunted house to me. I don’t want photos of random people that make me feel like their eyes are following me. However, I caved with this one because I thought it was pretty and she’s not looking straight ahead, lol.
How to reseal the backs of old frames
After I had the new (vintage) art in the old frame, I applied double-sided sticky tape around the four sides of the back. Next, simply place a piece of brown paper over that.
I get my brown paper by the roll at Michael’s stores. It is the least expensive place I’ve found it. I use it for a variety of things around the house. It’s really useful for wrapping presents in a pinch as well as used as a makeshift dropcloth for painting projects.
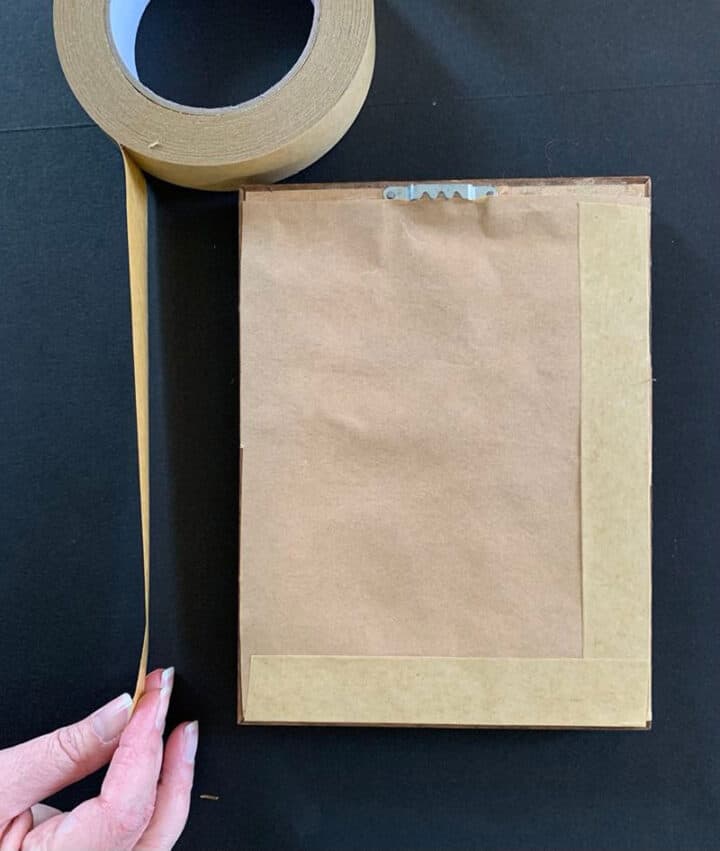
If your frame doesn’t have a hanger on the back, you can add a sawtooth hanger easily. Of course, that only works on wood frames.
After your paper backing is in place, secure it around the edges with brown kraft tape.
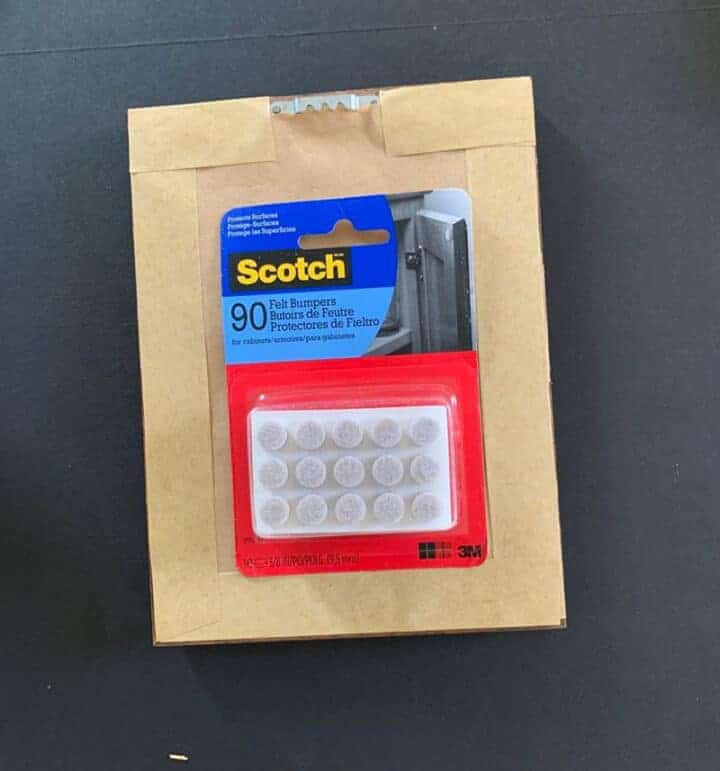
This last step to framing vintage photos is optional. You can add felt bumpers to the four corners on the back of the frame if desired. That helps prevent scratches on your walls.
old frames with no backing/Glass
This framing method above will also work with antique frames that don’t have any backing. You would just need a piece of cardboard to fill out behind the photo. You can also print photos on a site called MPIX. They have an option called Giclee prints. Choose that, and then select “fine art photography” after you load your photos. You will get a print about the thickness of the cardboard.
The print will also be textured which is really nice for vintage prints, especially landscapes. I have one on order now so I’ll share more on that when I get it.
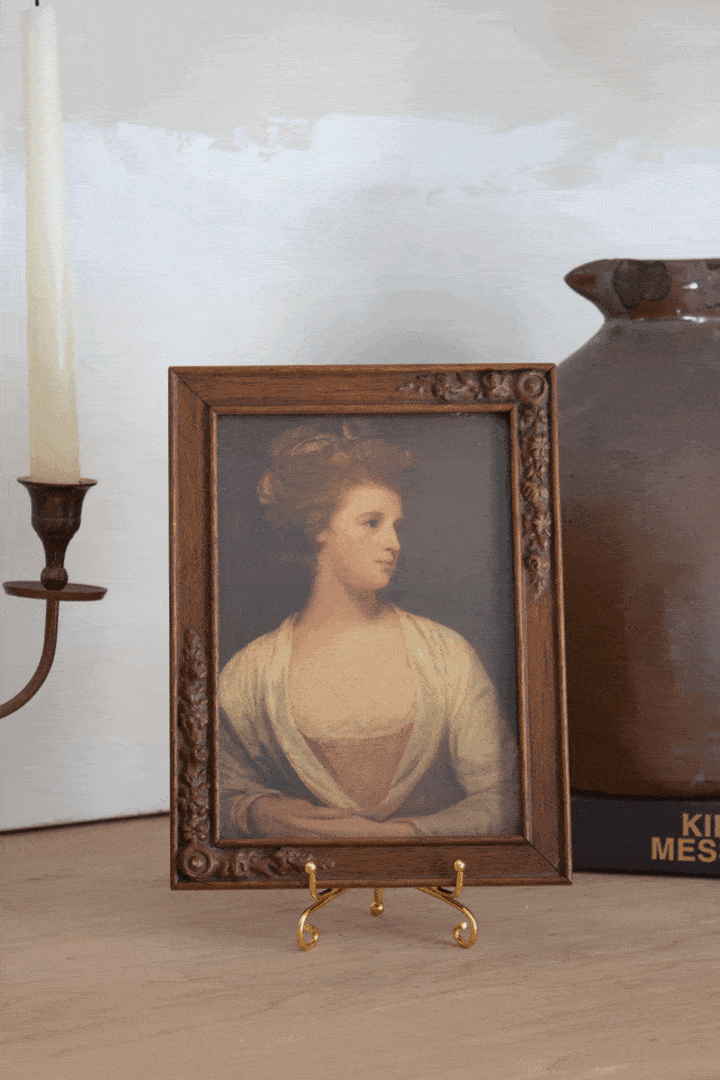
As it turns out, this vintage portrait print isn’t too scary at all, lol. I’m still working on completing that gallery wall with all the frames.
If you have new photos that you’d like to make look older, check out this tutorial on how to make your photos look vintage with Photoshop.
QUICK VIDEO HOW-TO:
Though this is a relatively easy little project, you can click the photo below to see the quick video how-to. Sometimes that visual helps more than still photos.
YOU MAY ALSO LIKE:


