Wooden Porch Welcome Sign DIY

Every good home decor blogger knows you never throw out leftover wood! I came across a wood board recently that was perfect to make a porch welcome sign DIY style!
When we do have scrap wood left from projects we will sometimes load them into the bed of my husband’s truck so he can bring them to the dumpster. As I was adding some scraps in there awhile ago I found a perfectly good piece of wood leftover from our sliding barn door that my husband snuck by me.
It was the perfect size for a DIY welcome sign for our front porch. I’m not sure what type of wood this is but as long as it’s not too thin, any wood should work.
stain or paint your wood board
The first step is to start by staining the wood. These wooden crates I stained came out so good that I used that same technique for this wood sign.
I stained it with Rust-Oleum weathered gray stain. Once that was dry, I went over it with Annie Sloan dark wax which is often used over chalk paint to give it a distressed or weathered look.
The wax will also help to seal and protect it.

how to calculate the size of the letters
To determine what size I wanted the lettering to be, I measured my piece of wood and divided that number by 9.
Seven for the lettering and 2 more for spacing at the top and bottom. My piece of wood measured 4’H X 5.5″ W and I made my letters approximately 3.5″W X 4.5″H.
creating the letters with a Cricut machine
While that was drying, I moved to the next step. I got out my Cricut machine to create the lettering using Cricut design space.

For a perfect fit, I couldn’t fit all the lettering on one mat, so I had to make two separate sheets. I used the Cricut alphabet font for this project.
Once this part was ready, I loaded the smart vinyl into the machine and let it cut out the lettering. This permanent vinyl material holds up well.
You can find most Cricut supplies at a craft store, such as Hobby Lobby, as well as online.

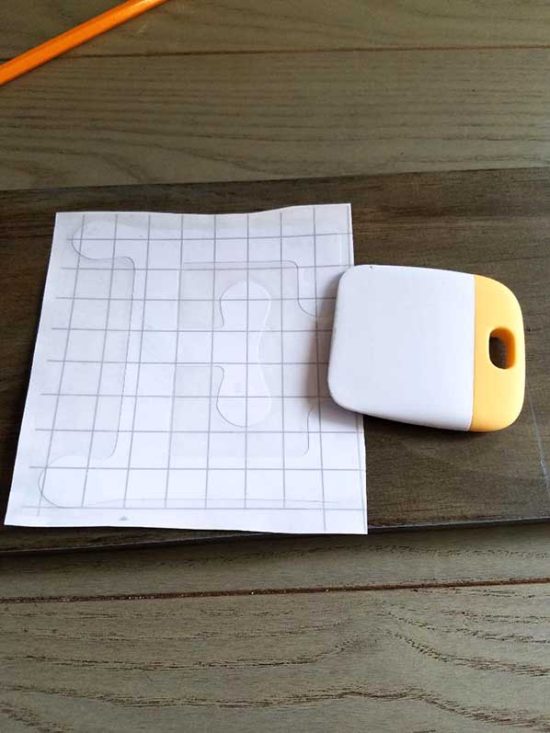
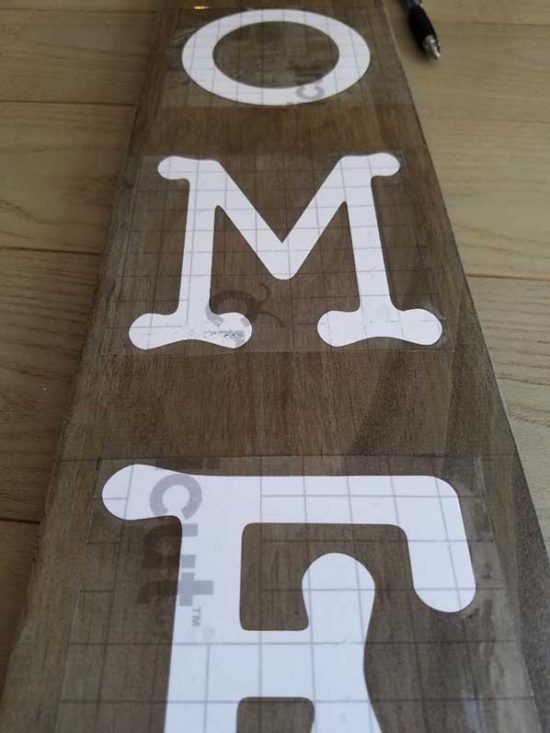
Once the cutting machine finished its work I used the weeding tool to remove the areas around the lettering. Next, I cut out each letter so they were separated.
Using Cricut transfer tape (it looks like graph paper) is recommended to be sure your letters are placed straight onto the wood.
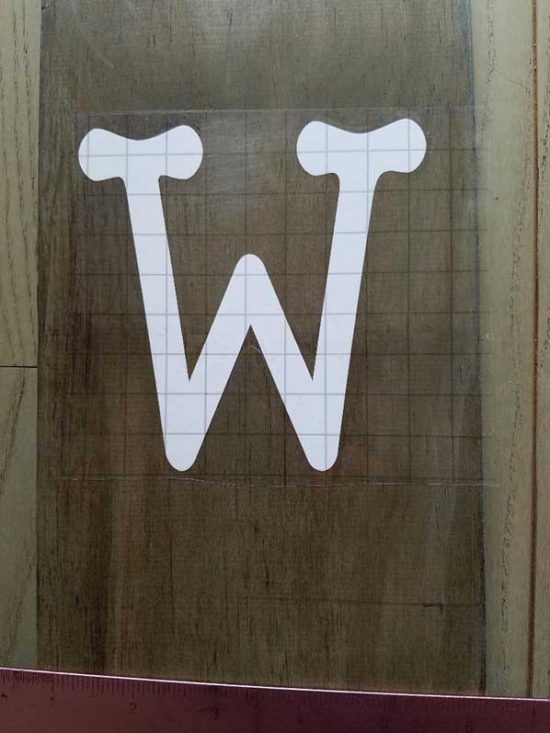
After that, I figured out my exact spacing on the wood. I drew pencil lines to divide each of the 9 sections to keep me on track. When you’re done with this part, you can erase the pencil marks.
Alternatively, you could use painter’s tape to mark the spacing.
Each letter section on my sign was approximately 6″ H.
apply the lettering
When I applied the letters I lined them up with the top pencil line of each section, this way the letters are spaced evenly in between without much effort.
The small burnish tool shown above makes it easy to transfer the letters onto your surface. Once the letter is attached, peel off the clear backing.
You can read how to use the Cricut transfer tape here. Using the Cricut machine takes a little bit of time to learn but it’s not hard and it’s amazing what you can create.
I’ve had my wooden sign outside on my covered porch since last fall and it’s holding up SO well. Even though the porch is covered, it is open on all sides. The vinyl letters are durable and the combination of stain with the wax doesn’t weather much, if at all.
Another option I considered was to use exterior paint on the wood, I’m sure that would be durable enough.
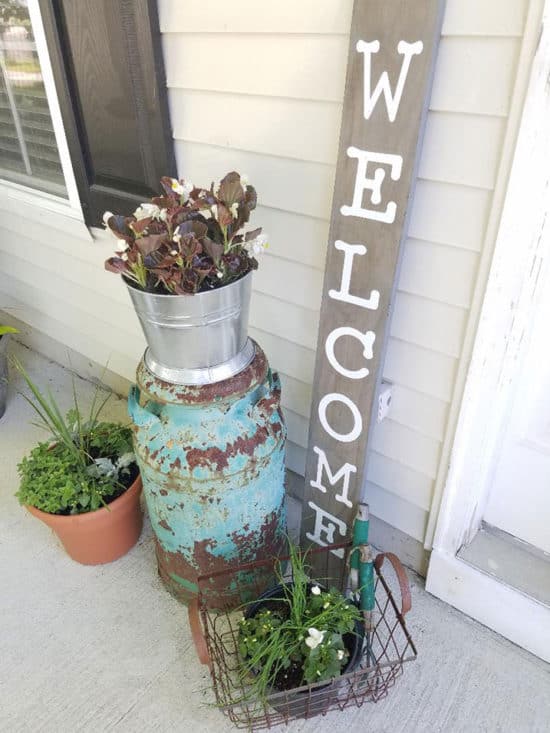
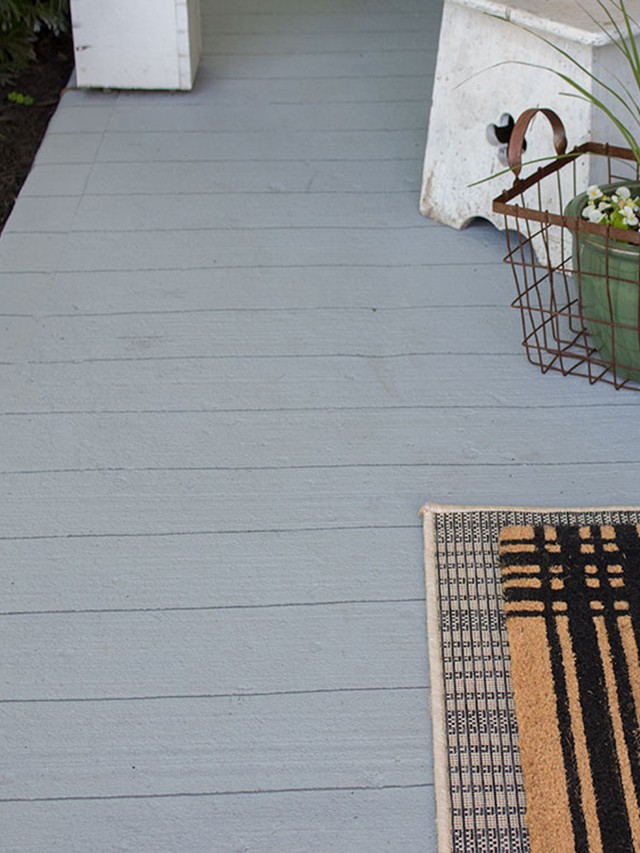
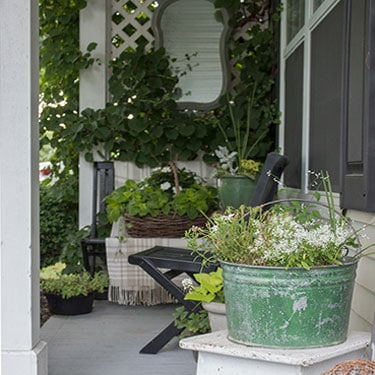
It looks so good next to my front door. A vertical welcome sign works very well on a small porch or entryway. Adding vertical interest is a great way to maximize space in small spaces!
Pair it with a few plants and a pretty welcome mat and you’re all set.
ideas to customize your porch welcome sign diy
I have seen double-sided welcome signs at flea markets, which is another option. You could make the reverse side something seasonal for the holidays.
I didn’t do that with my DIY welcome porch sign but I might add lettering to the back later.
The word Autumn would be nice for fall and since it has 7 letters in it, I know the spacing will work out the same. The fun part is, you could use bright colors on the reverse side for a more eye-catching sign.
This was an easy DIY project and there are lots of ways you could customize it with your own personal touch. If you don’t have a cutting machine, you could also use a welcome stencil and white paint to get the same look.
Another tip if you don’t have leftover wood hanging around is that Home Depot will cut wood for you to whatever size you want.
If you make your own porch welcome sign DIY let us know in the comments, we love to see your work!
You can see my front porch all decked out for summer here.
*This post may contain affiliate links, you can read my full disclosure here.
Very cute sign! I’m wishing more and more that I had a Cricut! Pinned!
Roxanne, you make this look so easy! It’s very inviting. 🙂
Thank you Stacey, it was easy!
The only thing I am going to do different is to use carbon paper to trace the letters, paint those and then apply wax afterwards… did you consider this? If you did, did you come up with any reasons it’d be a bad idea? I don’t want to screw up the sealing part…
I didn’t consider that, but I can’t think of any reason why it wouldn’t work. Good luck!
Does the vinyl hold up well outside? Im thinking of making some for my craft show but I am not sure what people will think about vinyl letters vs. painted and stenciled letters.
Hi Ceresa, mine is holding up perfectly. I leave it outside year-round on my porch (which is covered). Hope that helps!
WHICH FONT DID YOU USE?
I believe it was Cricut Alphabet.
How has the stain help up? I am working on a similar project and I am afraid that interior stain will fade if I put the sign outside on my porch.
The stain has held up amazingly well. It looks the same as I the day I stained it, but keep in mind mine is on a covered porch.