DIY Customized Magnetic Chalkboard
I have to start out by saying the title of this post may be slightly misleading. This is technically only a partial DIY project. I wanted a magnetic chalkboard to use in my daughter’s room and first I looked into DIY’ing one. Then I looked into just buying one. I realized it was less expensive to buy one already made.
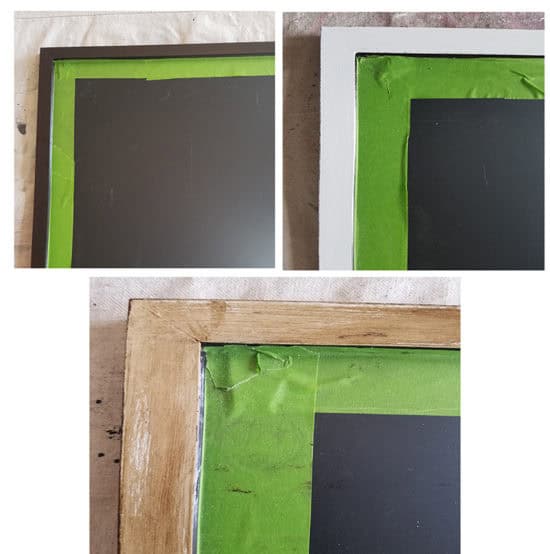
I picked this magnetic chalkboard*, because the price was right and it was the size I was looking for. What I didn’t like about it was the frame. I figured that was easy enough to change. I wanted a lighter, more rustic wood tone. To get that effect, I first taped off the inside of the frame. I painted it white, followed by a light application of dark wax.
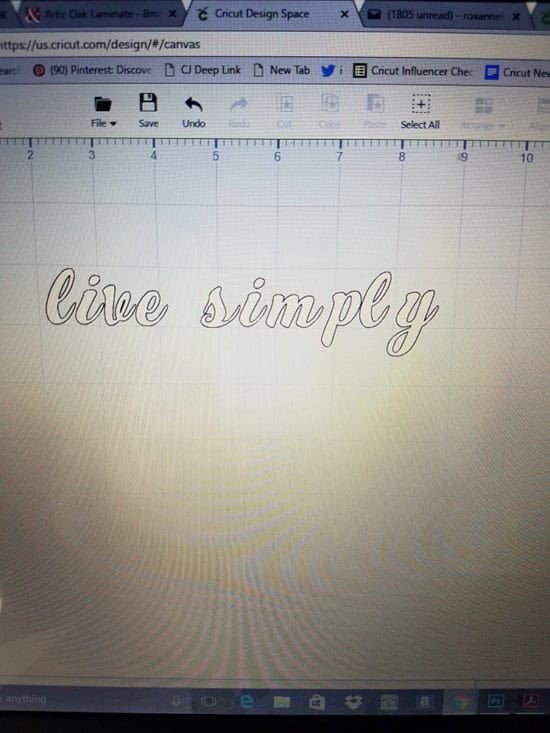
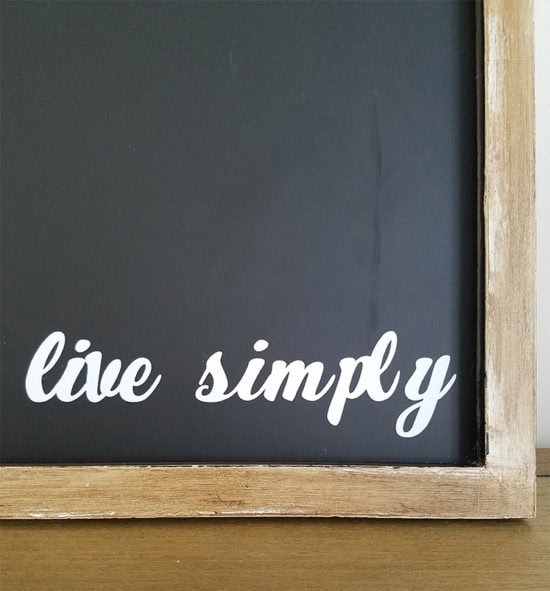
Next I wanted to give my chalkboard a little customization so I used my Cricut Explore Air 2 machine for this part. If you missed the first DIY project I made with the Cricut machine, you can see that here. I love the look of lettering on just about everything and was anxious to experiment with making custom lettering with my machine. I simply opened up the Cricut design space and typed of my phrase, live simply. I then experimented with different fonts, and ended up choosing Retro Script for this one.
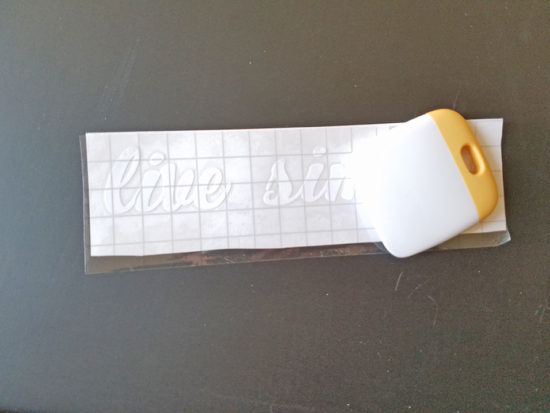
I set my machine to cut vinyl and hit the GO button. Once it was done, I cut it down to size and used transfer tape (the one that is a graph below) to help me transfer it to the chalkboard.
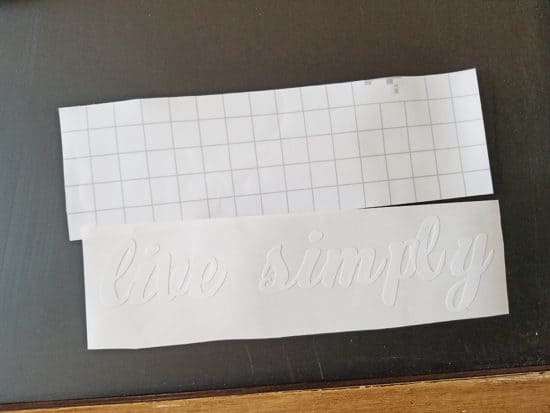
The graph on the transfer tape helps to ensure a that it goes on straight. You first lay your lettering over the graph paper and use the flat scraper tool to rub it until it adheres.
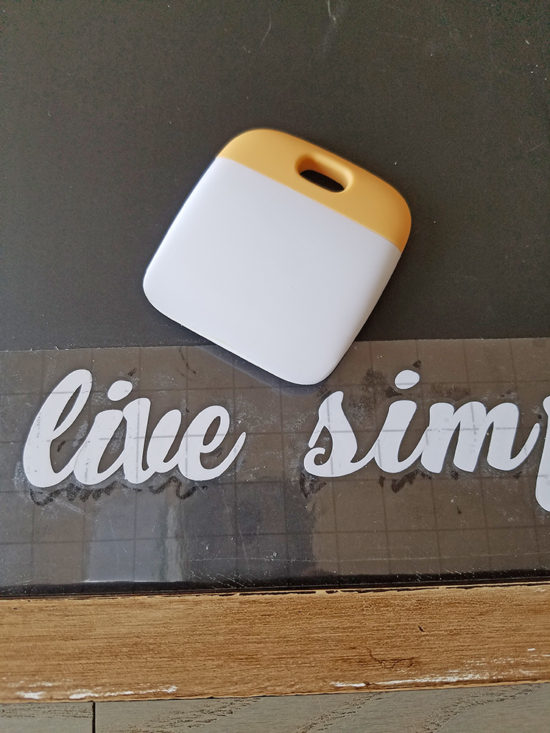
Then you peel off the backing from your letters (slowly) and place it on your chalkboard. Again, use the flat edged scraper tool to rub over the letters until they adhere to the board, and peel off the clear paper very slowly. Using a rocking motion seems to help when peeling the paper off. You may have to go back over some of the areas with the scraper if it doesn’t come off easily the first time.
I love how this came out and I can’t wait to make more projects with custom lettering. You can learn more about the Cricut machine here.
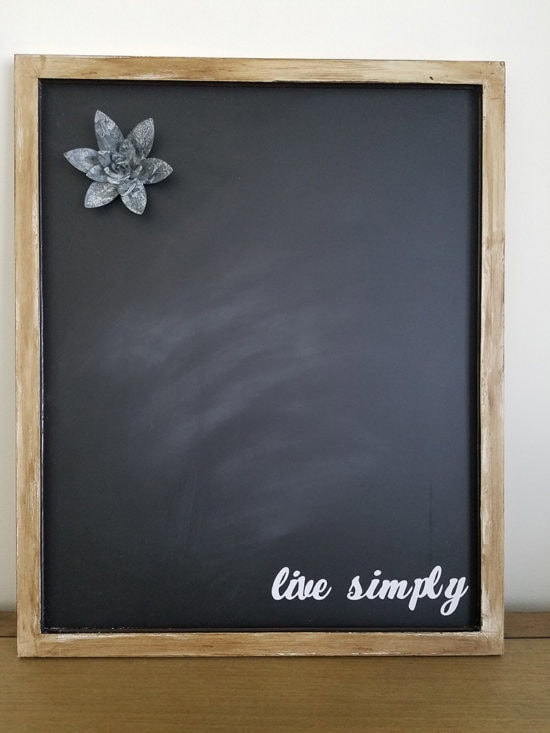
The water lily magnet is from Magnolia, isn’t that cute?
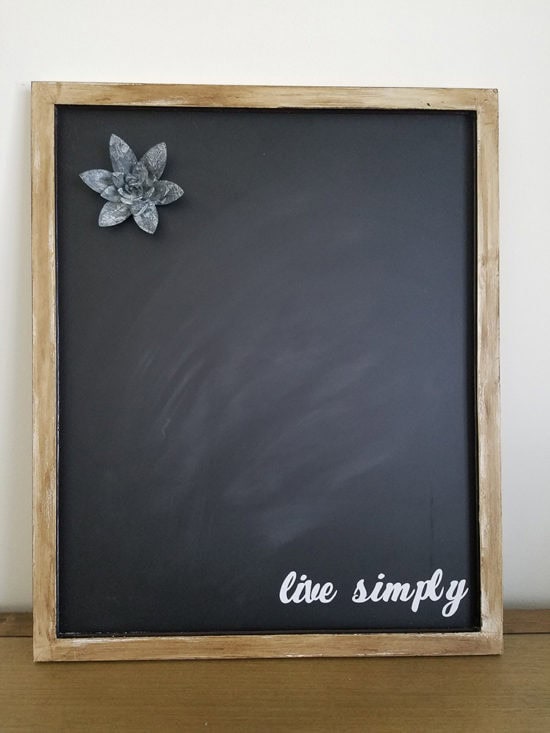
This magnetic chalkboard has hangers on the back of it, but I’m thinking of attaching a jute rope to the top to hang it on the wall. I’ll be back in a few days with another update on my daughter’s bedroom makeover.

UPDATE: See the completed bedroom makeover here!
This is a sponsored conversation written by me on behalf of Cricut. The opinions and text are all mine. This post may contain affiliate links, read my full disclosure policy here.