DIY Deer Ornaments (With Cricut Iron On)
First, let me say that this project was done on a whim so most of these photos are not great quality. Regardless, these deer ornaments came out so cute I wanted to share this idea.
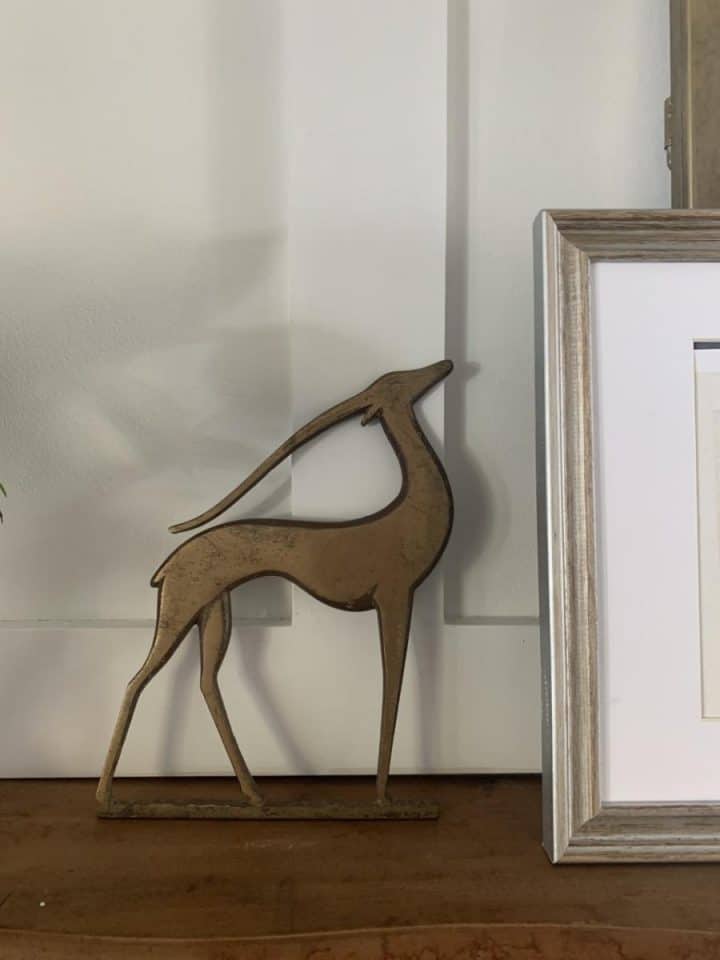
It started with this brass deer statue I ordered from Facebook marketplace. Technically, I believe it’s an antelope but I’m calling it a deer for this post. I loved it so much that I thought it would make for a beautiful Christmas ornament.
My thinking was that I could potentially size a picture of it through Photoshop and then cut it out with my Cricut machine.
With Photoshop, I sized the picture to approximately 2 X 3″ or so. Then I opened the sized photo up in Cricut design space and duplicated it.
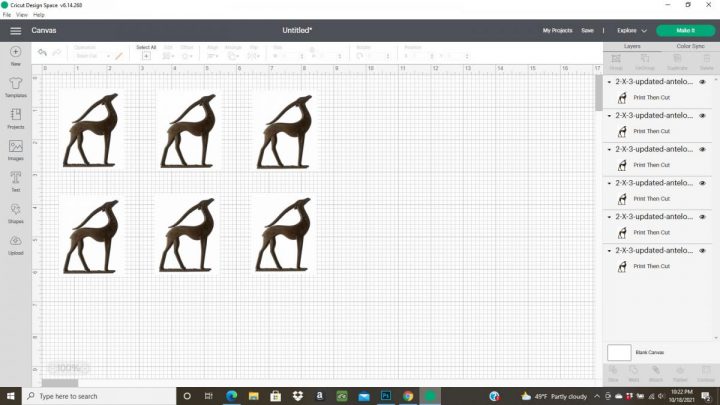
The idea was to cut these out on Cricut iron-on vinyl. When printing images onto iron-on vinyl, you have to be sure the setting “mirror image” is checked in the Cricut design space. This is especially true if you are printing words. If not, when it’s ironed on the image or words will be backward.
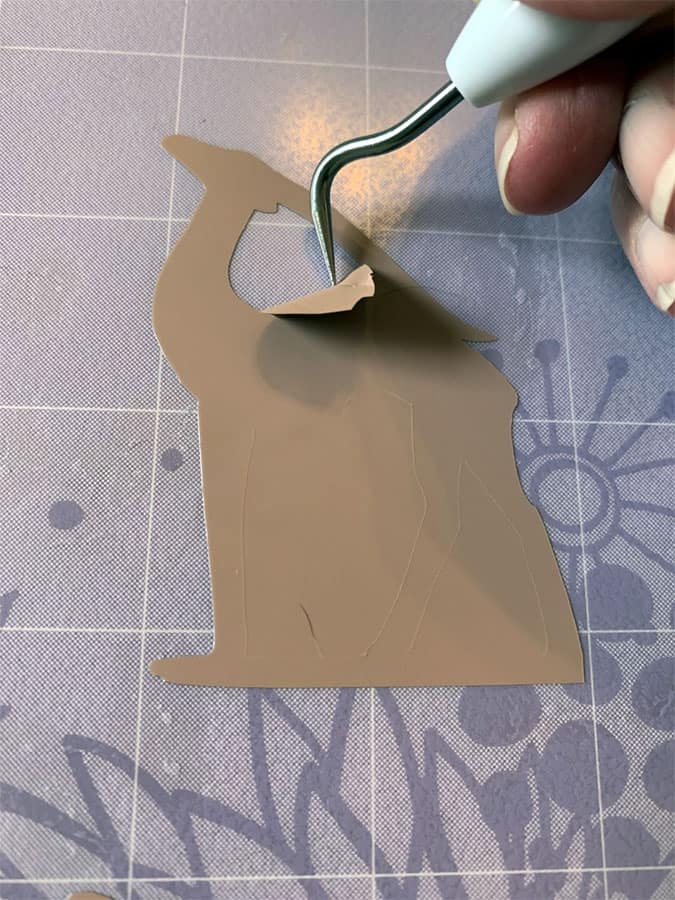
When placing the vinyl on the mat, the shiny side faces down. Once the Cricut machine is finished cutting, remove the vinyl from the mat. Cricut iron-on material has a clear backing, so you can go ahead and weed out the areas you won’t be using. Leave your main image on the clear backing.

For the more intricate areas, use the weeding tool that comes with the machine.
Now you’re ready to iron it onto your fabric. Go over your fabric with the iron first to warm it up. This will help it adhere better.
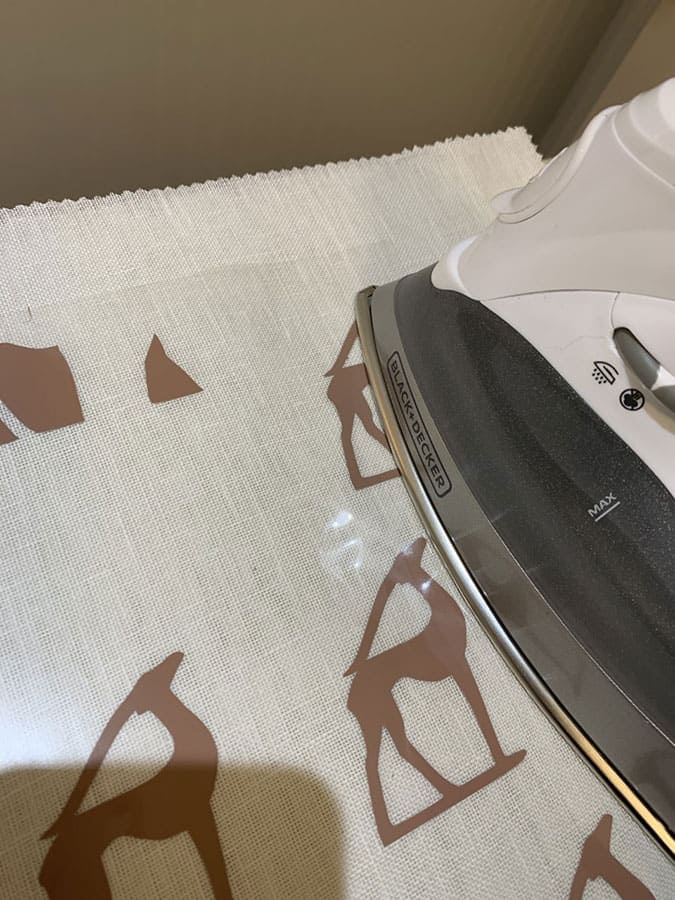
Place the material, image side down onto your fabric. You can iron directly over the clear vinyl. Another option is to put a piece of material between the iron and the vinyl. The image will adhere faster without the extra fabric, but the material gets very hot so be extra careful.
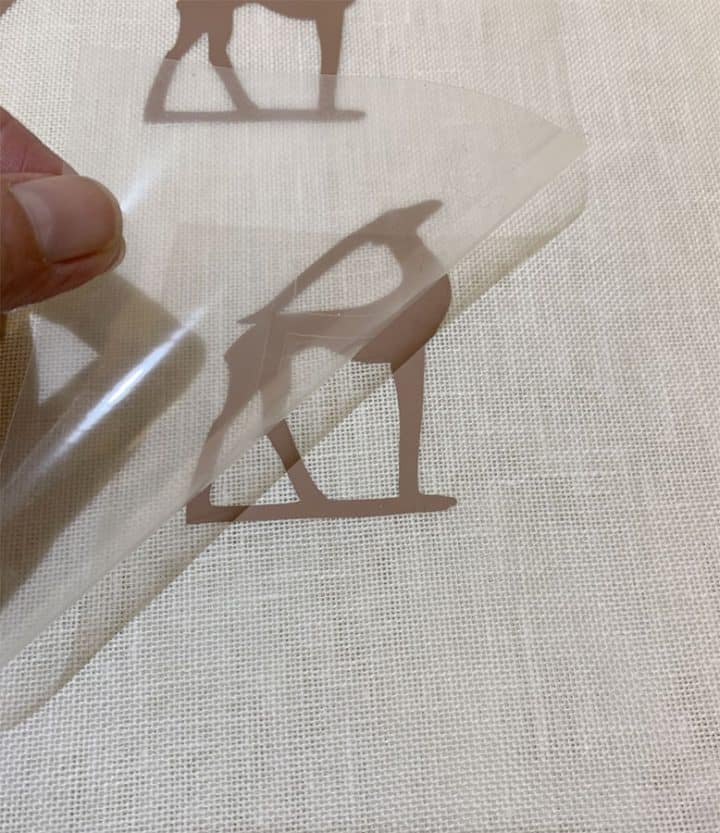
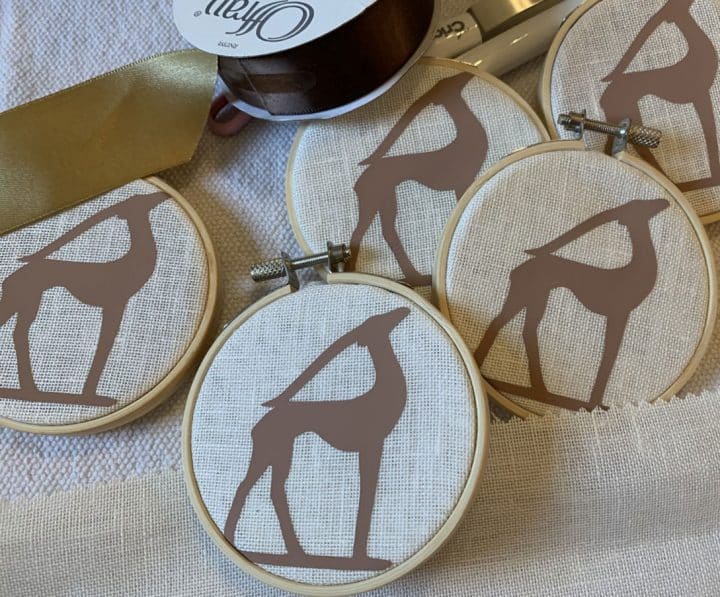
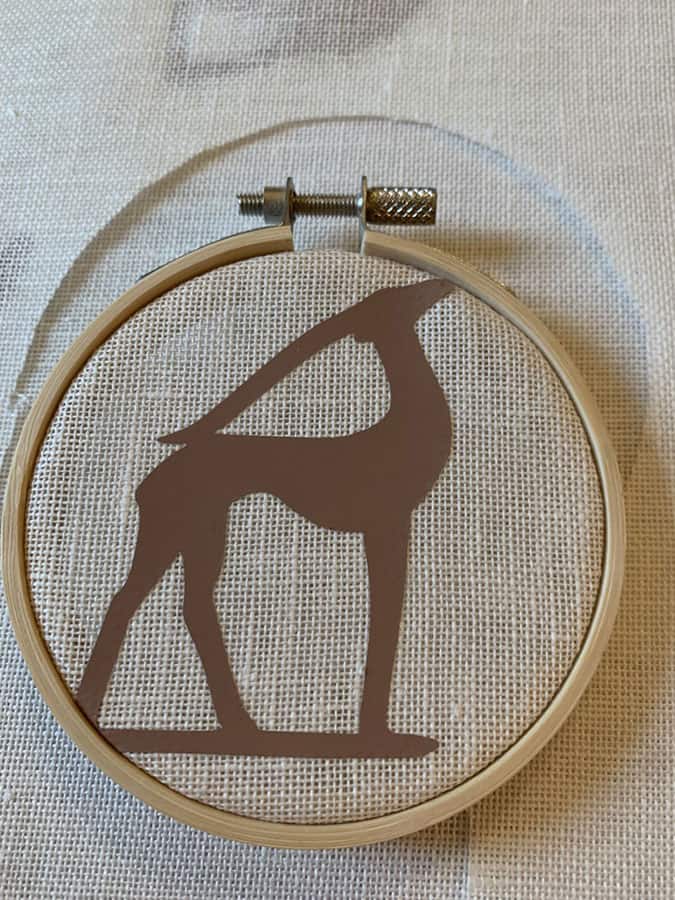
After ironing, peel the clear vinyl off slowly. You want to be sure the entire image is attached to your fabric before pulling it completely off. The fabric I used is a linen embroidery sheet I bought at the craft store. It’s very similar to this fabric.
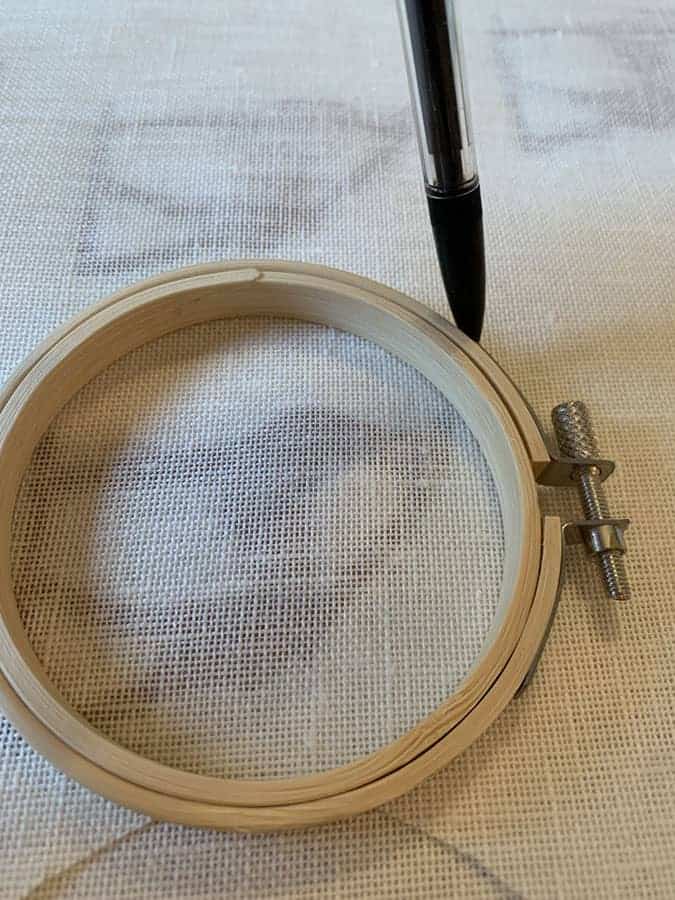
To make these into deer ornaments, I wanted to add them to embroidery hoops. I used a small, 3″ embroidery hoop to trace a circle around the back of my material.
Next, simply cut that out and place it in the embroidery hoop.
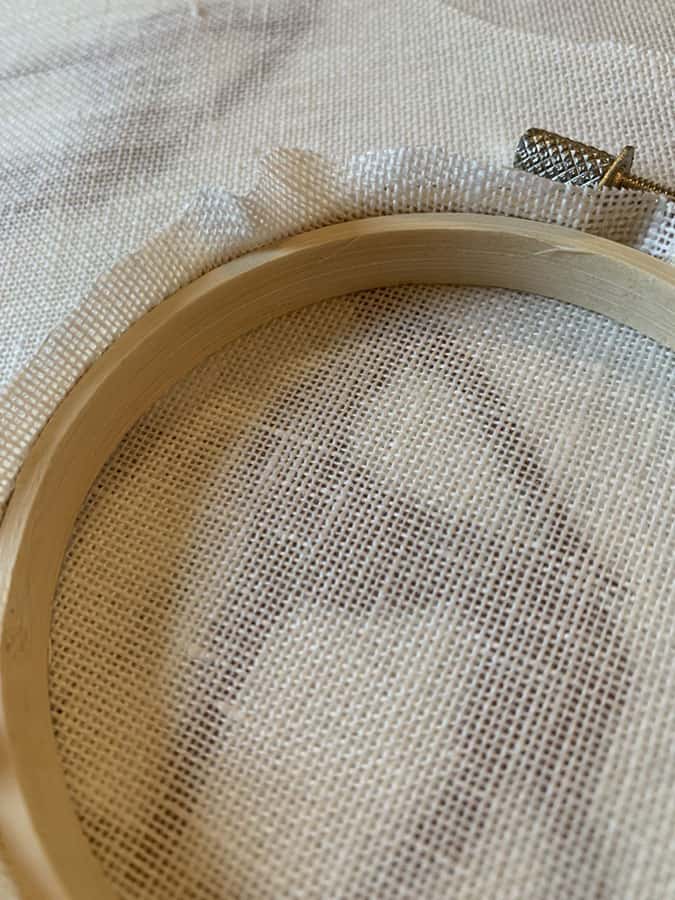
Lastly, I trimmed the excess fabric on the backside of the hoop with scissors. It sounds like a lot of work but it was really rather easy. It cost me a total of around $13 to make 5 ornaments.
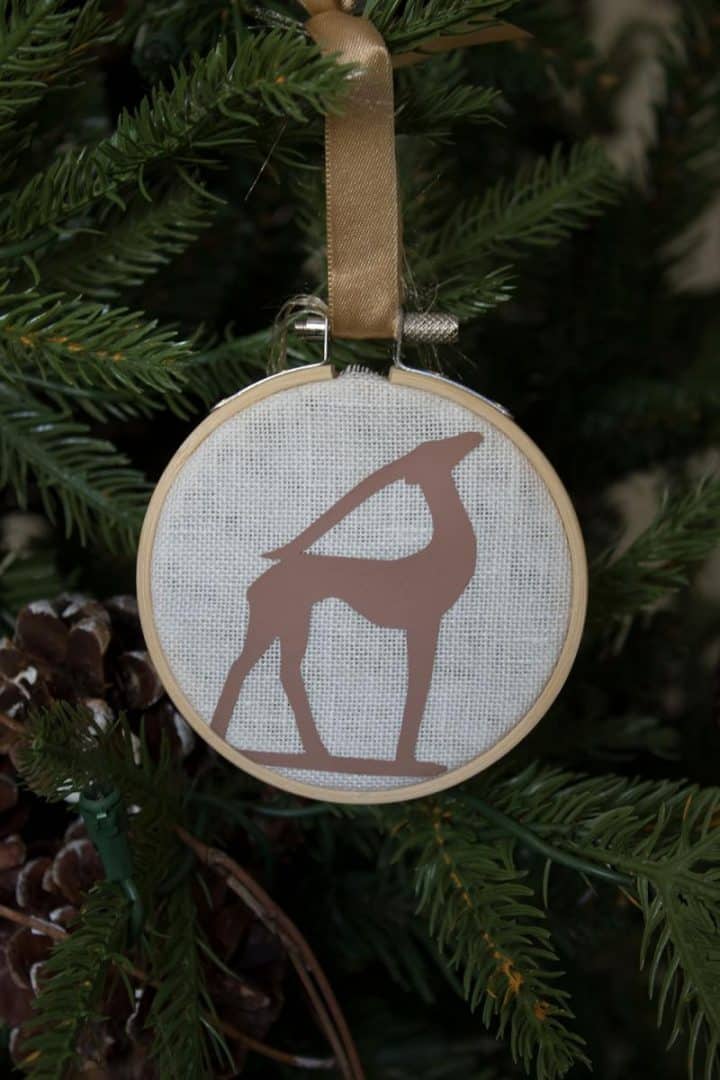
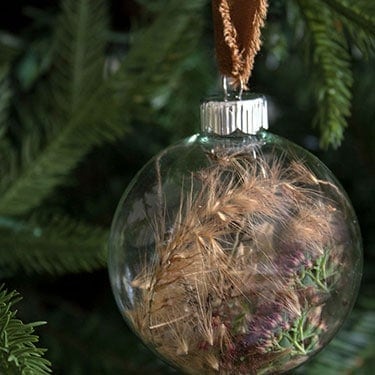
I’m leaning toward a more natural-themed Christmas tree this year, so the deer ornaments should fit in well with that theme.
YOU MAY ALSO LIKE…