DIY Christmas Decals for Your Door
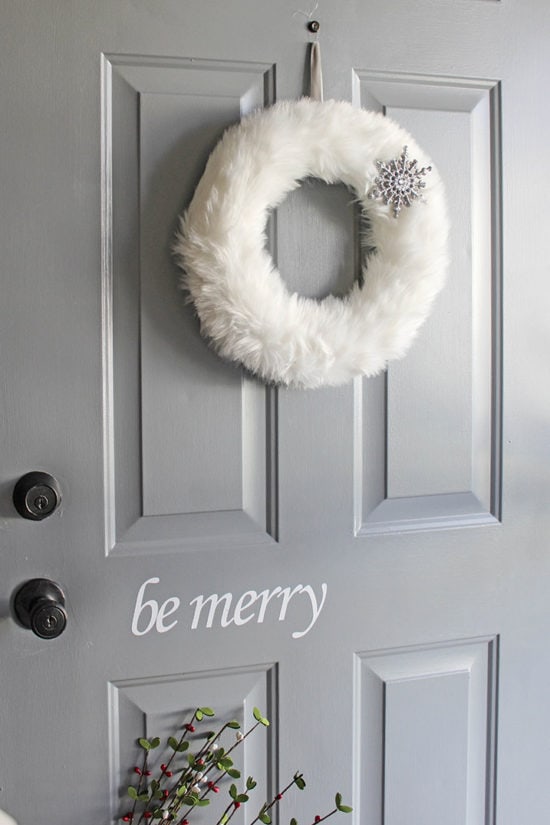 I’m really all about simple holiday decorating this year. So when I wanted to make my door a little more festive without going crazy, I decided to make Christmas decals. You may have seen these before, whether for the holidays or a simple “welcome” that you can leave on year round.
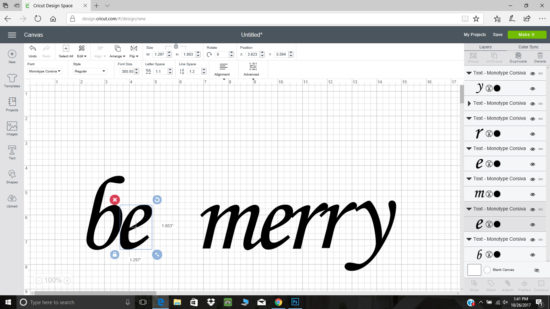
It’s a really quick and easy project that I made using my Cricut machine*. I opened up the Cricut design space and typed out the words “be merry” using the font called “Monotype Corsiva”. Then I selected each letter individually to move them closer together. I did this so that when it’s cut the letters are attached which makes it easier to apply.
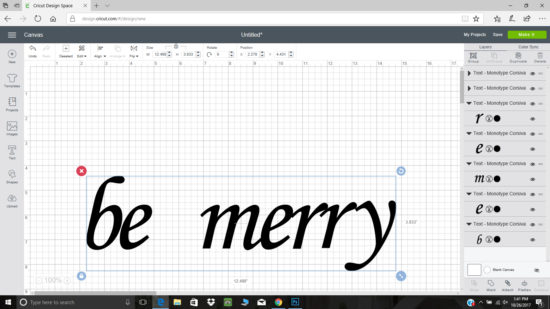
Once I had the letters where I wanted them, I selected the group option so that they are welded together for cutting.
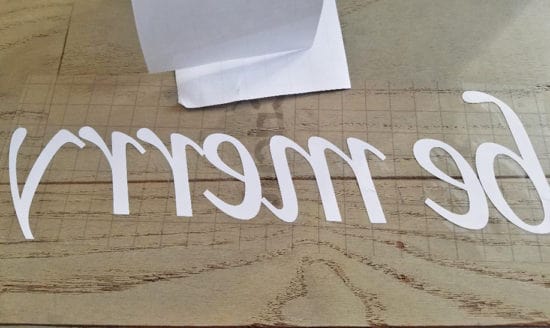
I used the white adhesive vinyl, here is what it looks like after cutting and after I removed the backing.
I applied it to the door using the grid paper, just like I did with my chalkboard project. You could also use these Christmas decals on a mirror or a window.
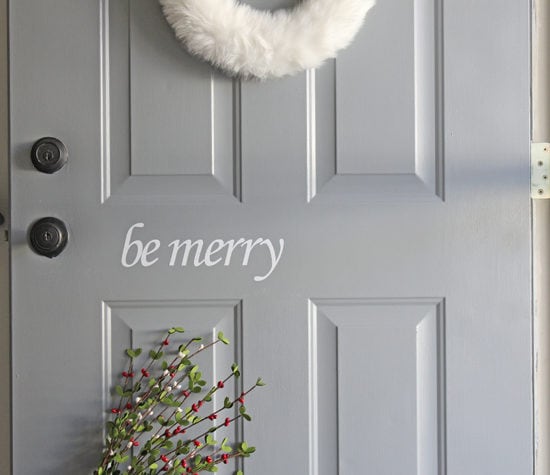
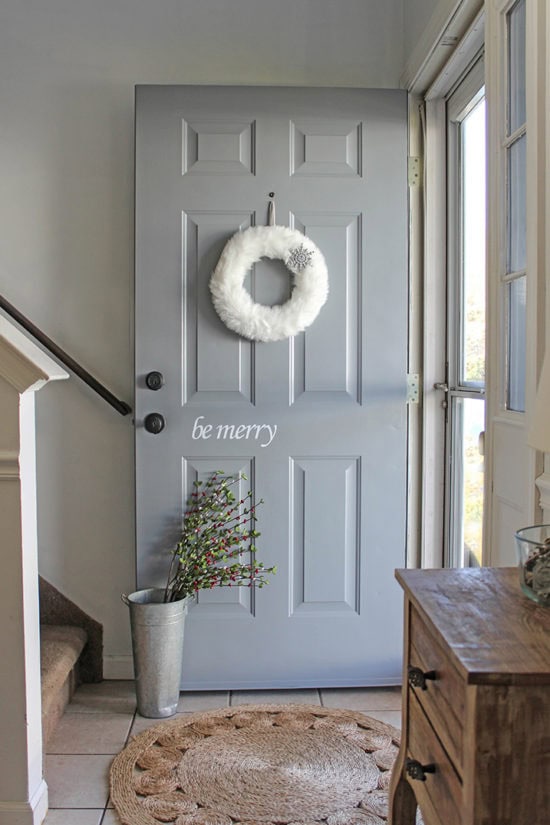
The white looks pretty against the gray (which is Dark Pewter by Benjamin Moore) door, painting the front door made a huge difference. I usually leave this wreath up all winter. This exact one isn’t available anymore but you can find similar here.
If you don’t yet have a Cricut machine but love this idea, you can buy some already made here and here.
Looking for more simple Christmas decorating ideas? Check out my DIY Christmas Book Covers (with free printables) and DIY Simple Berry Wreaths. I’ll be back here on Friday with my Christmas Home Tour.
*This post may contain affiliate links, you can read my full disclosure here.
