Chalk Paint Candlesticks

While DIY projects have slowed down a little over here since the holidays, I have been working on some smaller projects starting with these chalk painted candlesticks. I had some old brown candlesticks in my closet that I was debating throwing out because I don’t really like them anymore. I decided instead to paint them with chalk paint instead. Mainly because I am gearing up to paint some furniture and I wanted to practice a bit on something smaller before diving into the furniture makeovers.

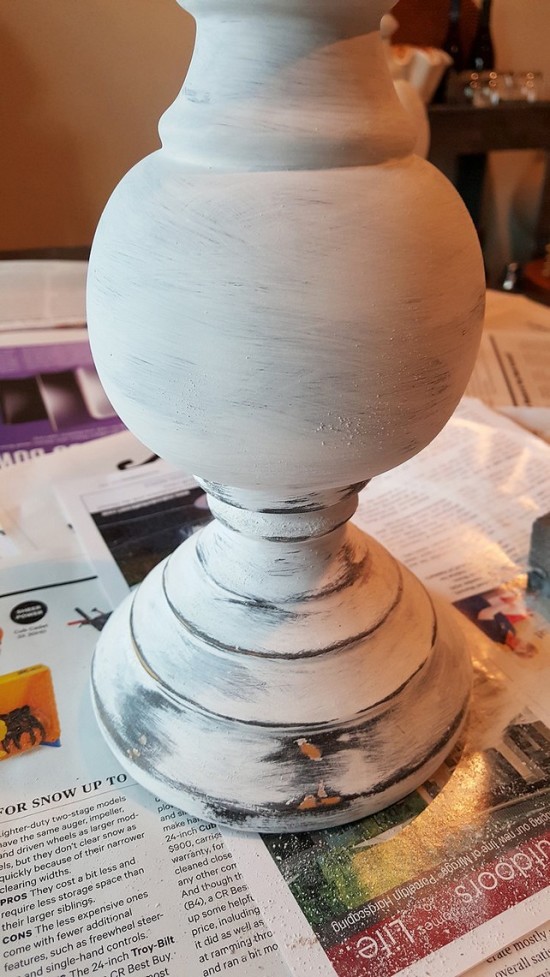
These are the candlesticks before painting. They are large and I didn’t really have anywhere that I wanted to put them. I used Annie Sloan paint in Pure White. It took 3 coats to get full coverage. But because you mix chalk paint with water, a little goes a long way. You can read my first how to post on using chalk paint here. I have to say the more I work with it, the more I love it.

It does leave a chalky finish when it dries. I use a little sanding sponge to smooth that out. If you use more pressure when sanding, it will take the paint off in spots to get that distressed look. If you don’t want it distressed, you can just sand lightly. I painted this chair with chalk paint without distressing it.
To protect the finish, you do have to apply the Annie Sloan wax after the paint is dry to seal it. Amazingly, this works very well to protect it. The chair I painted, as well as my kitchen canisters are holding up great, without any scratches and they both get a lot of daily use. I used the clear wax on all of my chalk paint projects so far, but they have a darker wax as well, that can give an aged finished to your piece. I haven’t tried that one yet.

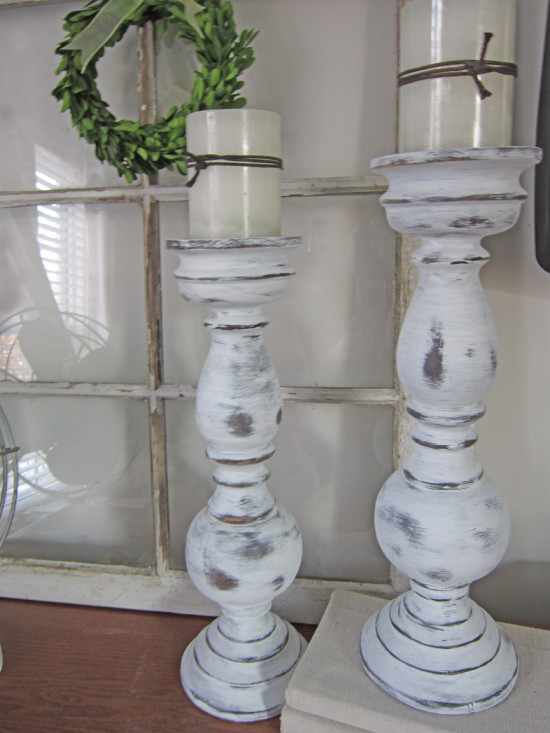
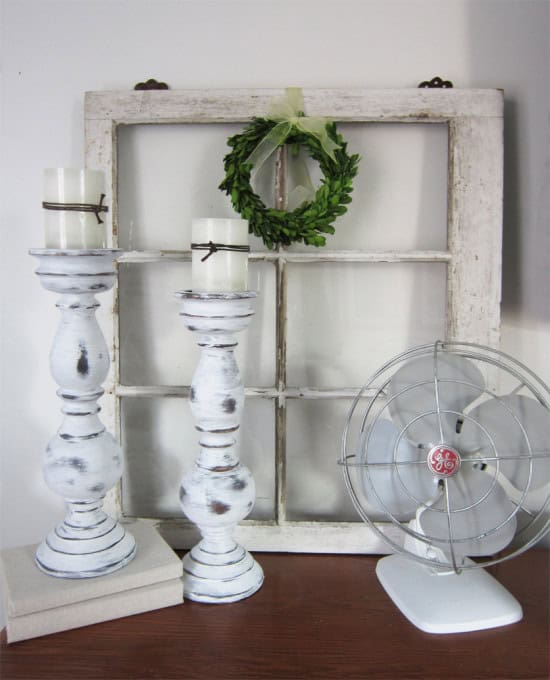
Now that the candlesticks are all painted and styled in this little vignette, I think I’ll keep them. I picked up that old window at a flea market (for $20) about 2 years ago and never used it. The guy who sold it to me said it came out of an old barn in PA. I gave that a good cleaning, and also added a stack of books that I covered with drop cloths. Would you believe that fan was a curbside find? I picked it up, painted it, and my husband even rewired it for me so that it works.

I was able to create this whole little vignette using things I already had on hand. I love when I can decorate without spending any money, which is especially helpful after all the holiday spending in December! If you are looking for more budget decorating ideas you can read these posts: 11 Ways to Beat the High Cost of Decorating, Little to No Cost Decorating Ideas, and my most recent one: 10 Free Ways to Refresh Your Bedroom. That last post also includes a giveaway for a new set of sheets, you can enter for a chance to win them here.

I love how these candlesticks came out with the chalk paint. I’ve always wanted to paint with chalk paint but because of the 2 part process (needed wax), I’ve always been hesitant. I think I’ll try small projects like candlesticks first before tackling a big piece of furniture.
You had me at chalk! Love that you can transform almost anything for a new coat of paint. These look beautiful and love your whole vignette!
I love the Candlesticks – I always want to decorate after visiting your blog 🙂
Thanks, Amber I appreciate that!
Those candlesticks turned out great and I love that mirror…$20 what a steal?! I need to find me some candlesticks to paint now.
WHERE are the candle sticks from ?
Where are the place to order these candle sticks??
Love them! Chalk paint makeovers are my absolute fave! Your vignette is gorgeous. 🙂
I love how these turned out! I’ll be using chalk paint for the first time next week! I can’t wait to use it! I love how beautiful your candle sticks look!