Transform Your Bathroom With Sink Paint
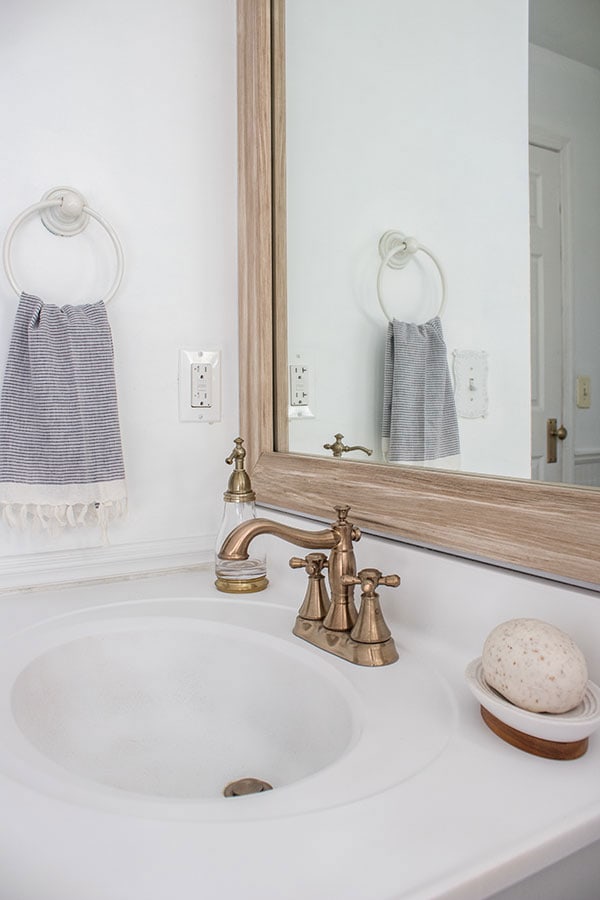
I mentioned when I shared my bathroom makeover the changes I made in this room didn’t require any major renovations. One project involved transforming the vanity with sink paint, and today I want to show you how I did that.
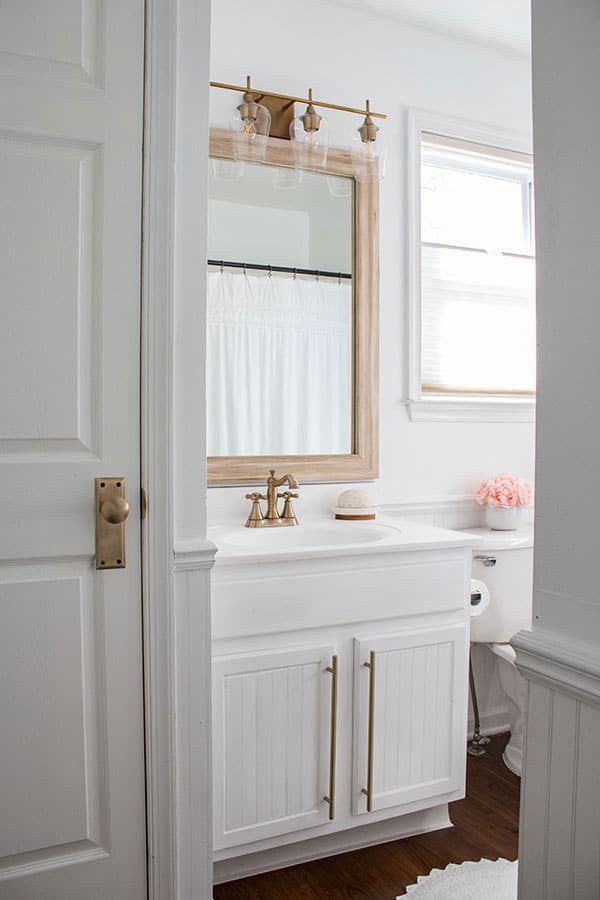
My vision for an all-white bathroom with brass accents didn’t include a budget for replacing the vanity. I’ve heard of people painting their sinks before, but I was really skeptical about trying it.
Can you paint a bathroom sink?
Yes, you can! Although I was skeptical, after thinking this over I decided to go for it. I really couldn’t live with the off-white vanity and sink throwing off the whole vision for the bathroom.
Bathroom Sink Paint
I did a ton of research and ended up choosing Rustoleum Speciality Tub and Tile (SEE THE UPDATE NEAR THE END OF THIS POST) paint for the sink and vanity top. Rustoleum had two options available for this sink paint. Option one is sold as a kit, requiring part A and part B to be mixed and painted on with a brush. Option two was a spray paint already mixed.
I chose spray paint. The reason for that was after painting my niece’s counters a few years ago (which came out beautiful) we decided to add a glaze. The glaze was one of those kits that needed to be mixed. It was difficult to use and the results were not what I was hoping for, I vowed never to use that or anything like it again.
What You Will Need*:
Rust-oleum Speciality Tub and Tile Spray Paint in White
Wet/Dry Sandpaper (I used 400 Grit)
Bleach
Soft Scrub or Comet
Preparing To Use The Sink Paint:
Remove the faucets and barricade the surround area.
Using spray paint indoors definitely presented some challenges as well. The prep needed to be really good to protect everything else in the bathroom. I went to town using plastic drop cloths to cover everything in sight around the bathroom sink. My husband had removed the faucets for me also.
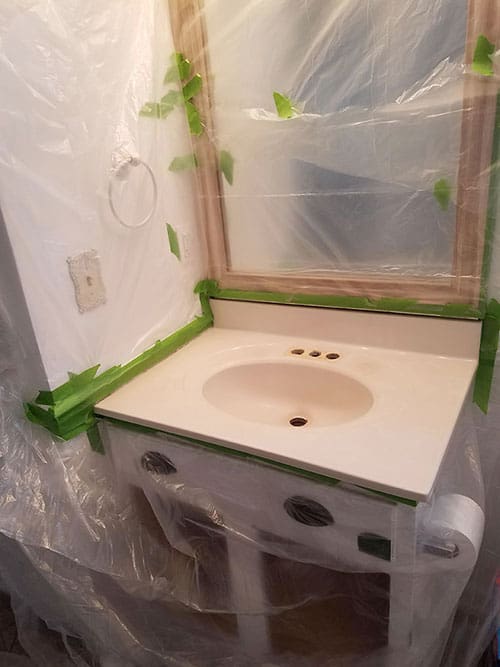
Just looking at that yellowish sink makes me cringe!
Once I had everything barricaded, I read the directions multiple times before attempting this. I followed the directions to the letter because I was really nervous about messing this one up.
Prep and Clean the Sink
If your sink has any chips or cracks, they will need to be filled in with liquid steel first. Fortunately, mine did not.
Clean the sink with a mix of bleach and water to eliminate any possible mildew. Repeat if necessary and rinse well with water. My sink didn’t appear to have any mildew, but I went ahead and did this step anyway.
Next, I cleaned the sink with an abrasive sponge and abrasive cleaner as per the directions. They suggested Comet, but I used Soft Scrub. This step is to remove all oil, soap, grease, and hard water deposits.
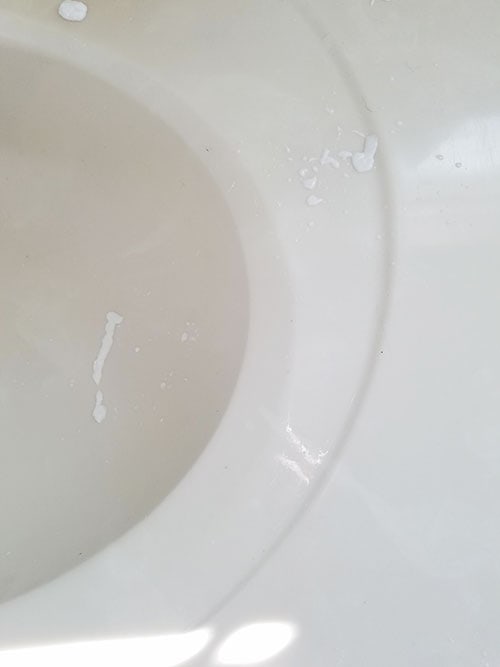
The next step says to remove all caulk and clean those areas with a non-oily solvent such as rubbing alcohol. I skipped this step completely. So maybe I didn’t follow all the directions to the letter after all. 😉
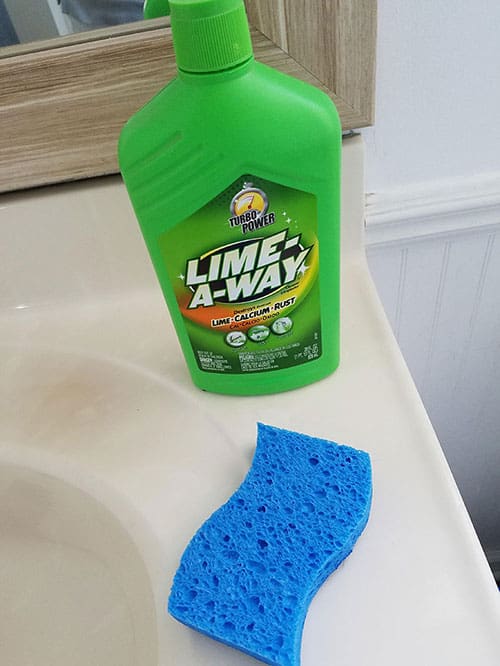
Now you’re ready to scrub it again with an abrasive pad and Lime Away. This step is to create a porous surface for better adhesion. Allow the lime away to sit on the sink for 5 minutes. Scrub the entire surface again and rinse with water.
Next up is sanding. Sand the entire surface with a wet/dry sandpaper. Rinse thoroughly with water after.
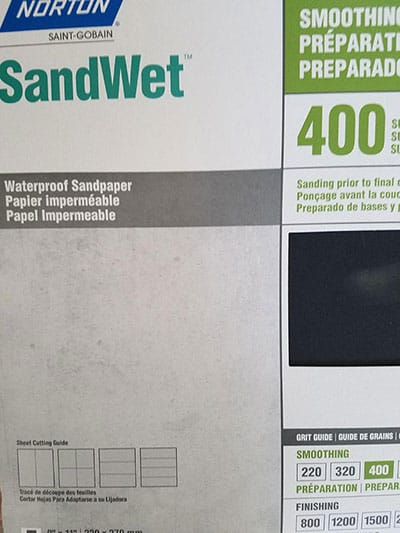
Allow the surface to dry for at least 90 minutes after this step before painting. Wipe the sink with a clean tack cloth right before painting to remove any dust.
Using the Sink Paint
The directions say to use this sink paint in a well-ventilated area and I cannot stress that enough. Also, make sure to have a mask and eye protection for this one. Admittedly, I sometimes get lazy when it comes to personal protective wear with DIY projects, but DO NOT SKIP IT ON THIS PROJECT. The fumes are horrendous. And that’s an understatement. Splurge on the better quality respirator mask for this one!
How To Paint A Bathroom Sink
You use this paint just like any other spray paint. Shake it well, hold the can 10-16″ away from the sink and spray in a steady back and forth motion. Apply 2-3 light coats letting each one dry in between for 15 minutes.
The sink paint takes 15 minutes to dry to the touch but will take 3 days to fully cure. Before you begin, be prepared to be without a sink for a time.

My Results
Though the fumes were so bad, I thought they might actually kill me I am really happy with how this turned out! The color is a perfect, pure white. The only thing that I was not fully happy with is that the sink surface isn’t perfectly smooth like it was prior to painting. It has a slight texture similar to that of a bathtub surround. Inside my sink came out even more textured, I believe because it was harder to spray evenly inside the bowl. That makes it a bit more difficult to clean now.
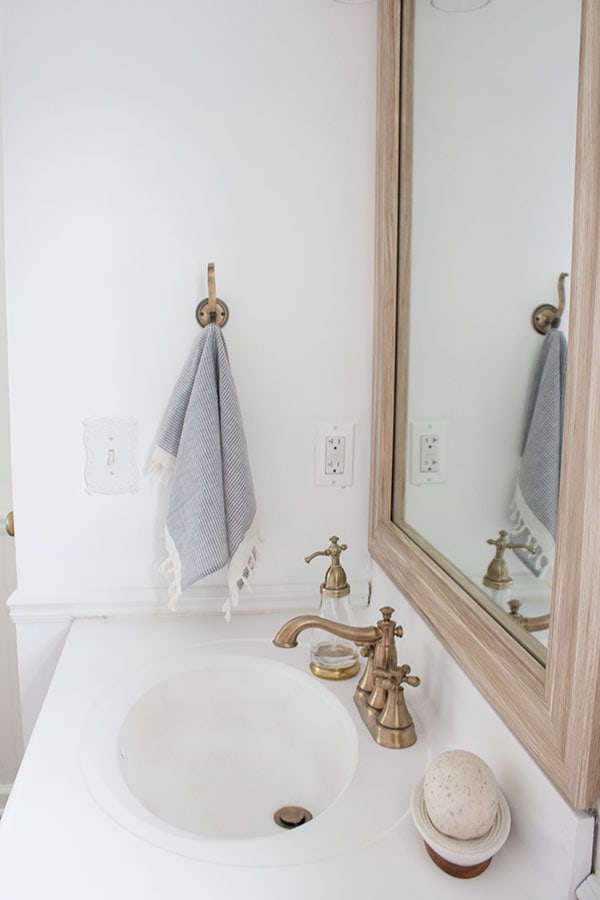
While I was using this paint I vowed to never use it again due to the fumes. However, after seeing the results, I keep looking at my off-white downstairs sink and thinking maybe I will.
2022 Update
I wanted to pop back in here to give you all an update on how this has held up. After three years, there was some fading as well as some wear. I had planned to repaint it again the same way but the product I used was no longer available.
Rather, I found this tub and tile paint and gave it a try. It was SO MUCH better than what I originally used! MUCH LESS FUMES! And it was easily applied with a simple foam brush. The finish was smoother than the first paint as well.
On a side note, I changed out the towel holder in here also since I shared it a few weeks ago.
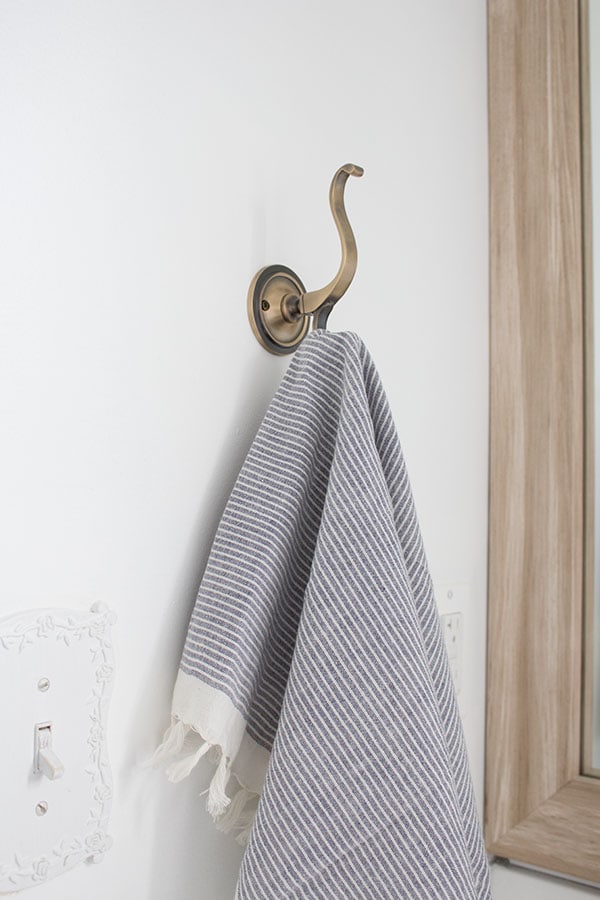
The towel holder is actually a coat hook but I love the way it looks in here. The antique brass finish matches the other metals in the bathroom.
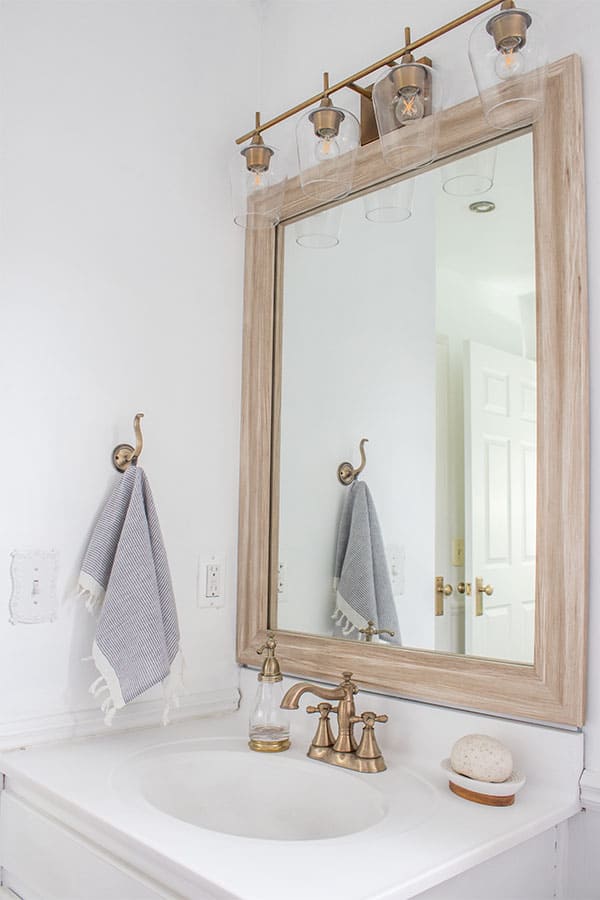
Overall, I think using sink paint is a great temporary fix to update a sink without replacing it. Whenever I paint any major elements in my home or someone else’s (for example, these painted countertops), I do it with an understanding that it’s a temporary fix until the item can be fully replaced.
Here’s a better look at the before and after. Feel free to pin this!

YOU MAY ALSO LIKE:


I’m wondering if you could sand with a very very fine grit to make it smoother? Might be worth a try. Or perhaps between layers of paint you might have sanded & wiped down? Just a thought before next sink!
I truly appreciate your DIY attitude and your willingness to try this toxic and messy product. I must say, though, that big box stores like Lowes and Home Depot have those vanity tops very reasonably priced and in many styles and colors, including pure white. I replaced an “almond” colored top with a white one on my single guest bath vanity (36″) for right at $100 and it was pretty much identical in design to yours. You’re a better woman than me for doing it the way you did, that’s for sure.
Fantastic! Now if they only had something like this for faucets. That is something I could use.
You can spray paint faucets! Several YouTube videos on how to do it! Start with sanding, then prime with Rustoleum Automotive spray primer, then spray Rustoleum metallic spray paint followed with a spray clear coat! I am getting ready to try it!
Thanks for sharing! I’d love to hear how that turns out!
What material is your sink made of? Is it porcelain? Would this work on other materials? My sink & counter are some weird composite type stuff from the 80’s.
My sink is porcelain, I’m not sure if it would work on a composite. I would recommend contacting the manufacturer before trying that.
What was the name of the second product used?
It looks beautiful! Well done. I am planning on doing this for my daughter’s 1948 PINK bathroom. Wish me luck!
Good luck, let me know how it turns out!
Looks great. Can you share info on the light fixture and mirror?
Thanks.
Thank you, Marcela. You can find the light fixture here: https://rstyle.me/+MJrpYH65byNVjW_SAHVlVA and more info on the mirror here: https://thehoneycombhome.com/white-bathroom-with-brass-accents-sponsored/.
What color is your faucet? Did you use rustoleum? I like the brownish color
Our faucet color is antique bronze and the paint was Rustoleum.
Once you are done with the spray paint, do you put on a top coat of anything?
Hi Hillary. No, I did not.
What do you use to clean it? I jist did my sink and with it being rough i am not aure how to clean it.
I have this same light fixture and faUcet in my bathroom and stRuggled with fiNdinG a coordinating soap dispenser. I love yours! WhEre did you get it?
I found the soap dispenser at Home Goods!
Awesome tutorial.! How long does the smell stay in the house? I have cats and a daughter and the hall bathroom has no windows and it is in the middle of the house. A real pain. Im going to have to put multiple fans, leading to A window or door. however is it safe?
Getting ready to paint mine and this is the best tutorial!
I was wondering how it is holding up?
Overall, pretty well. I had some chipping right around the drain but I think it was because I scrubbed it too hard when cleaning.
I just finished my sink and The entire countertop is not smooth. I thought it woUld Be similar to The wAy it was prior to PAINTING it. Any SUGGESTIONS? Should i put A top c0at of SOMETHING on it or sand it and start over? So Bummed
Same here….followed directions ….took my time, I used a liquid paint Rust-Oleum for sinks and tubs…cleaned, sanded, cleaned again…it has a slight gritty look….some streaks too…will wait 72 hours and see if it cures better. But, can you resend and re-coat???
I haven’t tried sanding mine, but you could certainly try! Good luck!
I like how you put together your oak mirror, brass lighting, faucet on the sink and door. Im curious to what you have as. your shower fixtures. Any pics.
Also my pedestal sink has a small chip. I’m thinking of fixing the chip and spray painting. Did you spray very light coats.
Thanks, Candace
I have the same sink issue and want mine white too. I’ve been researching for over 2 hours and came up with some good tips. I have a plastic sink but anyone can research “can you paint a sink” and you can go from there. Everything from stainless steel and acrylic to fiberglass and plastic etc. Most say the same thing, clean and sand, tape and cover what you don’t want to get paint on and be sure to wipe all the sand out of the sink with damp cloth. Some recommend 2 coats primer (dry between coats) and then paint several thin coats, drying between. Then using a satin or semigloss sealer to protect the paint. Do not use the sink for AT Least 24 hours. My vanity is not a standard size, as I did try to find a replacement too. I will have to go the DIY if I want the white sink. I think your sink looks great. Hope mine turns out that nice.
Curious as to how the new product (RTG) is holding up on your sink. (some of the Amazon reviews arent the greatest)
So far, so good. It’s been over a month now since I painted it.
I have an old bathroom from the ’70s. The sink is plastic. I couldn’t tell you if it’s the old harvest gold that’s faded or if it’s supposed to be cream and just turned really yellow with age.
I was wondering if the Rust-Oleum paint for plastic outdoor furniture might be an option for the physical sink since it is going to be exposed to water. The paint comes in a variety of colors, is weather resistant, and has a high gloss finish.
Thanks!
That’s an interesting idea! I am not sure, I would ask the company directly but I believe anytime you’re painting something such as sinks you have to expect that over time it’s likely going to chip. I think of it as a temporary fix until I can upgrade the vanity. Hope that helps!
Does it matter what material your vanity top is? I think ours is older than me but it’s certainly not porcelain.
I’m not sure but you could contact the manufacturer and ask.
I was wondering when you redid the coating on your sink, how did you prep the existing coating. Did you go right over it or have to remove the existing coating or simply repeat what & how you had initially prepped for the 1st time you did a coating? Thank you so much!!