Textured Wall Art DIY
A while back I was scrolling on Instagram when I noticed a beautiful canvas wall art painting from one of my favorite designers, Studio McGee. I clicked over to see the price of that piece of art and my jaw dropped when I saw it sold for OVER $1,000!
Yikes!
But I couldn’t get that painting out of my mind. There was no way I could buy it, but when I looked at it again I realized this could be an easy DIY.
After a little research, I found a product called Fresco that is specifically made to add texture to paint. It was like the universe was telling me I really could make textured art myself!
So that’s just what I did.
You guys, this one is really easy. And fun!
Supplies Needed To Make Textured Wall Art
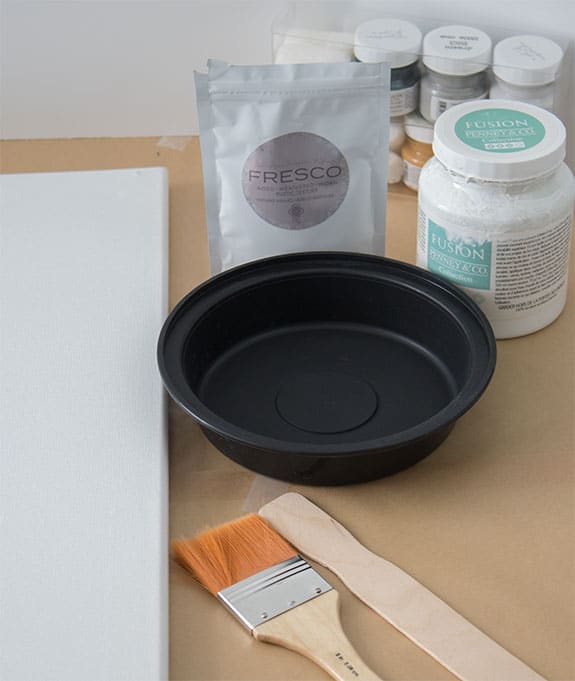
- Canvas (I used size 18 X 24)
- Fresco
- White Paint – Picket Fence
- Gray Paint- Little Lamb
- Paint Brush – (I like these and always keep some on hand)
- Wood for the frame (optional) – or Frames for Canvas
The Fresco is what is going to give you the texture. You can use any paint you like. You can even save money by using leftover wall paint if you have some.
I should mention here, that I made my art in a smaller size than the inspiration piece because I had a very specific spot in mind to hang it. However, this is a great way to get large-scale wall decor at a bargain price!
Canvases come in all shapes and sizes so it’s easy to get your perfect size. Another idea is to buy inexpensive art from the thrift store and paint over it. Start by painting the entire piece a solid color and go from there!
If you go that route and purchase something already framed, you can simply use painter’s tape to protect the frame while painting.
How TO Make Textured Wall Art DIY
There are several different ways to get this textured painting look, such as using drywall mud. However, I have found adding this one simple product to your paint is the easiest way!
prepare your textured paint
The first step is to begin by adding the Fresco to your chosen paint color. The Fresco is what is going to give you the textured look.
How much of it you use is really up to you, it depends on how much texture you want. The more you add, the more texture it will create. For lots of texture, mix equal amounts.
Mix it well.
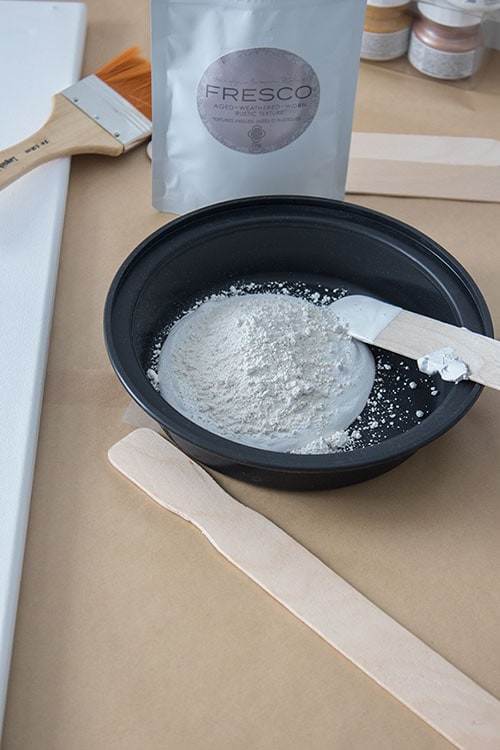
I started with less and added more as I worked to create the right texture for me. It’s a good idea to begin with a thin layer because you can always add more as needed.
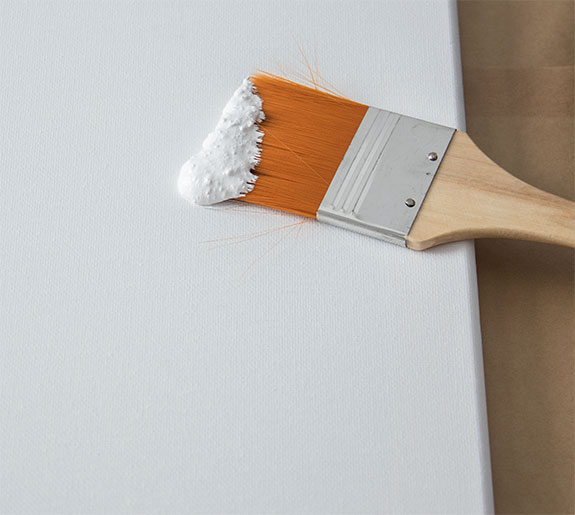
Next, is the fun part. Brush the textured paint onto your canvas. This is one instance where you actually want to see brush strokes, it adds to the texture.
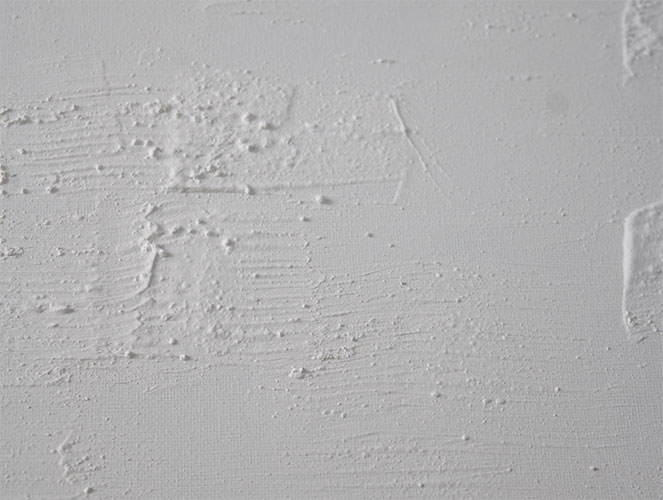
To create more patterns, I held the paint brush perpendicular to the canvas and dabbed more of the mixture onto the canvas that way.
There is no wrong way to do this, you are your own Picasso. Have fun and experiment with different looks.
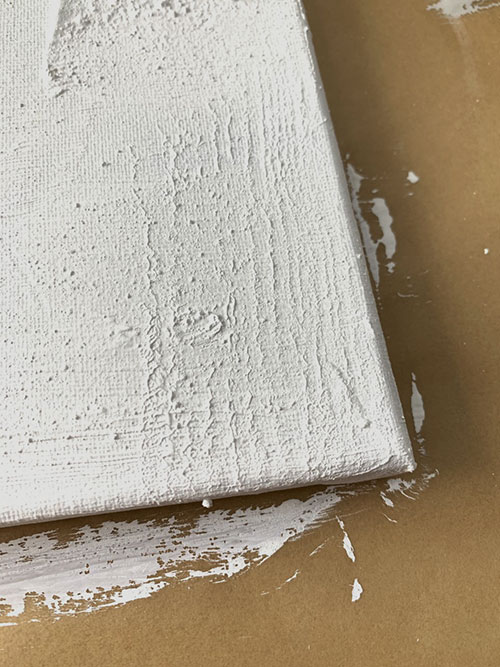
add more texture and depth
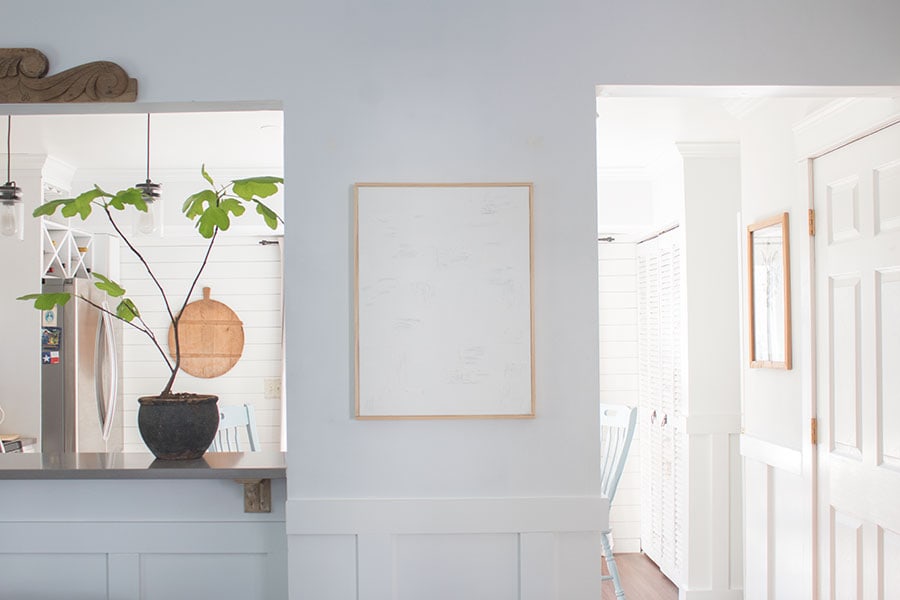
Side note: once I had this finished and on my wall, I realized that unless you were close to it, it looked like a blank canvas. That was obviously due to using only white paint.
Surprisingly, my husband didn’t make fun of me for this one, he said he “gets it”.
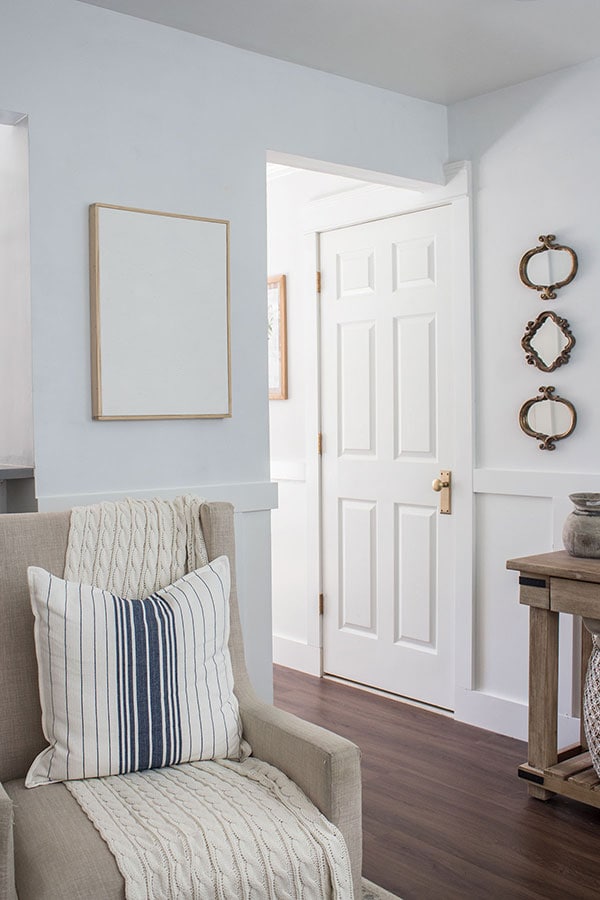
But it bothered me, so I took it down and added more texture. Even if the paint has already dried you can go back and add more.
I also shaded the edges of the textured areas with gray paint using a fine paintbrush. I did this to create shadows and depth.
A little went a long way.
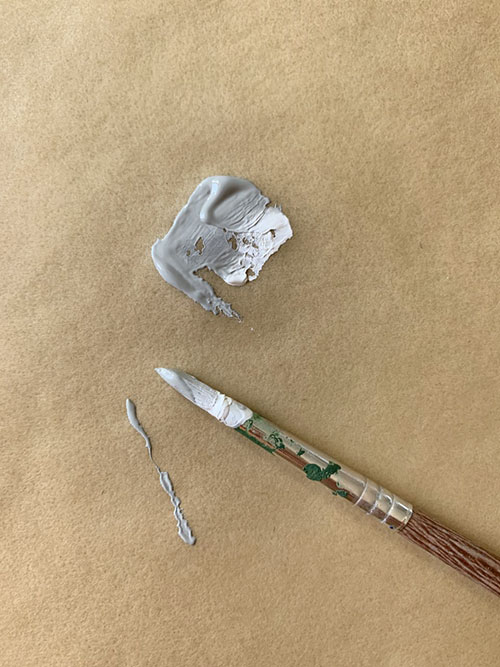
Here you can see how it looks with some gray shading added.
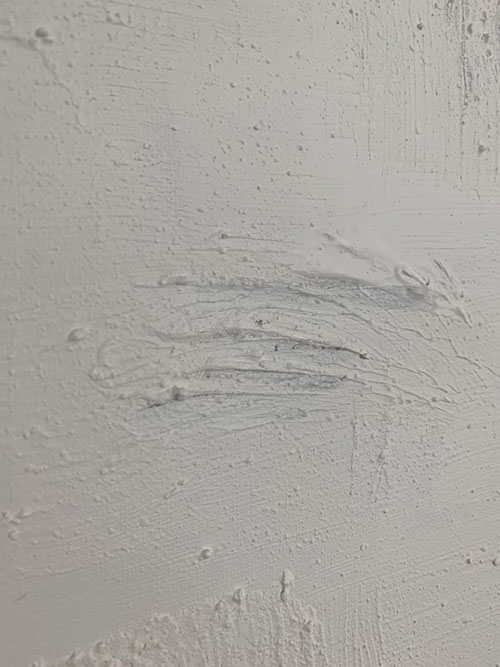
It’s just enough to make the texture stand out more.
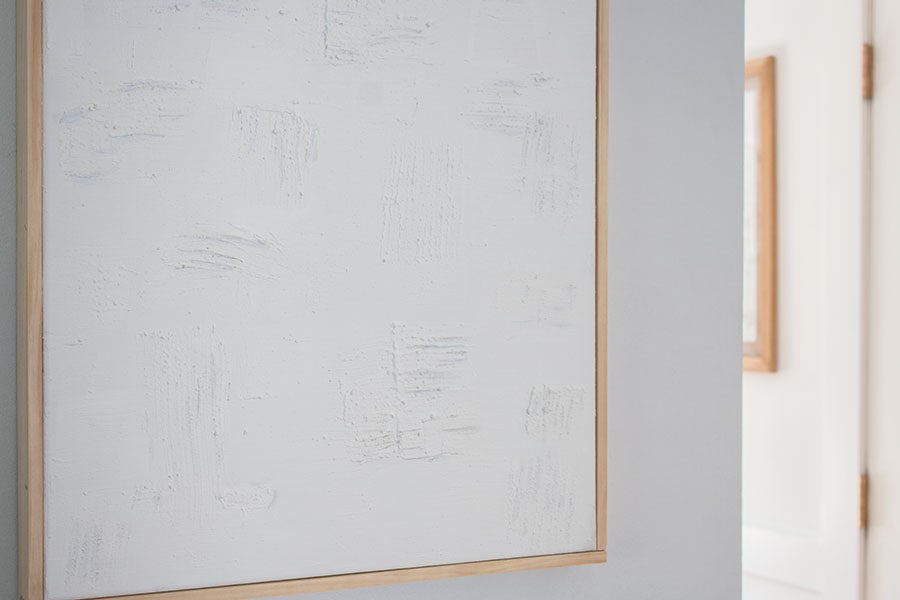
That was all it took to make it more visible from across the room. For a big impact, you can use contrasting colors on your background and texture. Or go bold with your color and try black paint.
I like the all-white, it’s very Leanne Ford style.
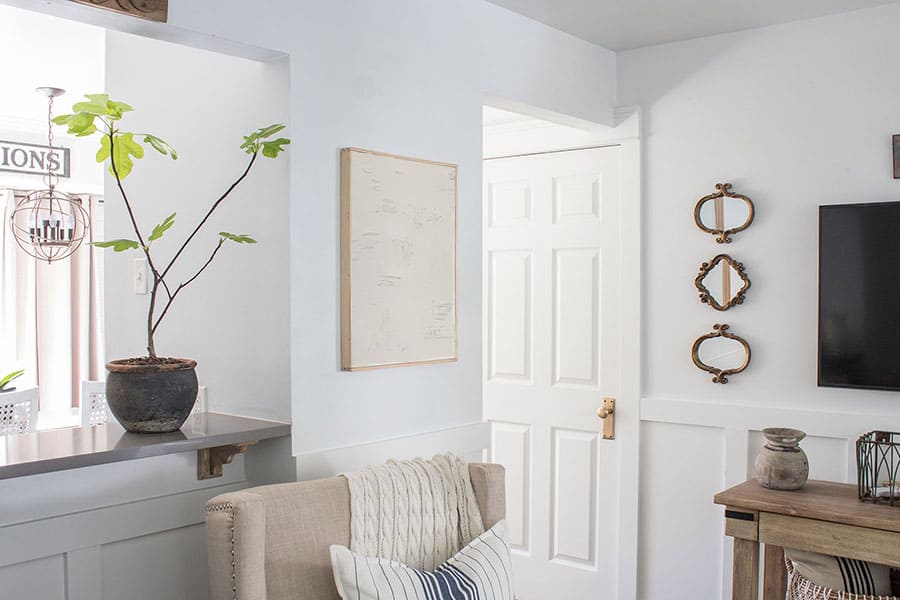
How To Frame A Canvas Painting
The last step is to frame your piece of artwork if preferred. I felt my canvas wall art wouldn’t be complete without a frame.
First, I tried buying a framing kit online but sizes are very limited in those. So I went to Home Depot with my husband and we picked out some thin wood.
My husband cut the wood for me into four pieces to fit my canvas. I did not want angled corners, I wanted them to be straight and flush.
He then used his nail gun to attach the wood to the canvas for me.
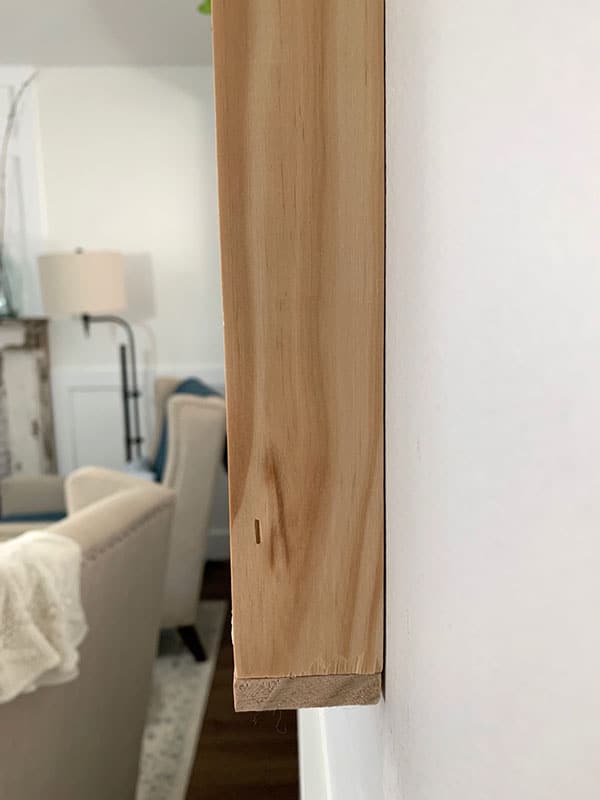
If you don’t have a saw available, you can have the guys at Home Depot cut the wood to your dimensions. That is what I usually do.
For now, I liked the look of the unfinished wood with the white canvas painting so I didn’t paint it or stain it. I can always do so later if I change my mind.
How TO Frame Canvas The Easy Way
If you don’t want to make your own canvas frame, there are two other easy options.
One is to buy inexpensive framed art from thrift stores or yard sales (as mentioned earlier) and paint over the old art with white primer. You could even buy a piece of framed art on clearance at Home Goods or Marshalls and use that.
Or you can buy already-made frames for canvas here. These make it easy to simply pop your DIY textured wall art right into the frame. Just match the frame size to your canvas size and you’re good!
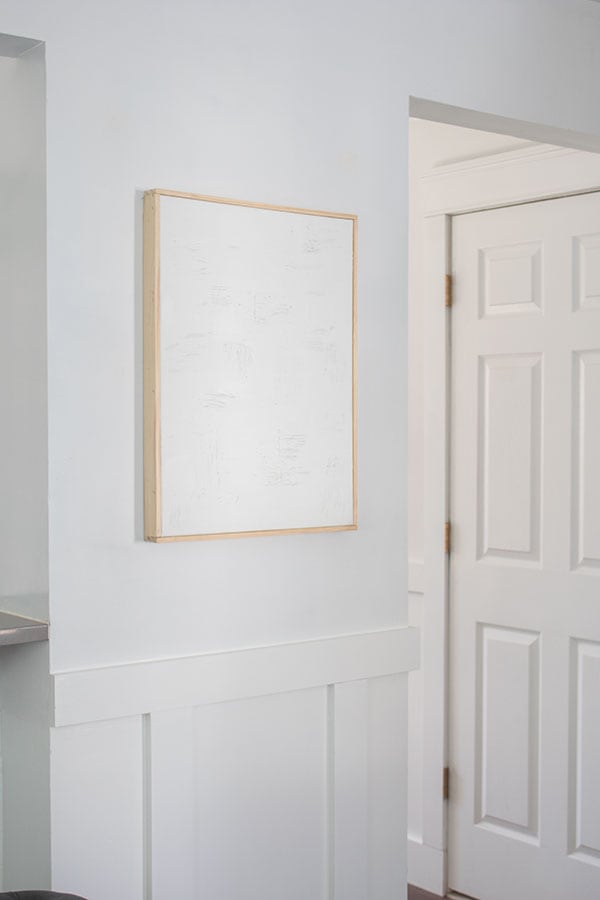
For an easy DIY project, I am really happy with the end result! And so is my pocketbook!
If you liked this textured wall art DIY idea, then you should check out my DIY laser-cut paper wall art, which is also full of texture!
MORE WALL ART IDEAS FOR YOUR HOME:

Hi Roxanne! i always get so excited to get your blog in my inbox. really i am. this was a great idea. i wish you would have added your inspiration picture. this is a great idea! thank you for sharing
Thank you, Cheryl. I’m so glad you liked it! 🙂