DIY NO Sew Curtains How To
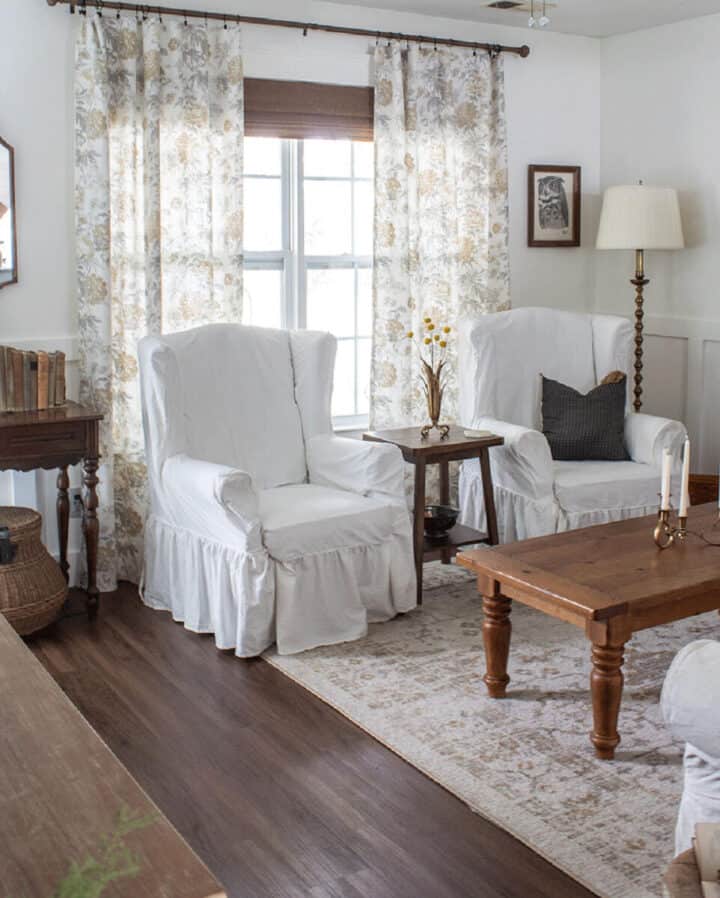
How to make your own DIY no sew curtains the EASY WAY, which gives you the option to choose any fabric you like AND save money!
Have you ever wondered how to make curtains without sewing? I’ve done it several times now and I love it because it gives me so much more fabric options!
It’s also a great way to get custom window treatments on a budget!
supplies Needed for DIY no sew curtains
- Fabric (6 yards for two curtain panels)
- Heat n Bond
- Curtain Clips
- Scissors
- Iron
- Ruler or Tape Measure
For months, I’ve been searching for curtains to hang in my living room. I really wanted something with a pattern, preferably floral. We had striped curtains hanging in here for a bit, but I’m really not into stripes.
I was having difficulty finding anything I liked at all, especially in a pattern I liked at a price that wasn’t outrageous.
Finally, I started looking at fabrics to make them myself. I had made my own no-sew curtains before and it’s not difficult.
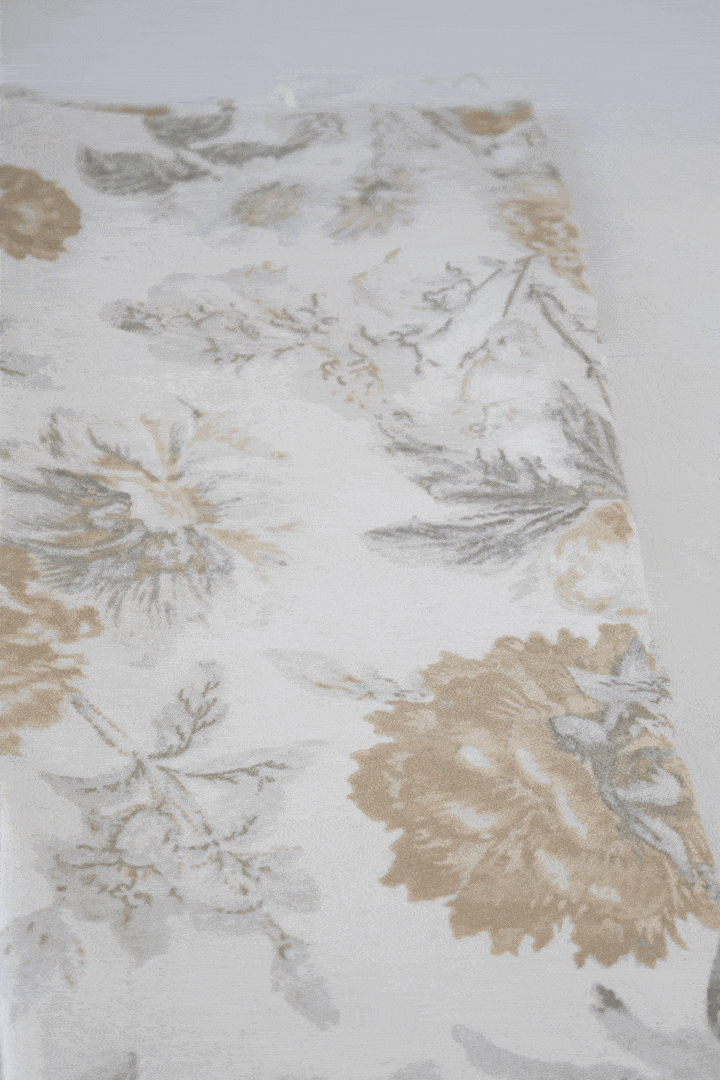
The color combination in this fabric caught my eye so I ordered a sample. I really liked it in person so I ordered 6 yards of fabric to make two curtain panels. This particular fabric is 54″ wide (which I think is standard).
That amount is enough to cover my double living room windows and still allow some gathering. You’ll want a bit of excess fabric in the width for a fuller look.
calculating curtain length the easy way!
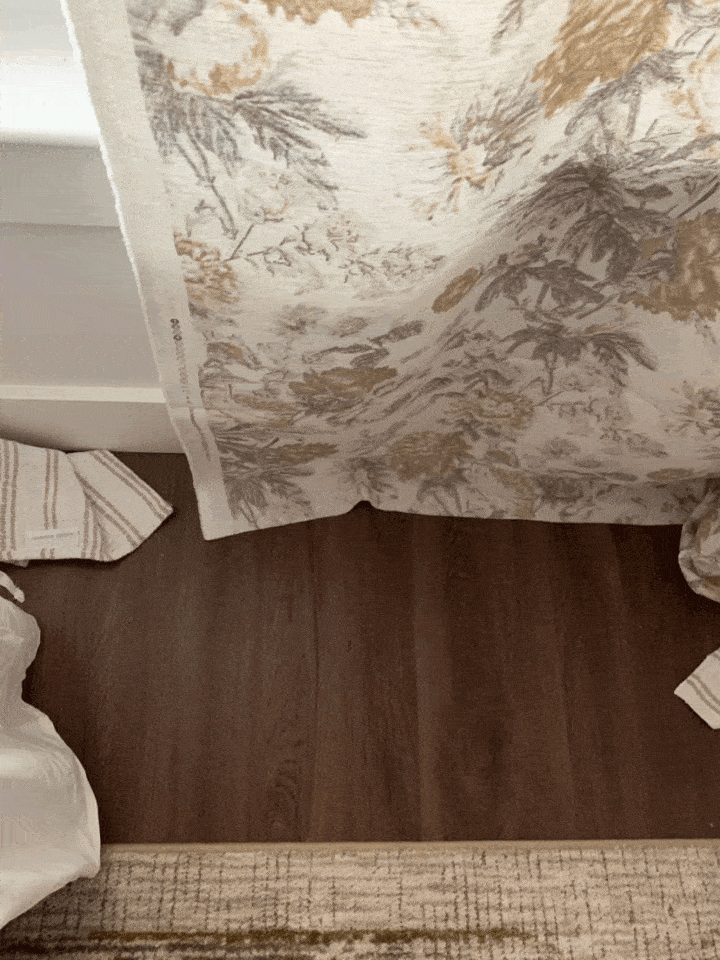
The first thing I did with my fabric was to open it up and hang it from my curtain rings. I wanted to get a better visual on the length of the fabric and this is the easiest way I’ve found to to do this.
Also worth noting is that curtain ring clips come in different sizes so be sure they are large enough to easily slide over your curtain rod.
Once you have the fabric hanging, the next step is to estimate the length of the bottom hem. Mark them about 2-3 inches below where you want the bottom of your curtains to stop.
If you like a larger hem, add a few extra inches at this step.
I didn’t have any straight pins so I literally just used a clip to mark the end. Then I cut the fabric. Don’t worry about cutting a straight line for this part. This is a rough cut because you’ll go back and hem this part last.
how to make curtains without sewing

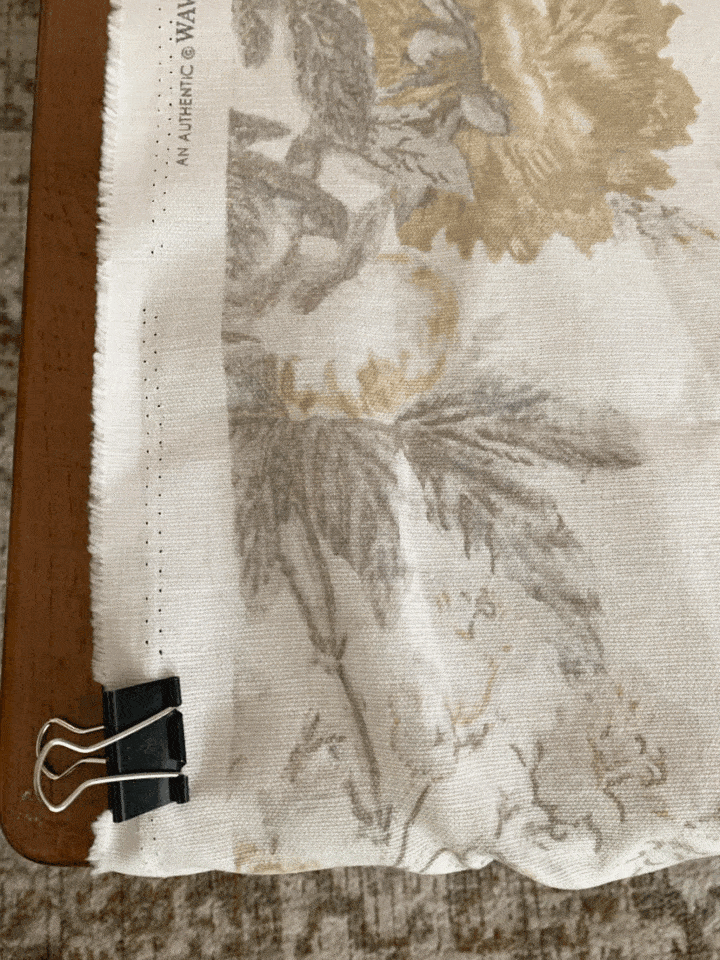
If, like me, you don’t know your way around a sewing machine, Heat n Bond is your new best friend! Heat n Bond is an adhesive hem tape that is activated with a hot iron. It creates a permanent bond when used on fabric.
It comes in a bunch of different sizes. I like the wider tape for more durability. However, I ran out and ended up using the thinner tape. With the thinner tape, I used two rows instead of one to be sure the fabric was secure.
Also, some Heat n Bond have paper backing and some don’t. Read the directions on the package so you know which type you have, it slightly alters the way you iron it.
To make my curtains, first I hemmed the top. I cut a little notch out of the corner first so that corner won’t be too bulky when I go back to hem the sides of each panel.
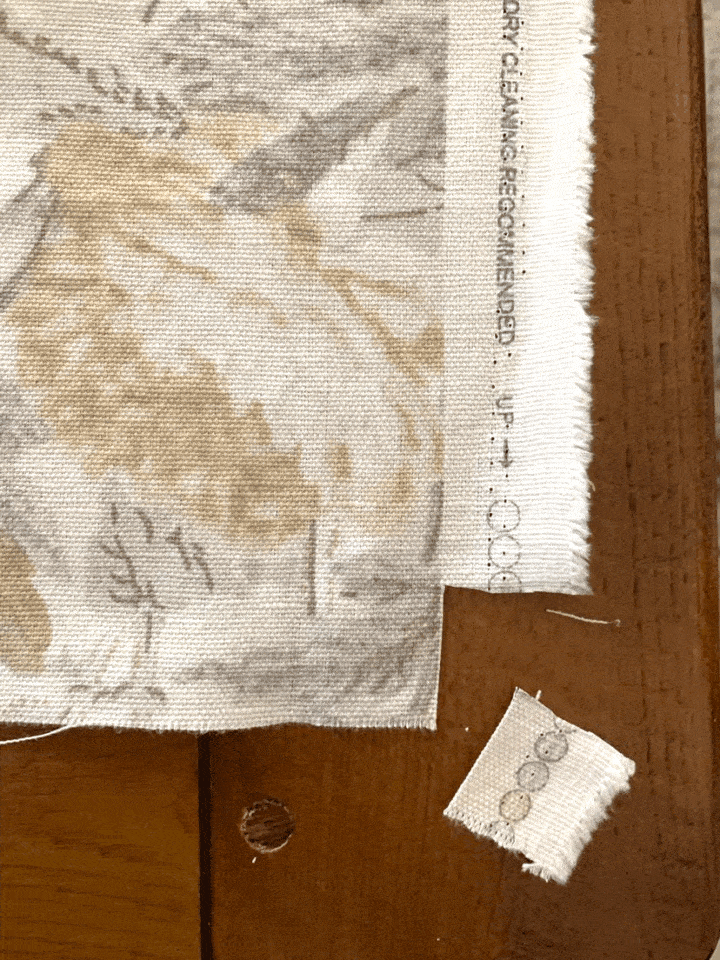
Before I used the bonding material, I folded the fabric where I wanted the top hem. Then, I went over that folded edge with an iron to create the crease. This was my guide for placing the hemming tape. Be sure to do this on a flat surface.
Here I used the wider Heat n Bond with paper backing. To use this, you place it inside the folded edge. With the fabric folded over the bonding press on it with a hot iron. This will adhere the bonding to the fabric.
Next, remove the paper backing, fold the fabric over again, and iron a second time. Now your fabric will be bonded together.
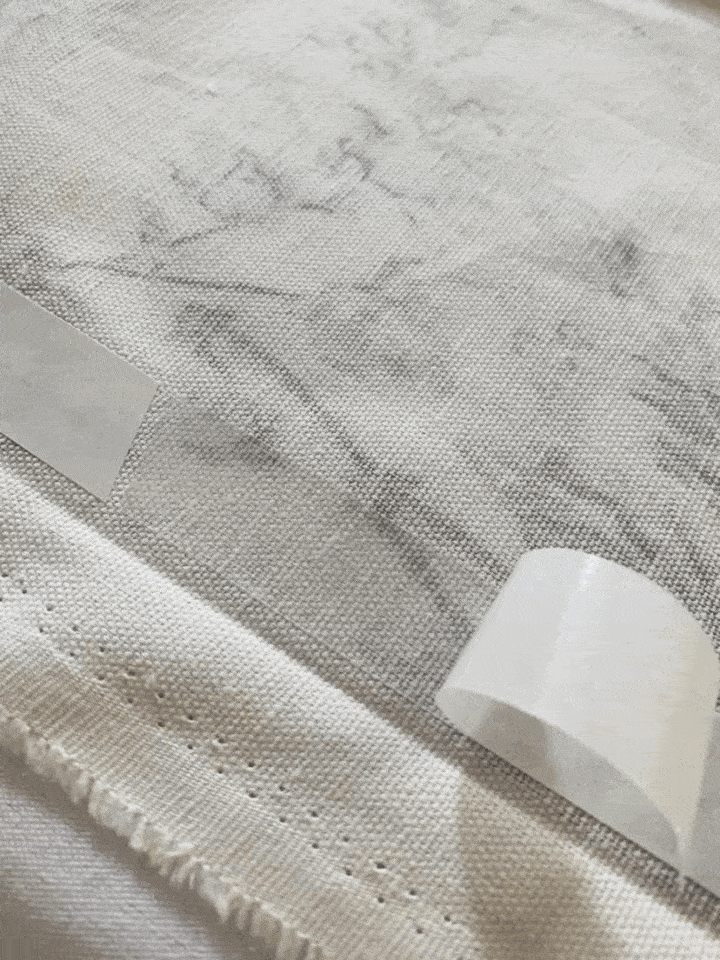
After I did the top hem, I went back and did each side hem the same way. It’s that easy.
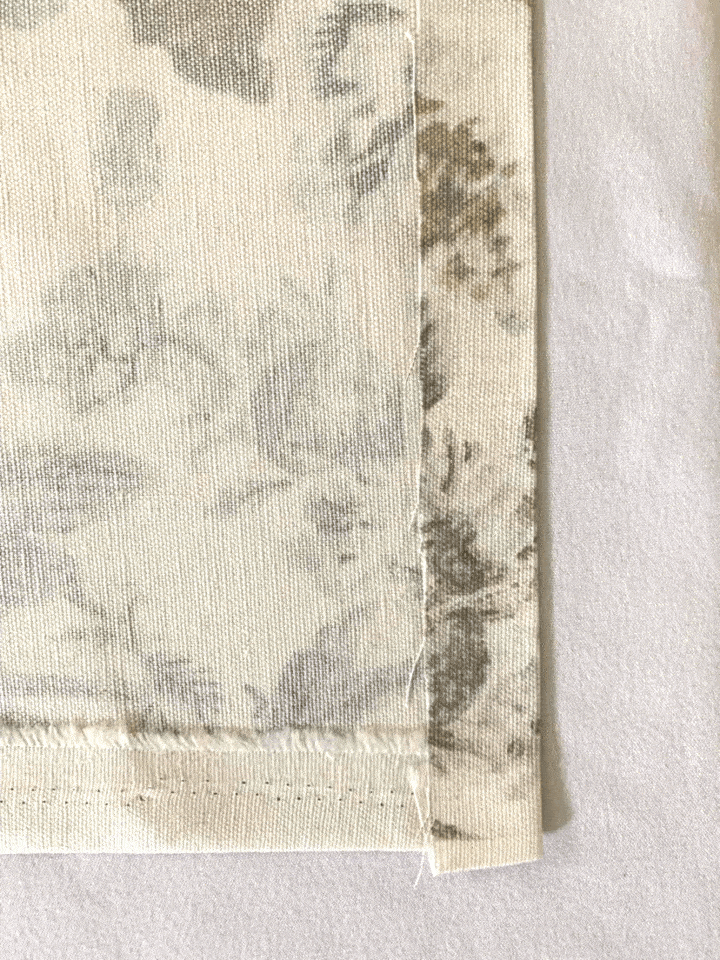
how to hem your DIY no sew curtains
Once I had the top and sides finished, I hung my fabric again using the curtain clips to check my length.

Mark the bottom of your curtains exactly where you want the fabric to hit the floor. You can simply use a pin, a clip, or whatever you have handy to mark that spot on your fabric.
Then I removed the curtains and hemmed the bottom edge of the fabric with the Heat n Bond exactly as I did the top and sides.
Using the curtain clips to hang no-sew curtains makes this so easy. You don’t have to worry about creating a rod pocket. Also, if your hem is slightly off anywhere you can adjust the fabric from the top and no one will ever know!
is it cheaper to sew my own curtains?

Is it cheaper to sew your own than to buy new curtains? Maybe.
It depends on your fabric. Obviously, you can splurge and buy a high-quality fabric or you can save money and buy something less expensive. You can even make curtains out of sheets or drop cloths if you like!
But keep in mind sheets would be closer to sheer curtains which may not be great in a master bedroom or anywhere you would want more privacy. I usually prefer a heavier-weight fabric for curtains.
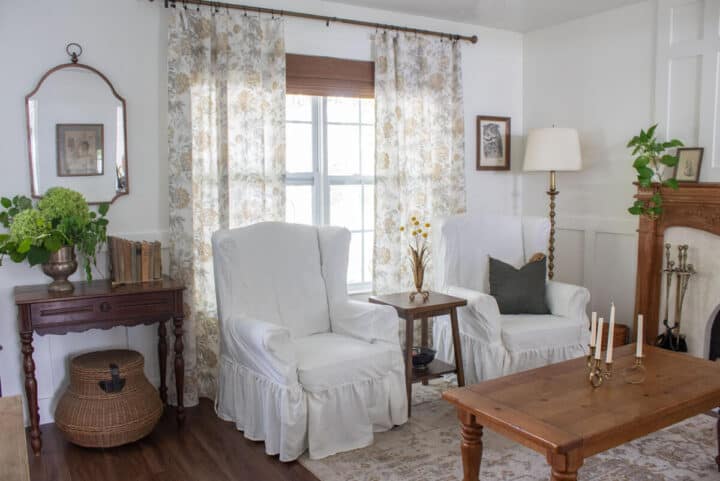
Here are the finished curtains in my living room. A pop of pattern is just what this room needed! I love the color with my bamboo blinds.
As you can see with a little time spent following these simple steps you can create your own custom curtains to create a look that suits your personal preference!
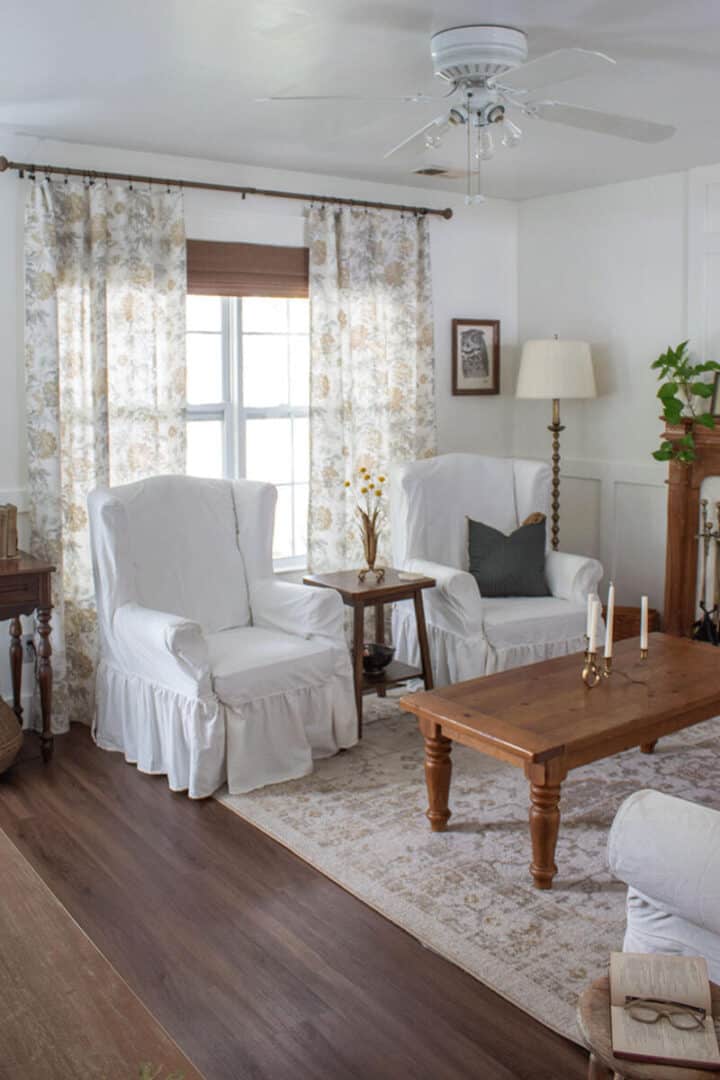
Recently, I covered my two wingback chairs with white slipcovers. They were really looking shabby so until I can get something else in here I opted to cover them up.

And here is a cool little vintage vase I found a while ago. I had these yellow flowers left over from one of my Trader Joe’s arrangements. They live forever without any water! I thought they were a fun pop of color with the floral curtains.
Fabric For DIY Curtains
Here are a few of the pretty fabrics I found while looking.
FAQ’s About DIY No-Sew Curtains
YOU MAY ALSO LIKE:


Your curtains look great! Thank-you for the easy tutorial. I may use it to alter some ready-made drapes found on Marketplace. You do the neutral look so well. That vase is outstanding. Did you have the slipcovers made?
Thank you so much, Ruth. I bought the slipcovers online: https://amzn.to/44VJ7vJ . They’re not a perfect fit (a little big) but they work for now until I replace the chairs!
The drapes look lovely and add a lot. That sweet vase is enviable.
Thank you, Pamela. The vase was a lucky find for sure!
These look wonderful! Thanks for posting the tutorial. How far apart did you space the clips?
Thanks for sharing. Love your curtains and especially the baskets hanging over the windows.
They look so good. You are so creative. Good tips
Thanks Laura!
Beautiful! Do you have a link for the actual fabric you used. It’s beautiful