DIY Table Makeover-Adding Nailhead Trim to a Wood Table
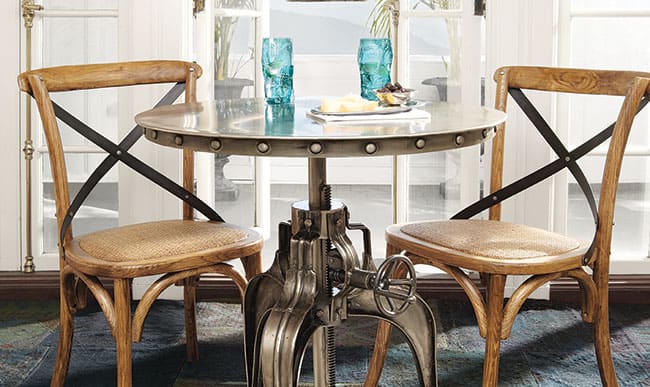
When furnishing our garage turned family room, I knew I wanted a round table with some chairs in there, which is what sparked my DIY table makeover. This way the room could double as extra dining space as well, or as desk space. I had my eye on the Weston Crank Bistro table from Arhaus furniture for a while.
Weston Crank Bistro table from Arhaus.
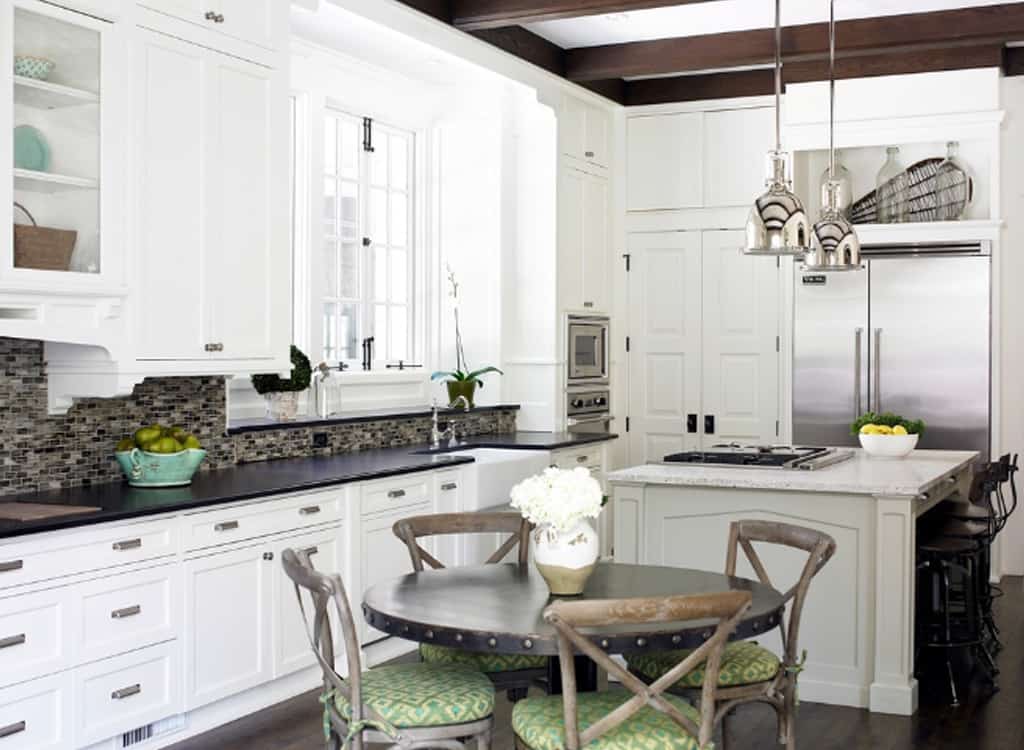
I really love that table. However it was too small for my space and the price was more than I wanted to spend. It was definitely the right style. I also found another amazing table featured on Houzz, that I liked even better. This one comes from a company called industrial-chic, and I believe it’s to the trade only. This is kitchen is by Interior Designer Brain Watford. Image via Houzz.
Find a Table
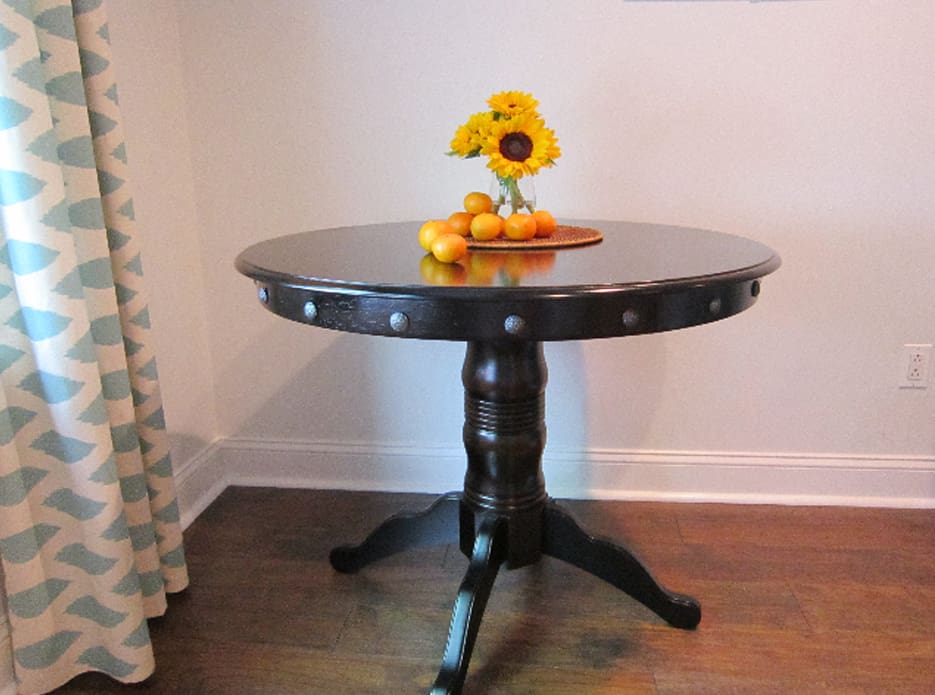
I found a similar table at Pier 1. I chose this one not only because it was the right size (38″ diameter) but also because it had the flat side panels. I knew I’d eventually add the nailhead trim to the side. I can no longer find this exact size on the Pier 1 website but they have similar tables here and here.

The chairs in the photo above are pulled from my kitchen for now, until I am able to buy the ones I really want. (Update, the chairs got a makeover too, see those here).
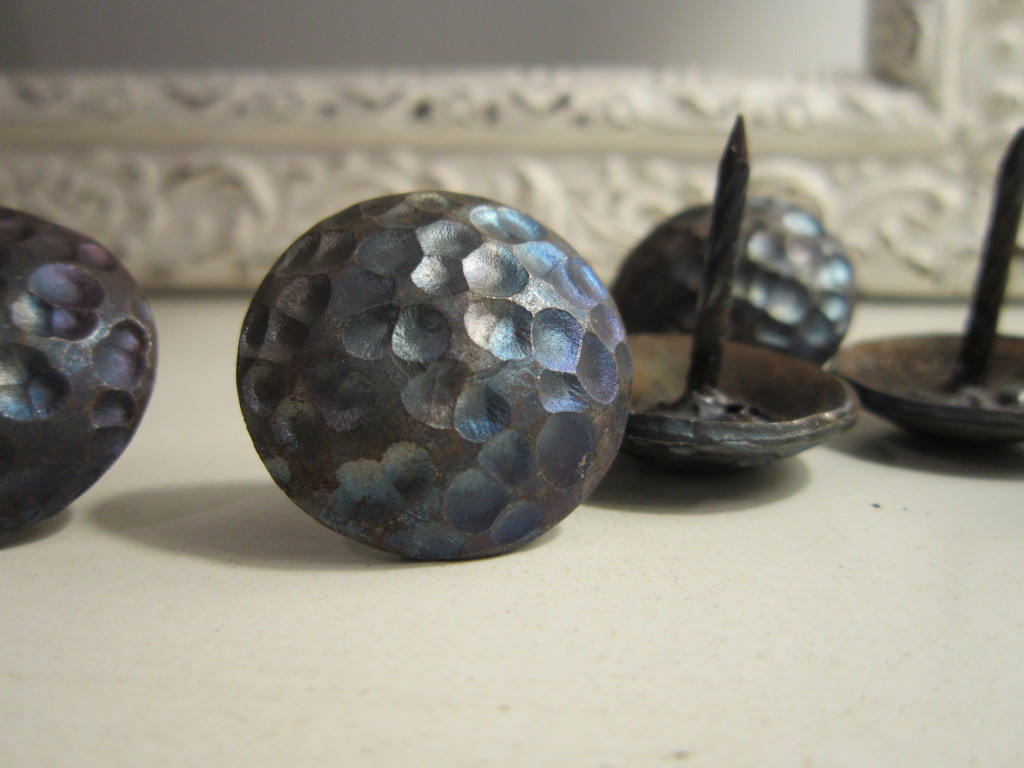
Choose Nailhead Trim
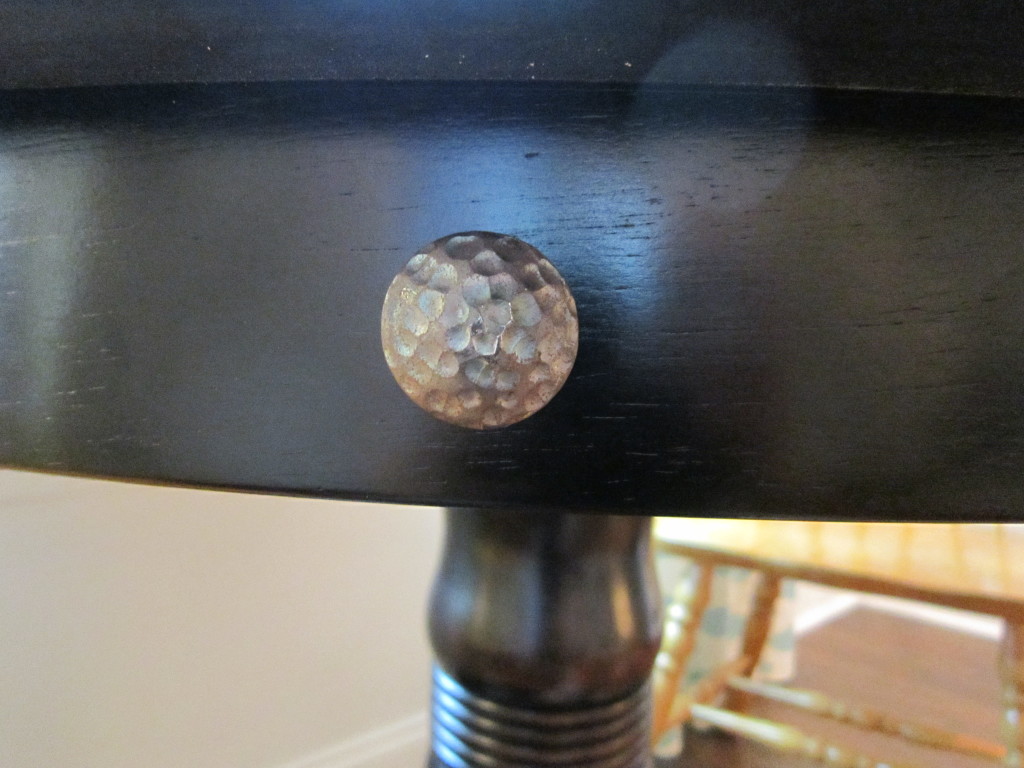
I found some larger sized nailheads on Ebay that were perfect. They are 1″ in diameter. I love the hammered metal finish on these. I found a very similar option here.
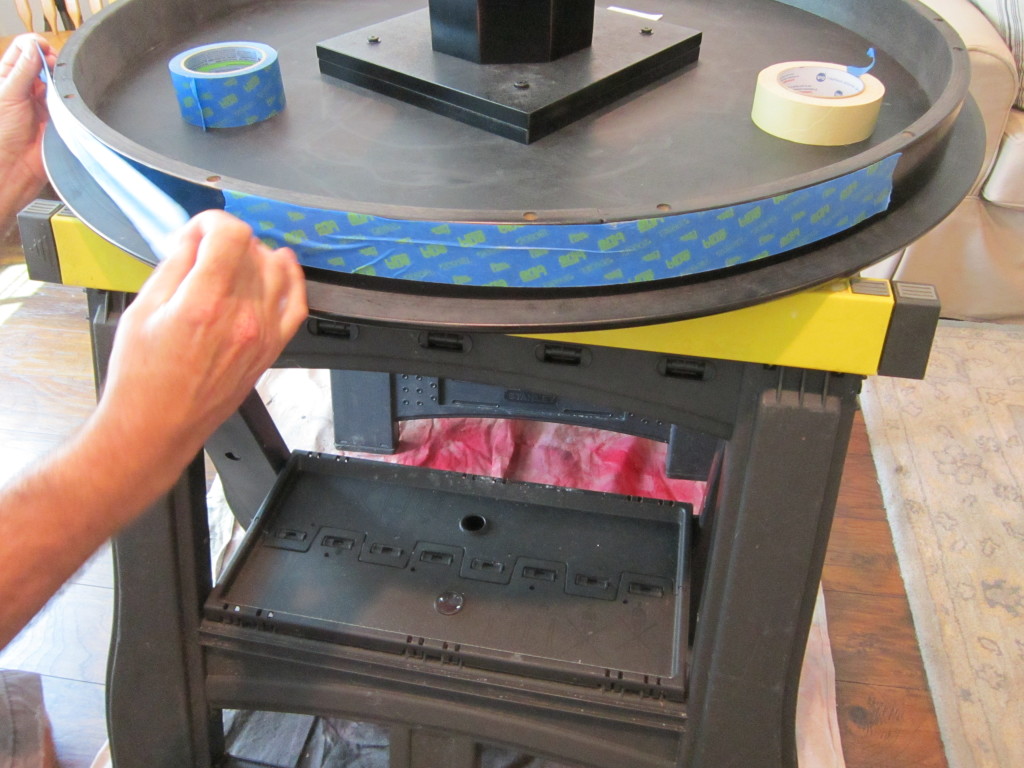
Prep the Table
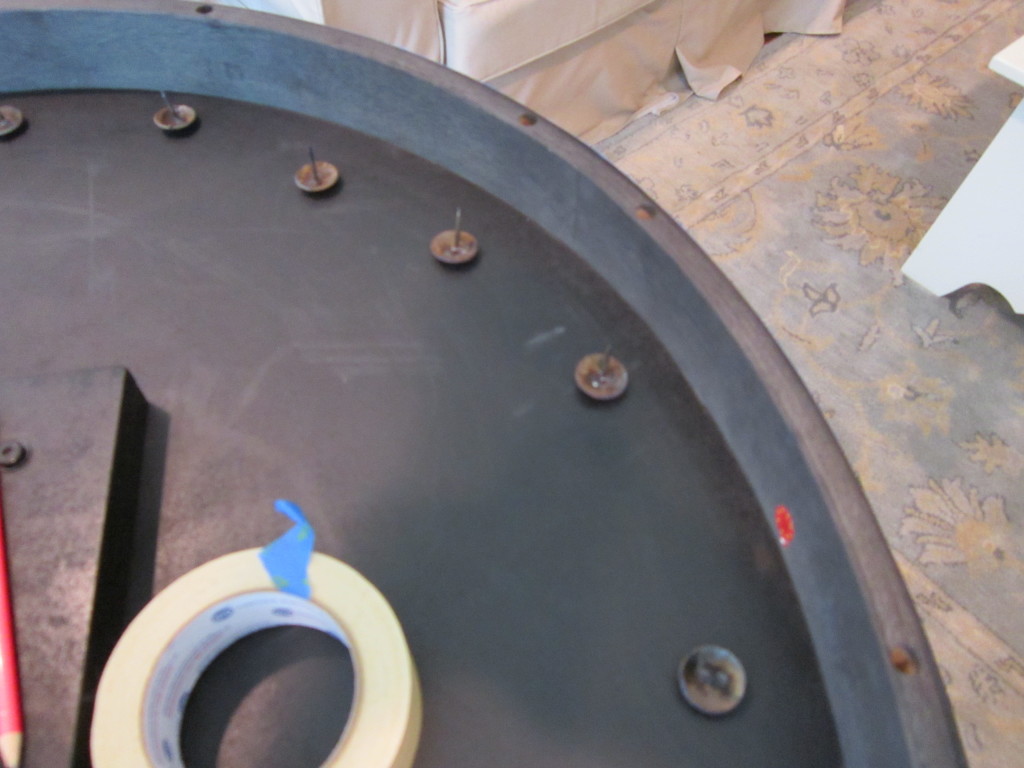
The first thing we did was turn the table upside down for easier access. Then John taped around it with painters tape so we wouldn’t scratch or chip the finish while working on it.
Then I placed the nailheads around the table to get an idea of spacing. We really didn’t do any exact measuring, we just eyed it. I had 25 nails to work with and the table is 38″ in diameter. We ended up placing them every 6″, and I had a few leftover.
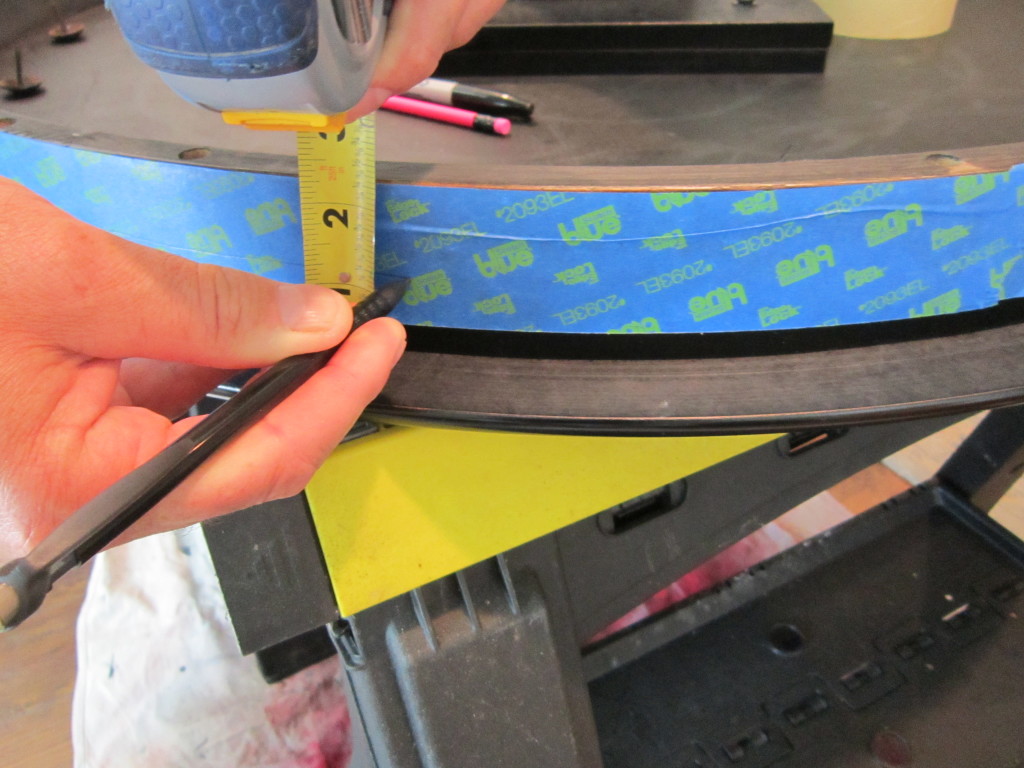
Measure and Mark
Next, we measured and marked the height where each nail would go.
Notch the Holes
After we had our spots marked, John used a hole punch to notch each spot. The purpose of this is so that the drill doesn’t slide. In the spirit of full disclosure, we messed up here a little bit. We actually made our hole punches too close together before realizing we wouldn’t have enough nails if we placed them like that. Because the nails were from Ebay, I couldn’t order additional. So we have a few more holes punched than we should have.
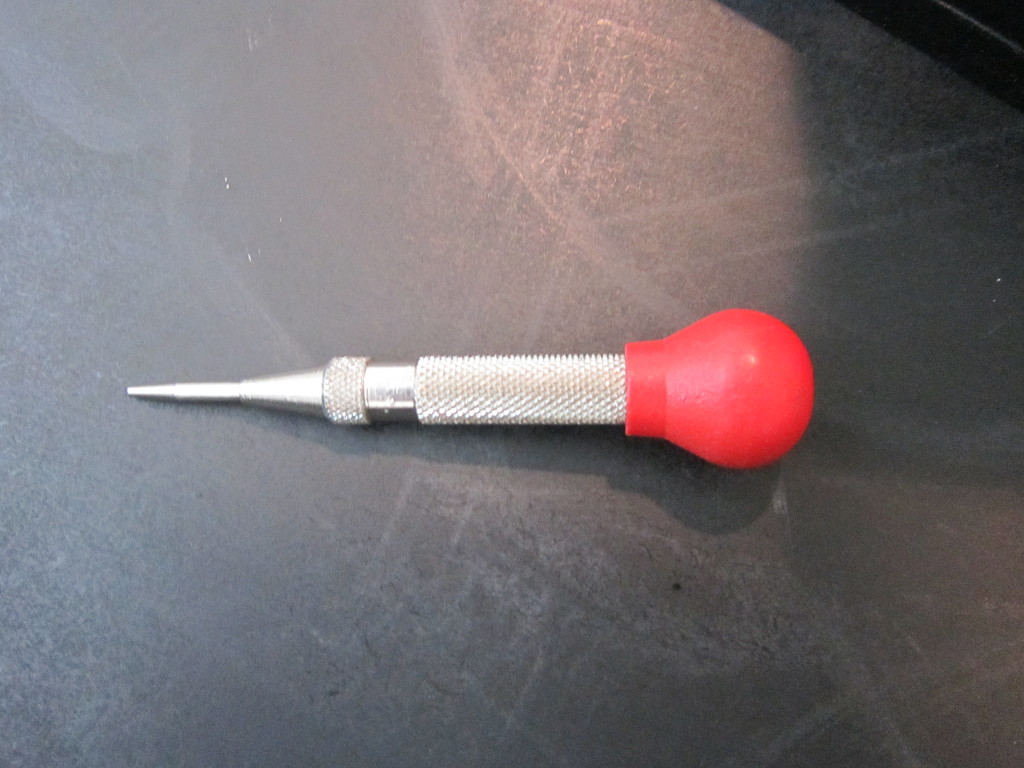

Drill
Then John drilled. You want to use a drill bit slightly smaller in diameter than the nail.

Add the Nailheads
Lastly, we used a rubber mallet to hammer the nails all the way in. I forgot to take a picture of that. If you don’t have a mallet, you could use a hammer, just cover the nailhead with a cloth to protect it.
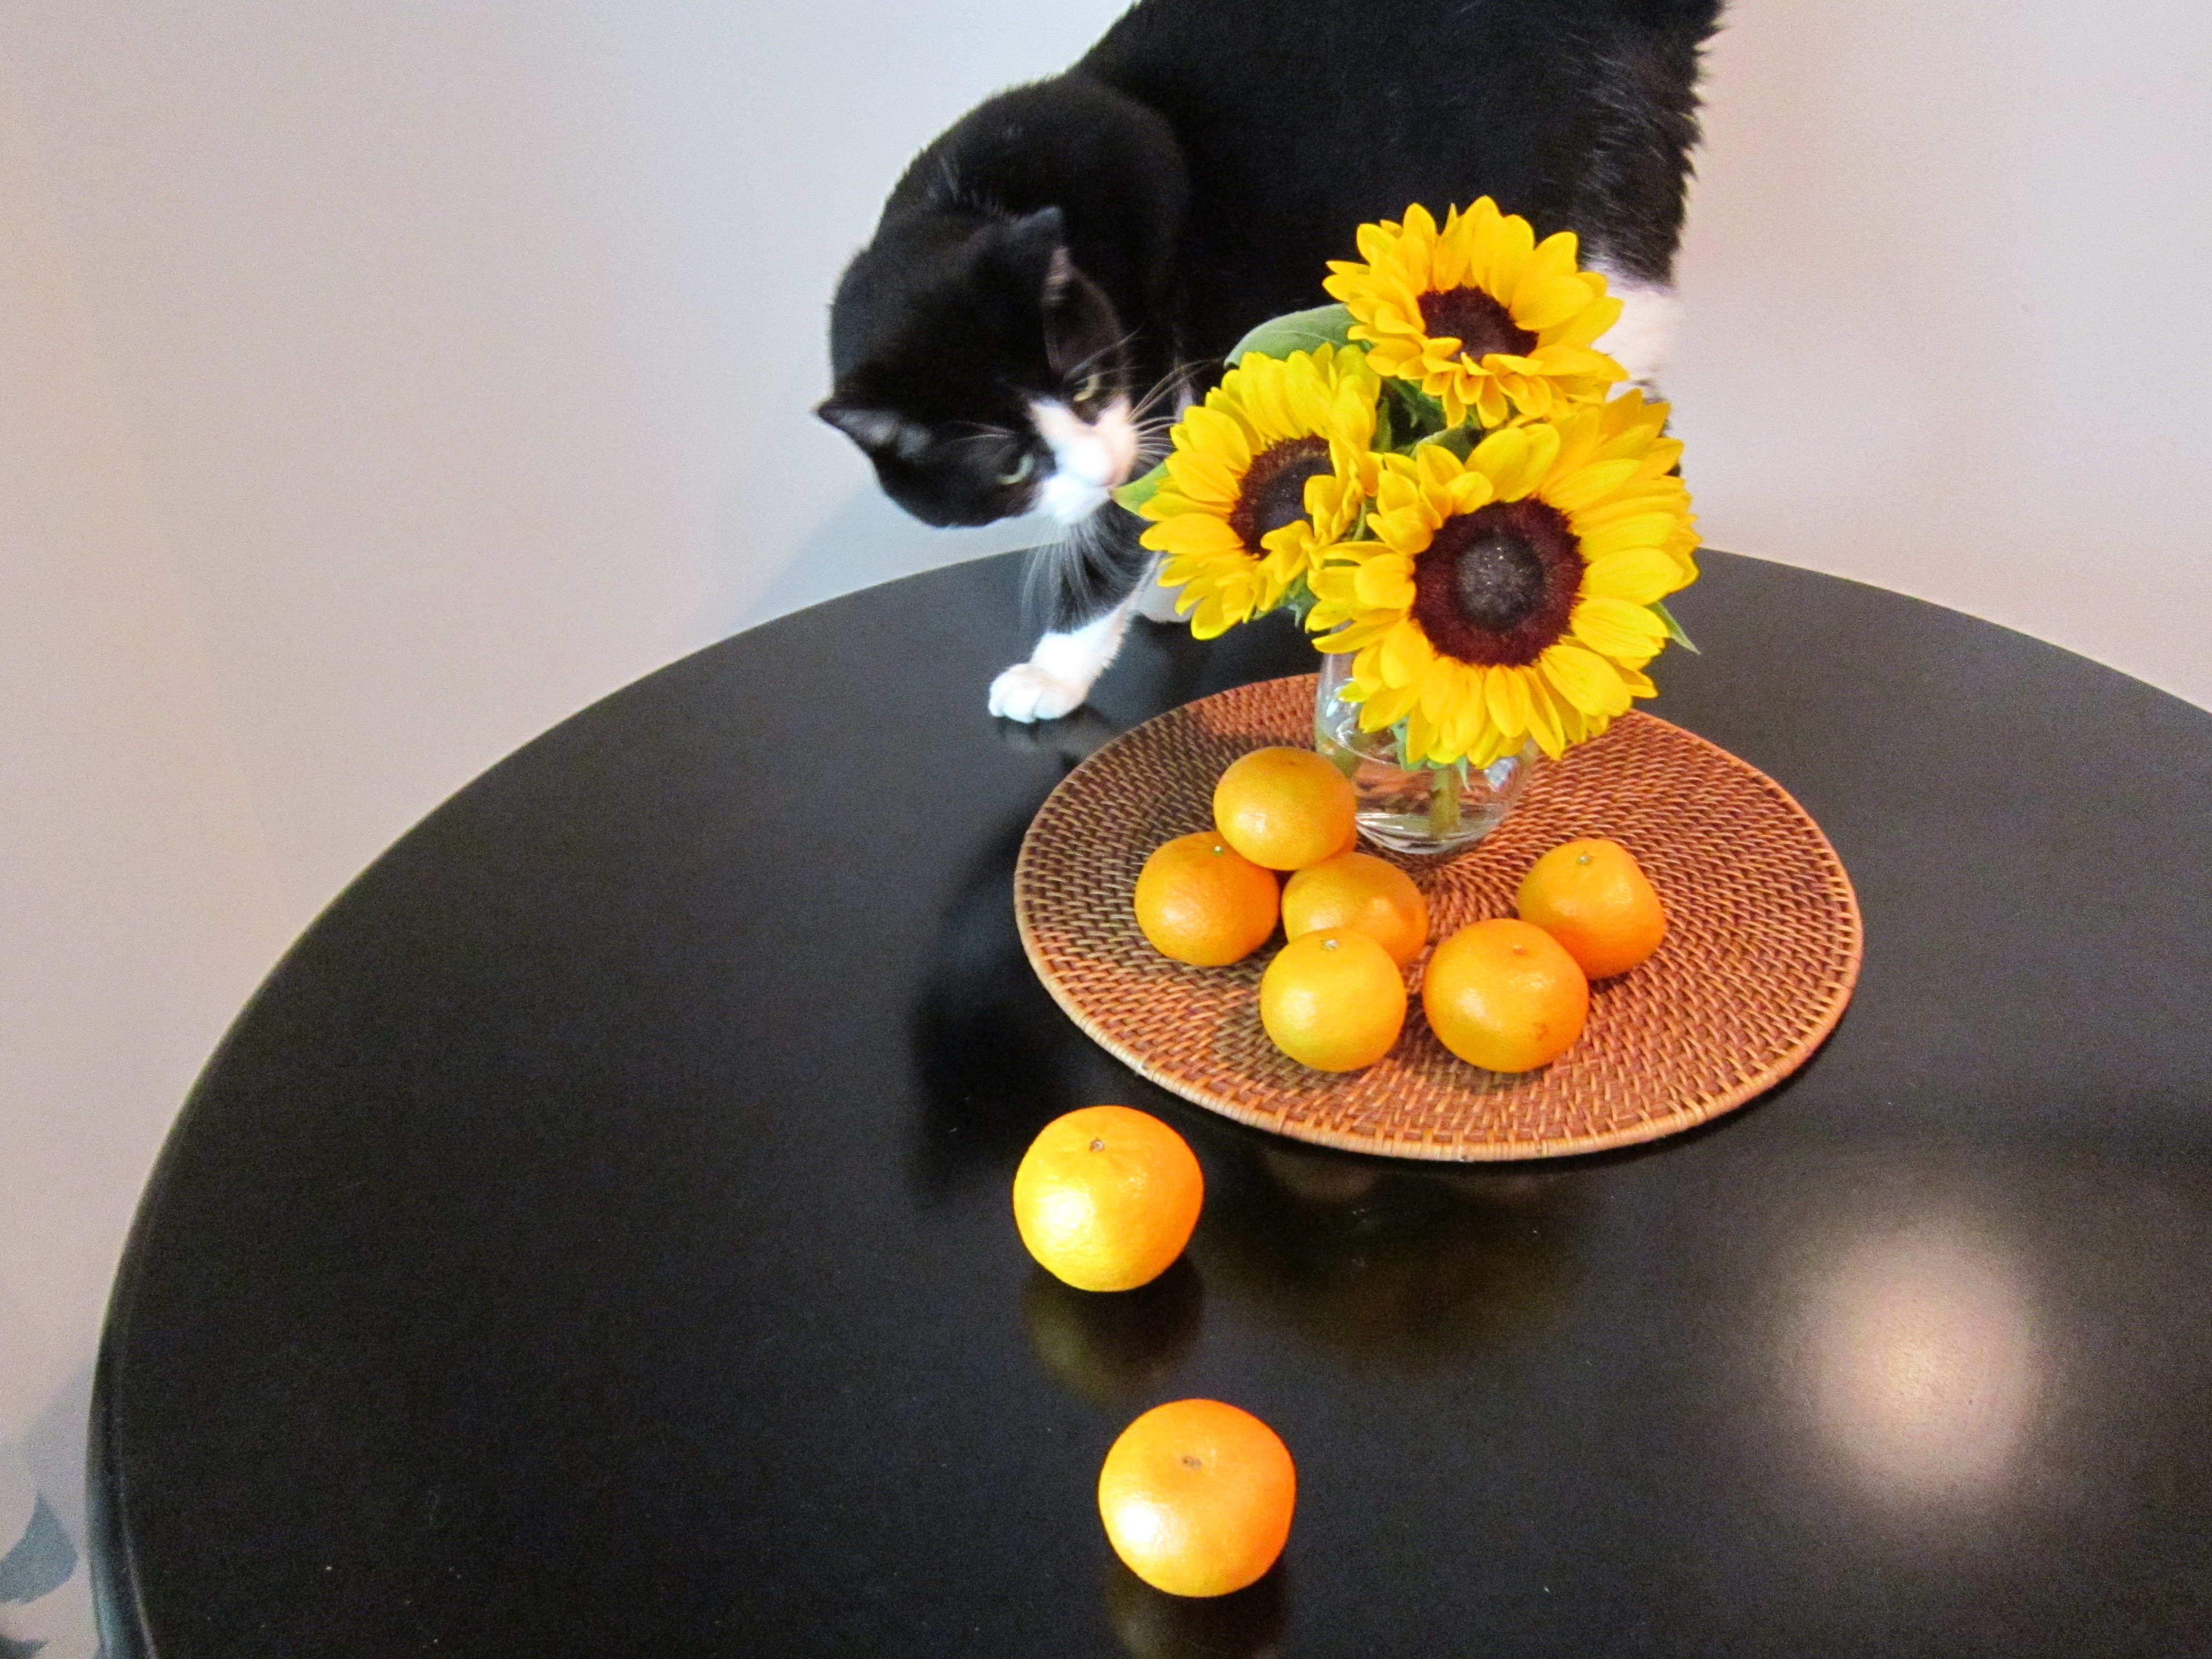
My helper, inspecting the props.
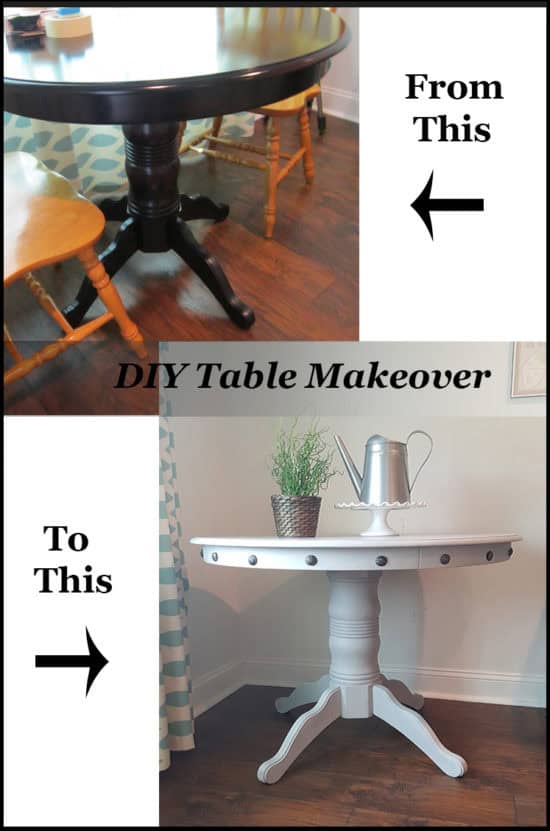
Paint
Update: After my initial makeover, I had left the table black. I decided it was too dark for my family room, so I updated it again with paint. You can see how I did that here.

Love this? Pin it and save for later!
What a great idea! Great knock-off! Thanks for sharing at the Twirl & Take a Bow Party.
Leslie
that is a GREAT idea! I love the way it turned out 🙂 Thanks for linking at Twirl and Take a Bow!
I love this! What a quick but effective change!
I think this table would look great grey washed as well!
Thanks, Kristina & I agree it would look great grey washed, I may have to add that to my to-do list!
I love how you transformed the table. Thrilled to have you join my wow us Wednesdays party, but you do need to add a link to it? Thanks
What a wonderful idea. I had no idea they made those nail in such a large size. Pinning now!
I do love it! I never would have thought to add something like that, but it looks great! It makes it look so unique. Thanks for sharing! 🙂
Your table turned out terrific. I love that you worked on this project together. Thank you for sharing at the Thursday Favorite Things Blog Hop. Watch for your feature on Monday xo
Katherine, thanks so much! 🙂
This turned out great! The nailheads give it a great pop!
You did a great job with your table! I agree that the table would look great with a gray wash–a new project for you! I know you’ll make it beautiful.
Thanks so much for joining Grace at Home!
This is such a great addition to the table. I love how it subtly adds some detail. gorgeous! I am featuring it at this weeks Friday Favorites. Come on over and grab a button!
Thanks Emily!
I love it! Those nailheads are gorgeous. I never would have thought to add them to a table like that. Great job! I found you via the DIY Showcase Link Party.
This is a great tutorial! You made it look so easy! I’m so glad you linked it up to Frugal Crafty Home Blog Hop because this will be one of my features at our next party on Sunday night!
Thanks, Carrie! 🙂
Love the table! Heading straight to Pier 1 now.
Pinning it from the Pin Worth Wednesday Link Up 🙂
Wow! I love that look and have been wanting to do it myself. I’m so glad that you shared the tutorial and the beautiful after at the Best of DIY party.