Wood Stain Colors & Staining Technique
LEARN THE BEST METHODS FOR WOOD STAINING AND HOW TO EXPERIEMENT WITH DIY WOOD STAIN COLORS FOR THE PERFECT FINISH.
Staining wood furniture can be really challenging. Especially when working with different types of wood. But there are times when there really isn’t any other way to restore a piece of furniture.
One reason for this is the color can change depending on what type of wood you are working with. Always test your stain on a piece of scrap wood first.
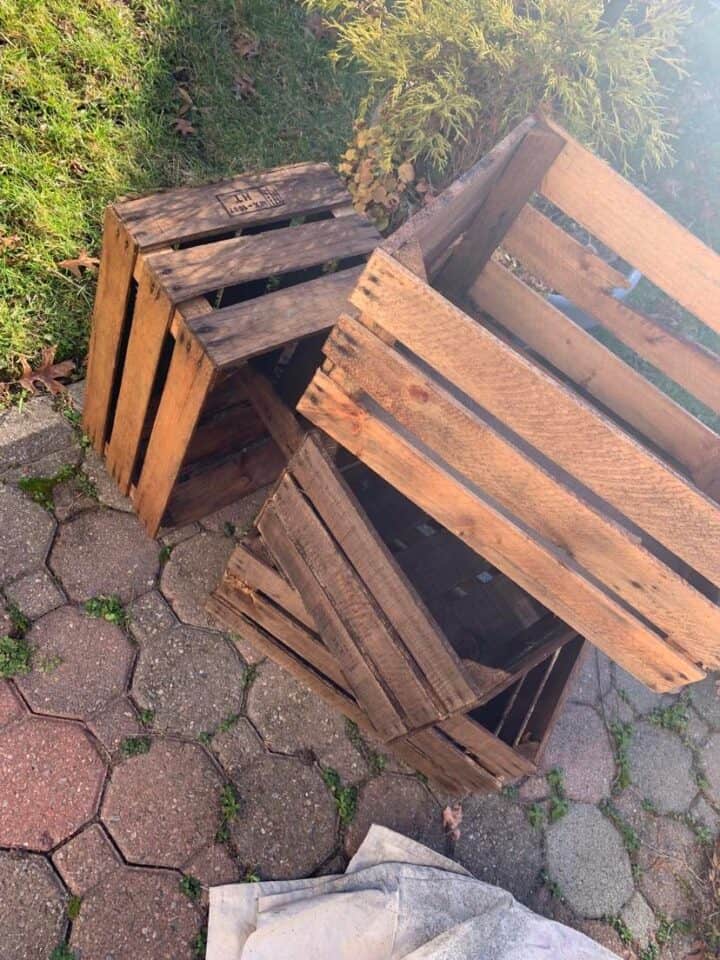
Last year, I was working on a project using crates that I wanted to stain so they’d all match.
Buying new crates from the Home Depot would’ve been ideal for this project but because I needed so many, it would have been far too expensive.
So I searched Facebook Marketplace for months until I found someone selling them affordably. Many people had two or three listed but I needed enough to do roughly 8X8 feet and they all had to be the same to make it look right. It was really challenging to find that many crates affordably that were all matched.

I bought 30 of these crates for $90. Most people selling them wanted between 10-20 PER crate. To buy them new they were $15 each.
Next, I needed to clean them up and I wanted to stain them a darker color. No small undertaking for 30 crates.
As you can see in the photo above, some of them had gotten weathered making it even more challenging to get them all cohesive in color.
Sanding them wasn’t an option because there were just too many. Not enough hours in the day for that. Plus, I needed to do this all outside in the winter.
Painting them would’ve been easiest but it was not at all what I wanted. I wanted a medium-to-dark wood tone look.
how to prep before staining wood
I’ve worked with stain in the past but it’s always a gamble. This time I did a little more research before beginning and some experimenting first. The crates were the perfect samples to test on.
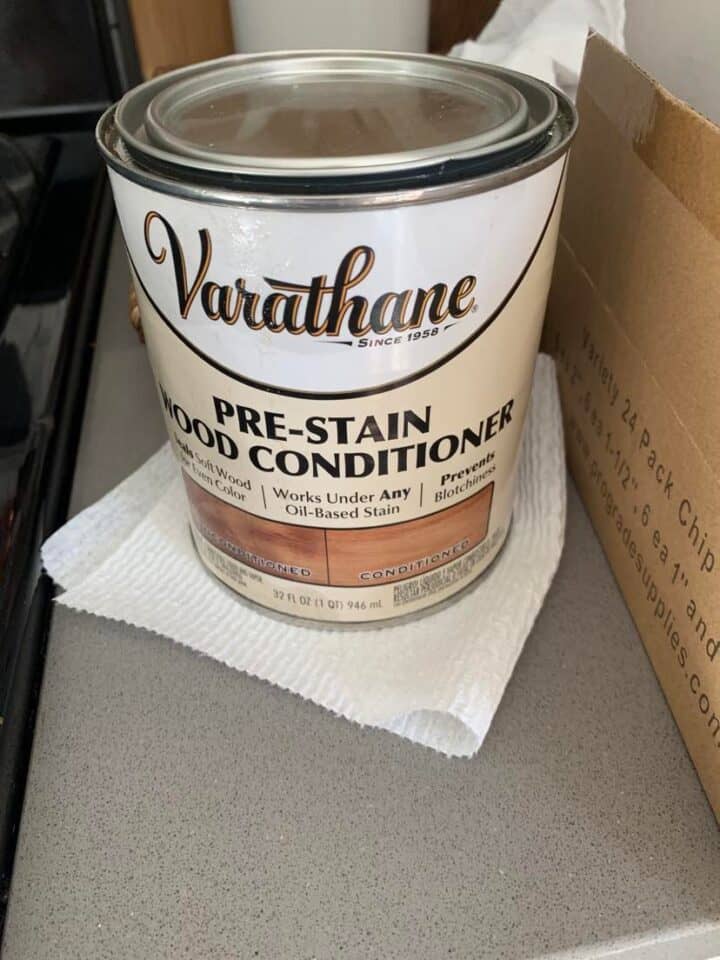
In my research, I came across a suggestion to use pre-stain wood conditioner. Apparently, that helps the stain go on smooth as opposed to blotchy. It also helps to prevent the orange tones from tannins seeping through your stain and causing the wood to have a reddish tint. (remember my vintage bench stain nightmare?)
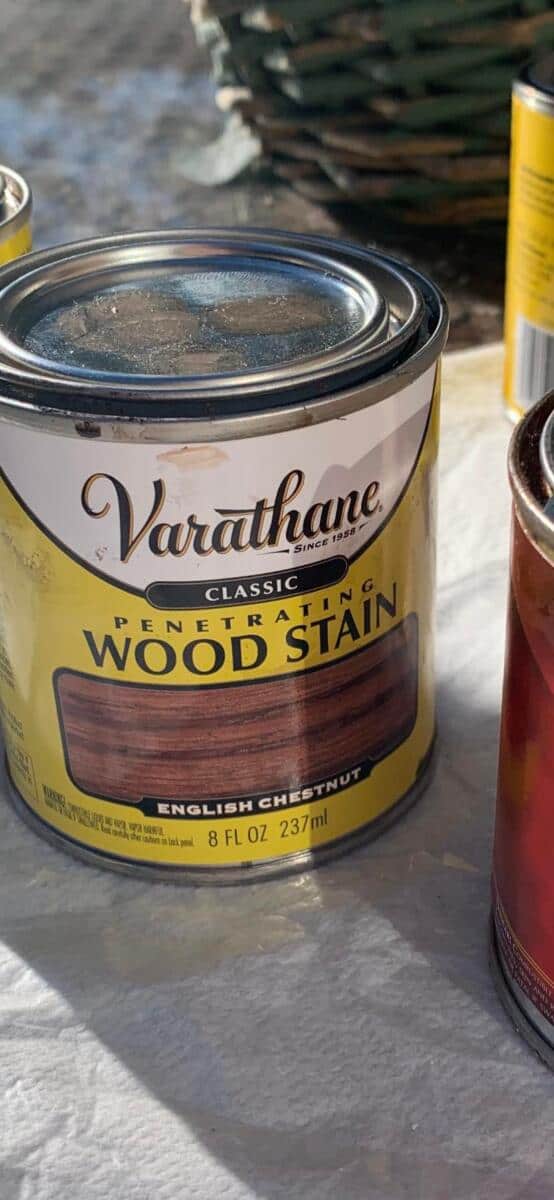
After that bench nightmare, I decided the pre conditioner would be worth the extra effort. I picked up Varathane brand wood conditioner to try.
I applied it to the crates with a regular paintbrush, wiping off the excess as I went along. In the past, I have used stain with a foam brush, either works. For wiping off, you’ll need a clean rag. I use old t-shirts that I cut up for projects like this.
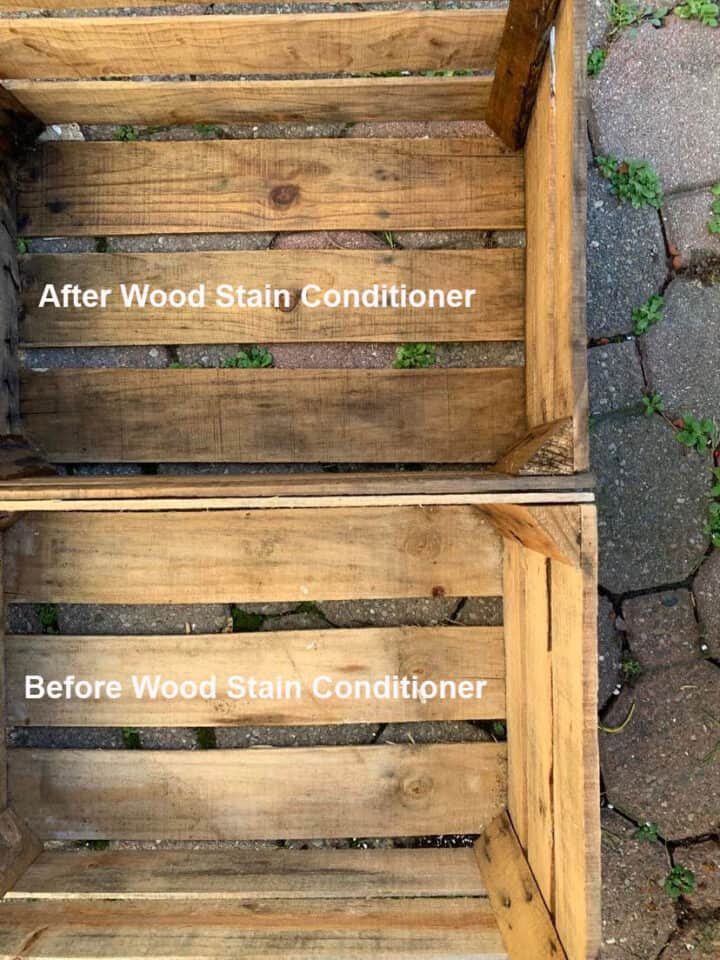
You can see the before and after here, not too much difference. It looks darker when it’s wet but dries up lighter. I let them dry overnight before moving on to staining.
My only complaint about the wood conditioner is the smell. It’s bad. Use stains and conditioners outdoors only. And when using an oil-based stain, it’s a good idea to wear gloves. Always cover the surrounding area with a drop cloth.
natural stain vs store-bought wood stains
I’ve never tried any natural wood stains myself but I wouldn’t rule it out.
Commercial wood stains do contain chemicals so I always work outside and with gloves. Wearing a mask is recommended too.
One way to make a natural stain is with a vinegar mixture. I have heard that soaking a steel wool pad in distilled white vinegar (or apple cider vinegar) is a way to create your own homemade wood stain color but I have not tried that myself. Making your own wood stain is one way to avoid potentially harmful chemicals.
I usually go for the store bought stains so I can better visualize the color. Additionally, I have tried gel stain since this crate experiment and did like the results of that as well. The type of stain didn’t matter much to me either way. It’s the process that’s most important.
I wouldn’t rule out trying a homemade, natural stain in the future. When I find the right project I will.
wood stain colors
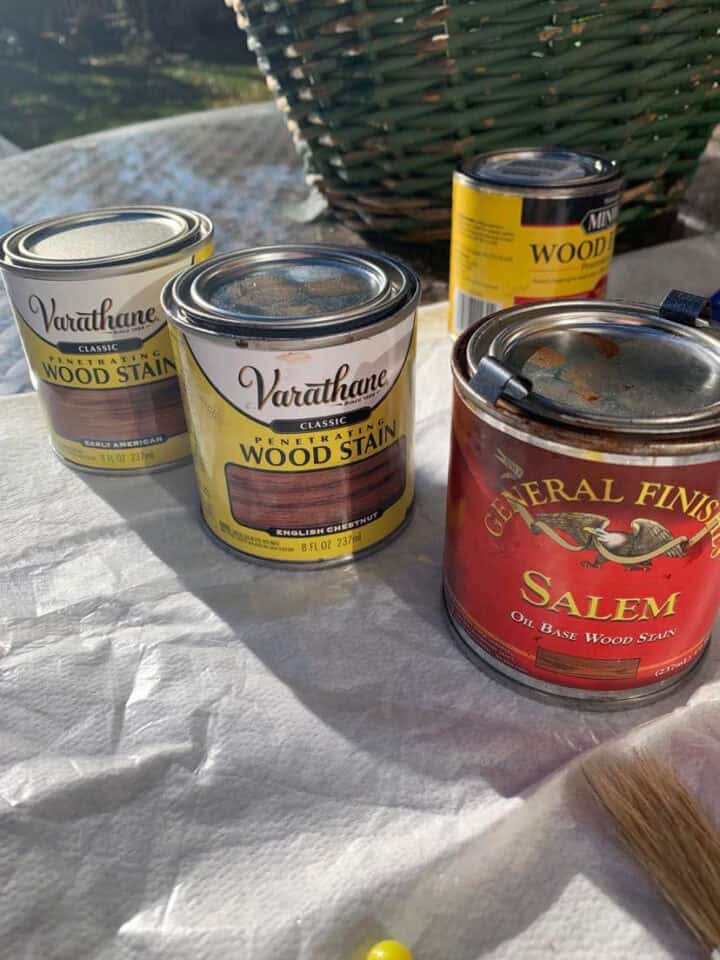
Now that the crate was conditioned, I tried out a few different colors of stain. I painted each slat of the crate a different color and let them dry overnight to see how it looked the next day. Here are those results.
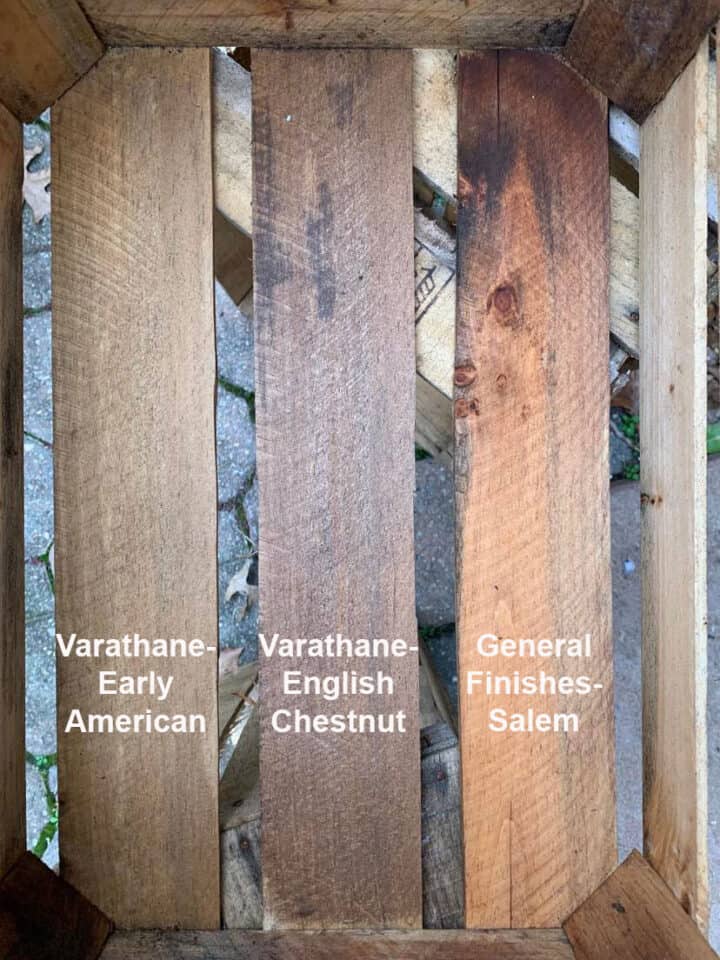
I definitely didn’t like the General Finishes stain on the right. Too orangey. On the first two, I liked them both. They’re showing darker in this photo than they looked in real life but the color tone is pretty accurate. I liked both of these and ended up going with the English Chestnut. The Early American wood stain color was a close second.
I chose that one partly because some of the crates are weathered. I needed a darker color to help even those areas out.
Below is a very weathered crate that I applied the conditioner and stains to in order to see what that would look like.
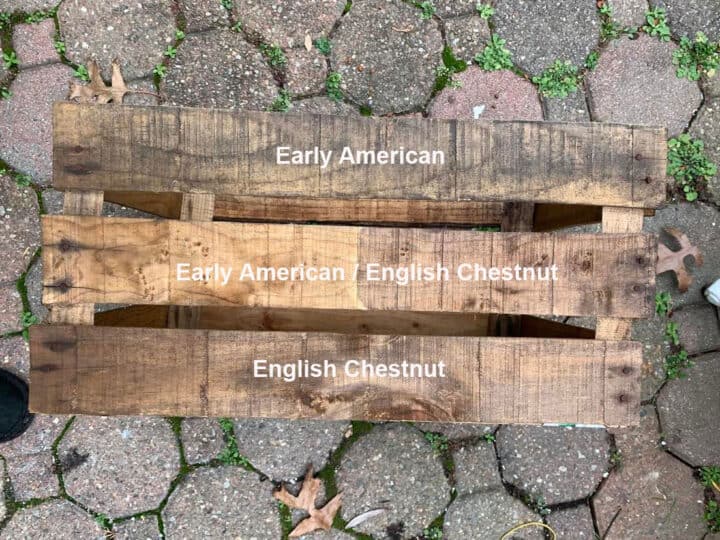
As you can see the English Chestnut looks the most consistent even in the weathered areas. Because it’s a darker stain it blended in better.
Always apply stain in thin coats and let it dry in between. Applying excess stain will result in drips or blotchiness. I always apply it in the direction of the grain.
how to avoid the orange stain color
While working with stain has so many variables, I’m learning how to make it more predictable. Different wood types will show wood stains differently so sampling is a must. Now that I’ve tried the pre-conditioner for wood stain, I wouldn’t stain anything without it.
I’ve also heard (from my friend Shannon at Tea House Designs) that sealers and stains used on pine and oak somehow bring out the tannins in the wood, causing the dreaded orange look. Bleaching the wood first can help stop that from happening.
Which I had happen to me a while back when I tried to give this vintage bench a makeover with stain. It’s NOT fun when that happens.
She says when the wood is bare, brush regular household bleach onto the wood. Let it dry in the sun. After that, you need to lightly sand it. Some woods need stronger bleach like outdoor bleach. It color corrects orange, pink, and red tones giving it that nice scrubbed pine look.
Again, this is all a lot of work. But when you find a beautiful antique piece of furniture that needs to be refinished, it’s worth the effort. Plus it’s better to put in the work initially and have the desired result rather than trying to take shortcuts and ending up with a mess.
Troubleshooting: When Wood Stain Colors Aren’t matching
There is another issue I encountered with my wood stain colors. And that was some of them not matching even though I used the exact same wood stain color. Even with using a pre conditioner first.
Why this color change happened I am not sure. The only difference between the two is that on some of them I used a sample pot of the stain. On others, I had opened a new full size can of stain.
They were the exact same product. Either the product was inconsistent or possibly the temperature outside had something to do with it. Although direct sunlight can fade wood over time, I don’t think it can work that quickly on stain.
For that reason, I would recommend having one large can of stain, so that its enough to complete your project.
After getting halfway through this project I gave up on it. The weather was getting too cold and I ended selling all the crates rather than using them.
However, it was a good experiment with wood stain. It came in handy later when I needed to make a mantel shelf for a 100-yr antique that I found.
matching antique wood with stain
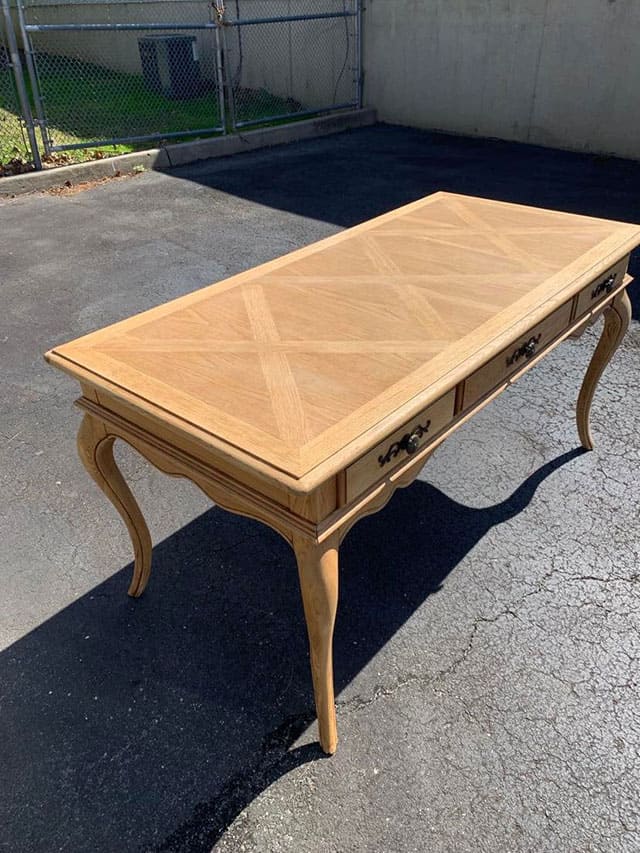
My wood staining experiment came in handy when I wanted to make a mantel shelf to match this antique wood I found.
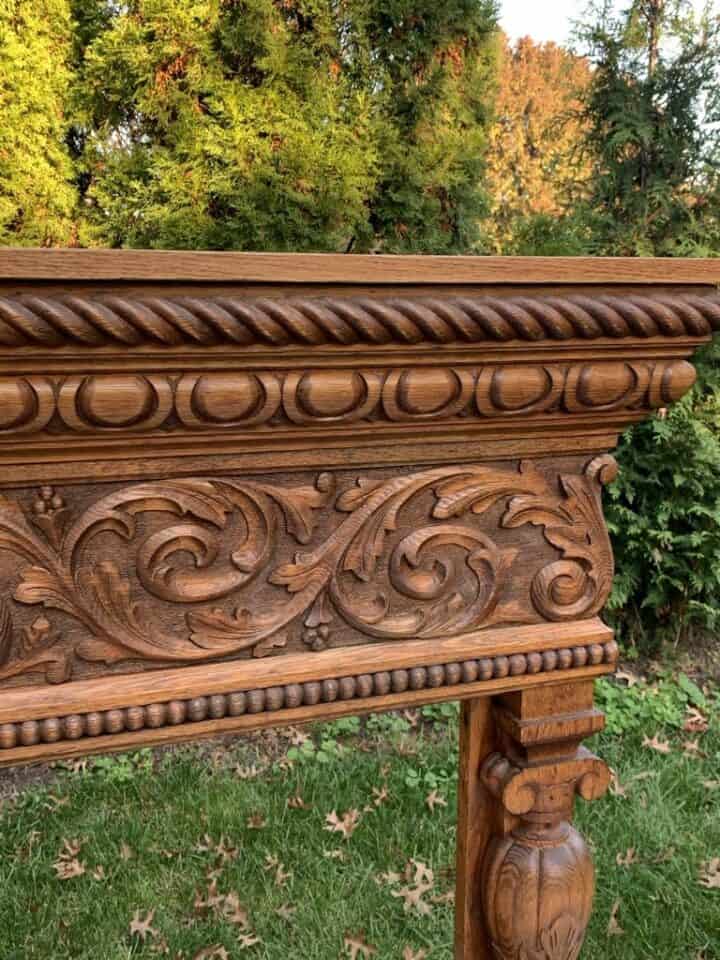
This wood piece was part of an old dresser and was 100 years old. In the open area, a mirror would have fit but I thought it would be a beautiful mantel. But it needed a mantel shelf. So we bought a piece of wood, nailed it to the top and stained it to match.
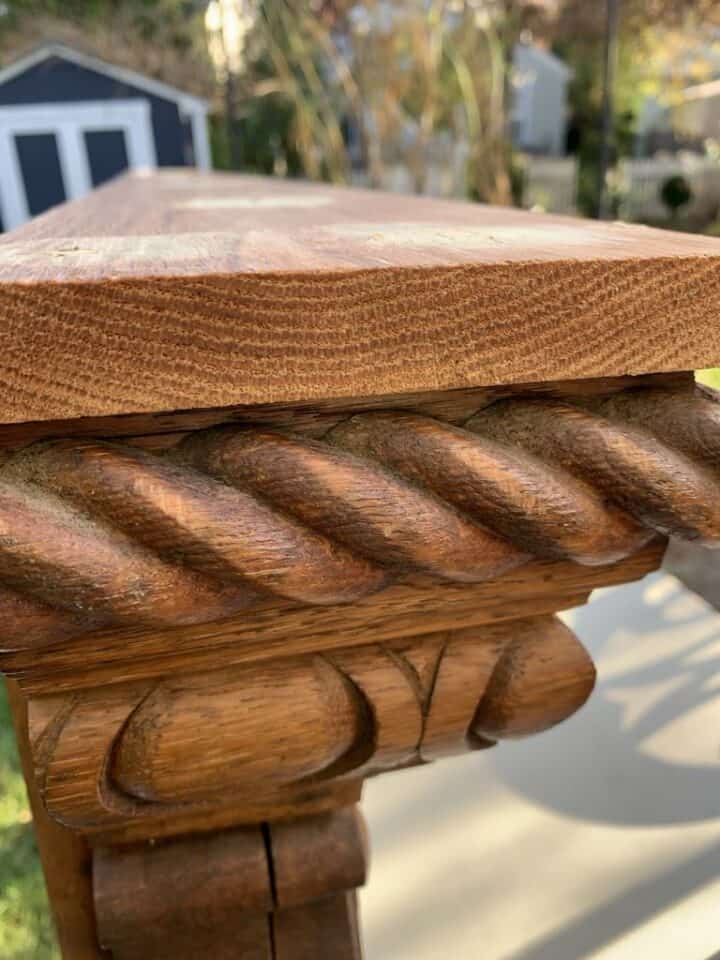
The antique wood had a little bit of orange tones in it. For that reason, I used a mix of the Salem stain and the English Chestnut. Of course, I did practice on the wood scrap pieces first. It came out so good you’d never know the difference!
Working with wood stain colors can be challenging with so many variables. If you follow the steps listed below, it will help to ensure that you’ll get the best results possible on your wood staining projects.
- Consider bleaching your wood before staining to prevent orange tones from coming through.
- Always use a wood conditioner before your wood stain.
- Always test your wood stain colors on a scrap piece of wood first.
- Buy one can of stain large enough for your project, colors may vary slightly from can to can.
- Use products outside and wear gloves.
It’s not an exact science but following those steps will help you avoid the biggest problems people encounter when using wood stains. It’s always good to experiemnt on small projects before going for the bigger ones.
For cleanup of wood stains, mineral spirits are a good choice.
For outdoor stain options, you can see how I restored this outdoor wood table.
FAQ’S: More Tips for staining wood like a pro
More Wood Finishing Ideas