Vintage Storage Bench Makeover
A VINTAGE STORAGE BENCH MAKEOVER WITH TIPS ON STRIPPING AND STAINING FURNITURE AND WHAT TO DO WHEN IT DOESN’T COME OUT AS PLANNED.
I’ve been working on a little redecorating in my dining nook area and I’ve been on the hunt for the perfect bench for the space. It’s a small area so finding one the right size has been so challenging! The hunt has been on for about a year.
Finally, I picked up this little storage bench at an estate sale. Not exactly what I had in mind but the size was right and I liked the extra storage.
When I brought it home my husband greatly disliked the color of it. It was as if he was personally offended by it – ha! The bench was pretty beat up so I decided to sand and restain it.

As I mentioned last week, I don’t like using oven cleaner to strip furniture so my husband and I sanded this one by hand.
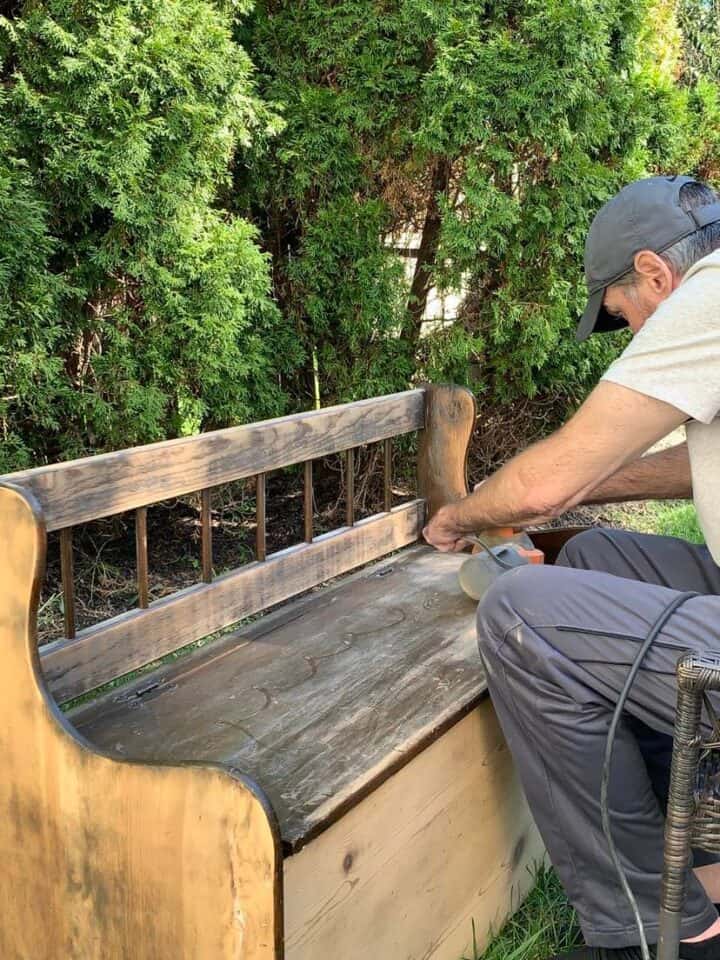
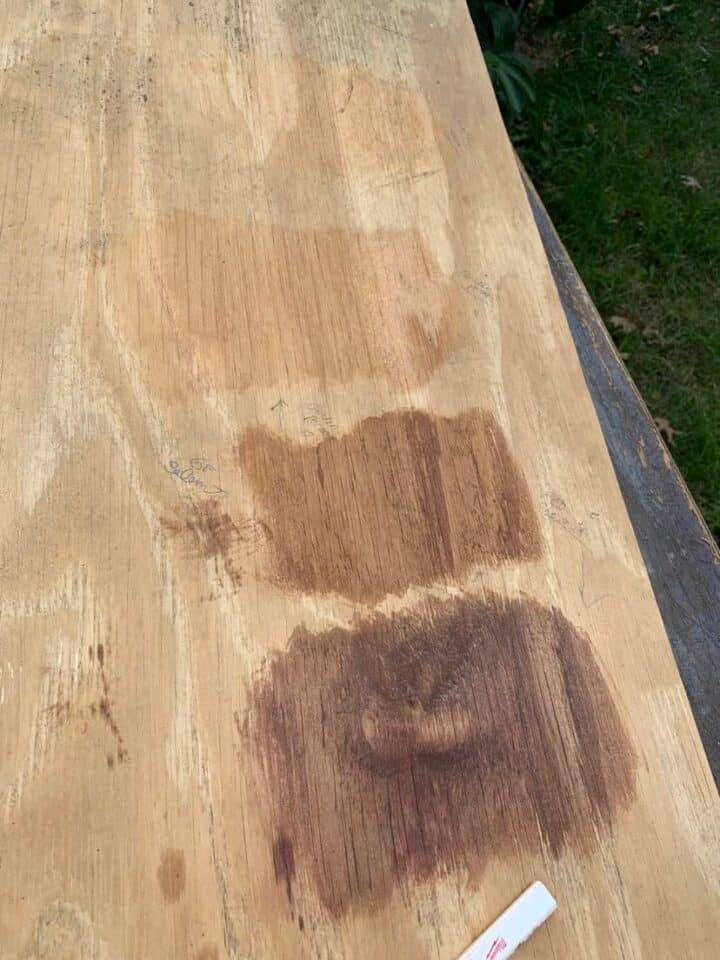
I bought several stain samples to try. Rarely do I try staining furniture because it’s so unpredictable. It’s hard to control the final color due to so many variables. Such as, what type of wood, how long you leave it on, and what you use to apply it.
I really loved the middle color here. A natural-looking wood tone was what I had in mind and this was the closest to what I was envisioning.
As I began applying the stain to the bench it didn’t look like it did on my sample board. I kept going hoping it would dry differently.
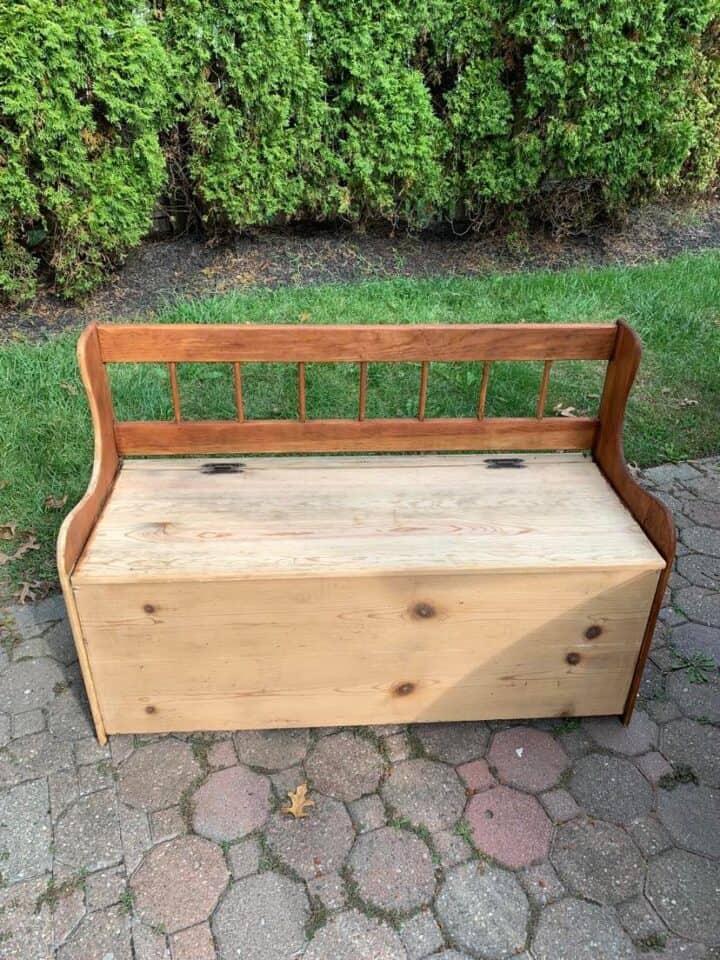
After I finished I was very unhappy with the result. It looked orange and nowhere near close to how it looked on the sample.
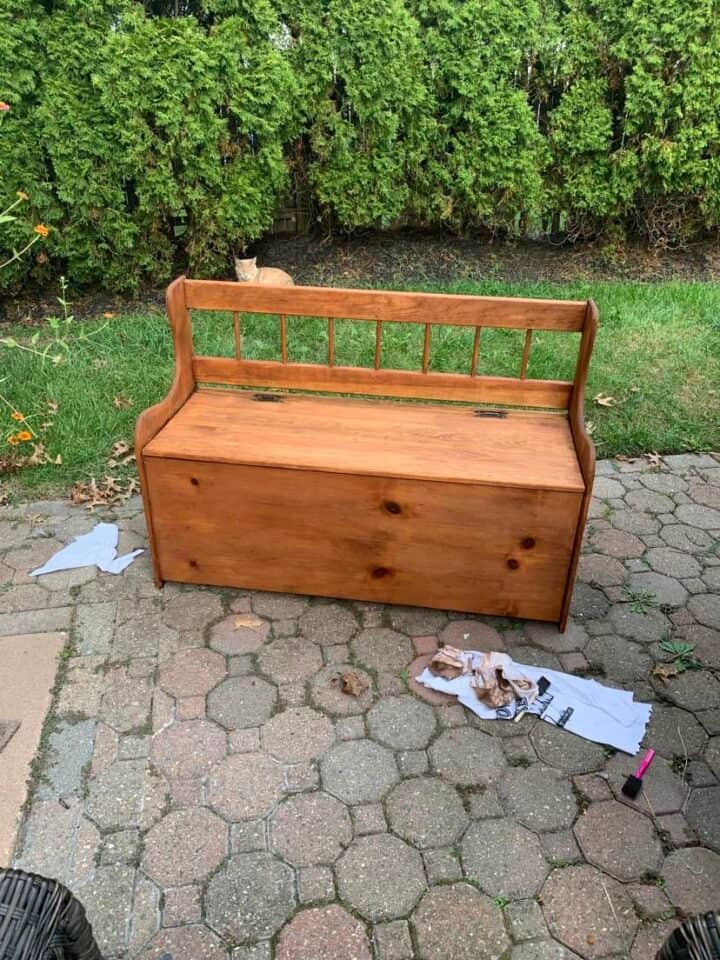
Staining Tip: After talking with a DIY friend, she mentioned that sometimes after stripping wood you need to wipe it down with bleach. The bleach does something to the tannins in the wood and prevents the red/orange tone from coming out.
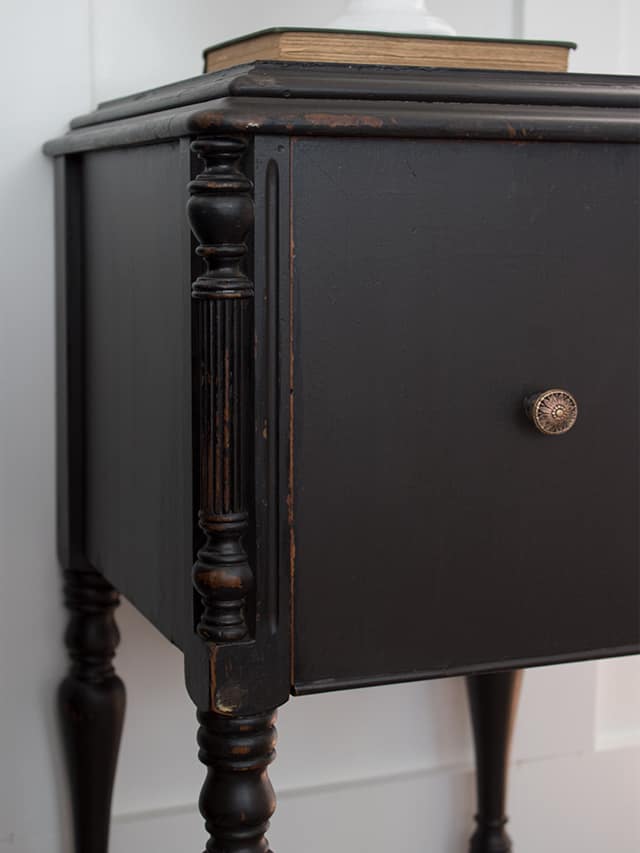
I would have tried that but I definitely didn’t feel like starting from scratch with the sanding so I opted to just paint it black. I definitely like the clean lines of the black and ultimately thought the black would look better in the room.

The funny thing is, two days after finishing this vintage storage bench makeover and getting this in the room and all filled with items to store, I saw another bench on Facebook marketplace. It was exactly what I had been looking for over the last year and was the perfect size.
Ultimately, that bench won out and I’ll be selling the storage bench. I can’t believe the timing on that but at least I found what I really wanted in the end. I’ll share more on that once I make more progress in the dining nook.
YOU MAY ALSO LIKE:


Beautiful finish on your first bench, Roxanne! You’re
right, however, we’re happiest with finding the perfect piece.
Happy Boo Day!
I believe the first bench is actually called a Deacon’s bench. As it was the style of bench in most churches where the “Deacons” would sit. We had one in the house I grew up in. It may be in the shop, if you’re interested, I could take a look.