Wallpaper For Beginners
Recently, I tried hanging wallpaper for the first time. It’s not the easiest of DIY’s but it is something you can definitely do yourself! Because I was in the zone as I worked, I didn’t take many pictures but I’m going to try and recreate the basics and guide you through wallpaper for beginners.
First, measure your walls to determine how much wallpaper you’ll need. Wayfair has an excellent wallpaper calculator that made figuring out the overall amount easy. You just type in the height and width of each wall section and they will tell you how many rolls you need, including a percentage for waste (mistakes).
You can find the calculator on the wallpaper product page.
Peel and stick vs pasted wallpaper

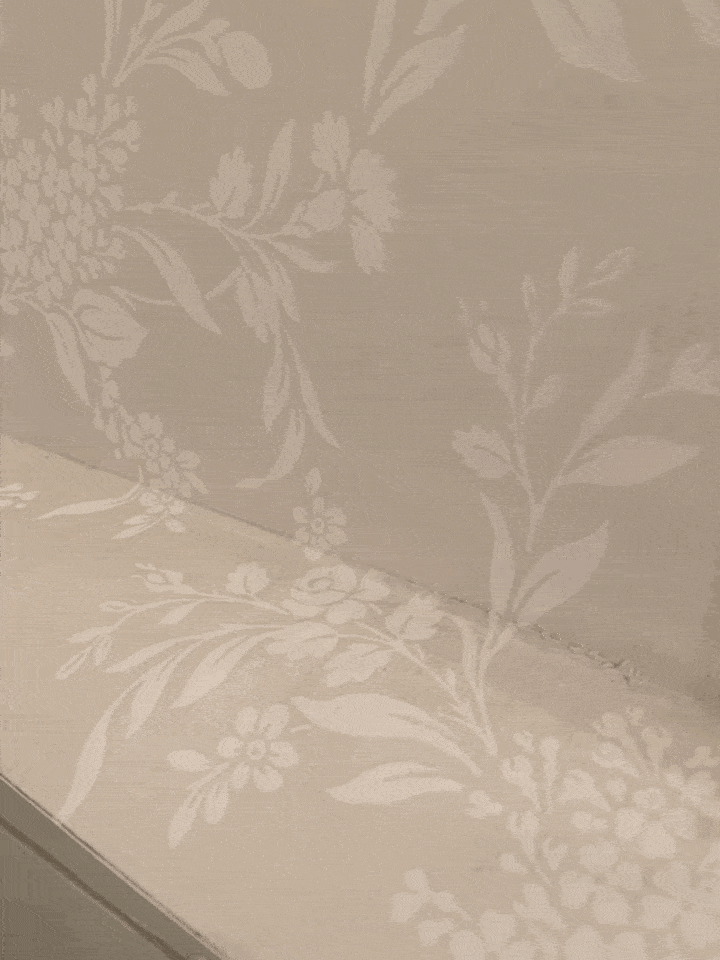
Initially, I wanted a peel and stick removable wallpaper because I change my decor out so often. I searched for months and kept coming back to this neutral wallpaper as my favorite. Of course, it was not a peel and stick.
After speaking with my mother, who has experience hanging wallpaper, I decided to go with the pasteable. She said that with the paste, it’s easy to slide it around the wall to get it into position.
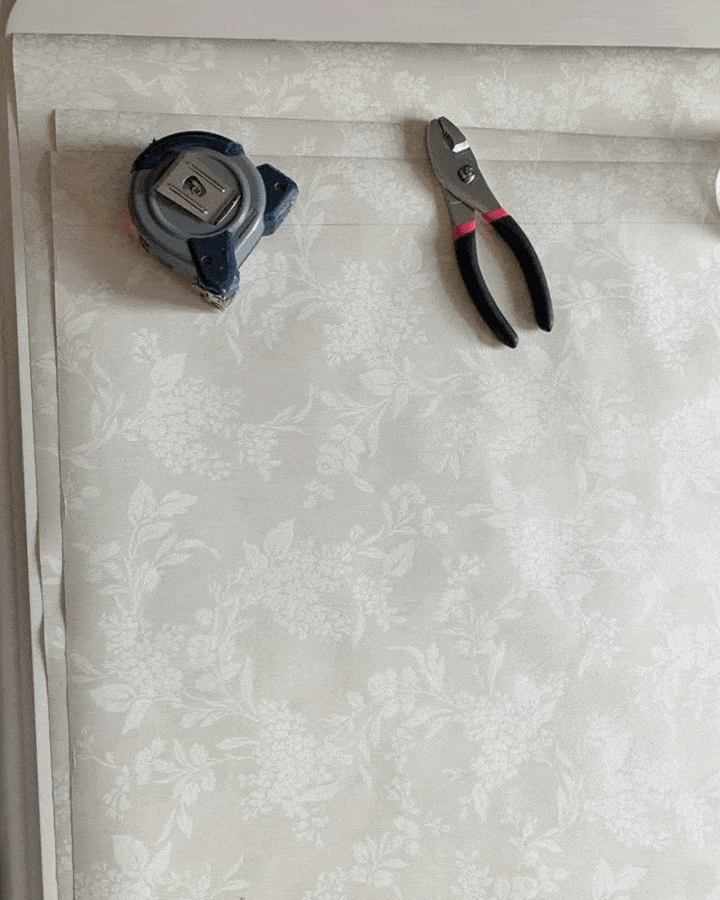
Tools Needed To Hang Wallpaper
- Wallpaper
- Wallpaper tool kit
- Adhesive Wallpaper paste
- Tape Measure
- Kitchen Sponge
- Scissors
- Pencil
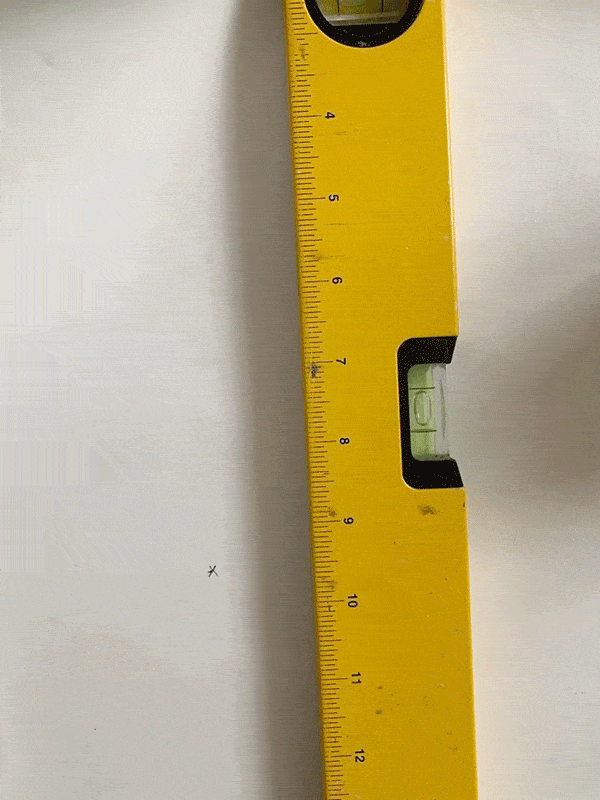
- Level
wallpaper for beginners – getting started

Starting in the center of your first wall, use a level to make a straight line vertically up and down the height of the wall. I’ve read it’s best to start your wallpaper in the middle and work out from there. This video was helpful for a getting started visual.
For the ceiling area, make your paper a little longer than needed, you can overlap it and cut the excess off later which I found to be the easiest way to handle that. From what I understand, ceilings are never perfectly level.
Cut your first piece of wallpaper to size. Before hanging your first piece, cut the piece that will be next to it so the pattern is aligned.
After hanging the first piece, you will do this step again, matching the third section to the second section, before hanging the second piece, and so on.
As I measured and cut two or three sections, I would make notes outside of my measurements to remind myself which way it goes.
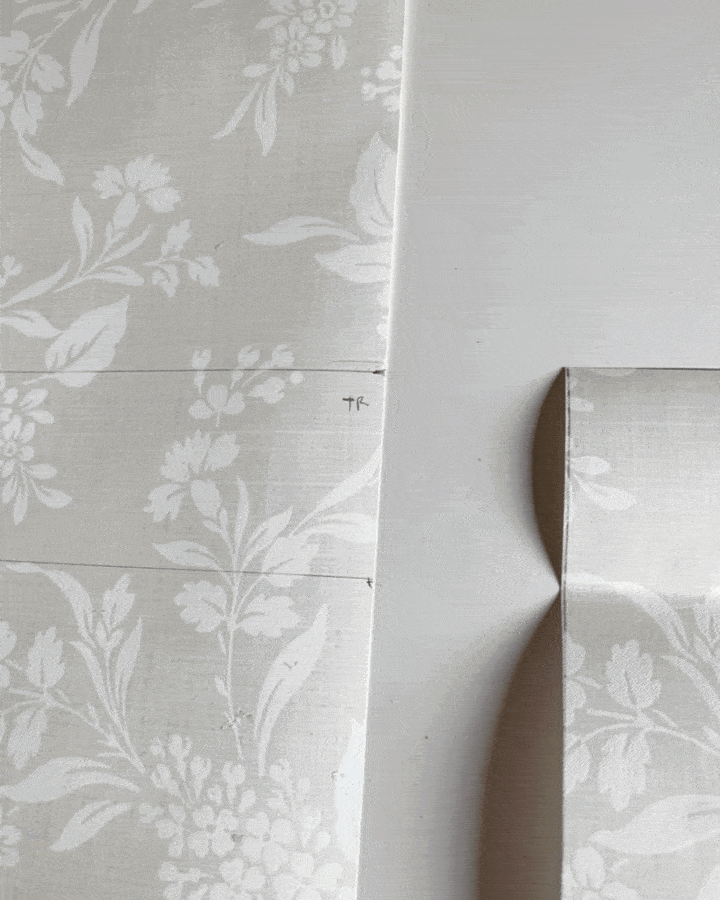
For cutting my wallpaper, I first used a flat level to mark the paper, using a pencil. I traced along the side to make straight lines for cutting.
Hanging the wallpaper
I would suggest putting paper down on your work surface to protect it from the paste. (I used my kitchen table as a work surface).
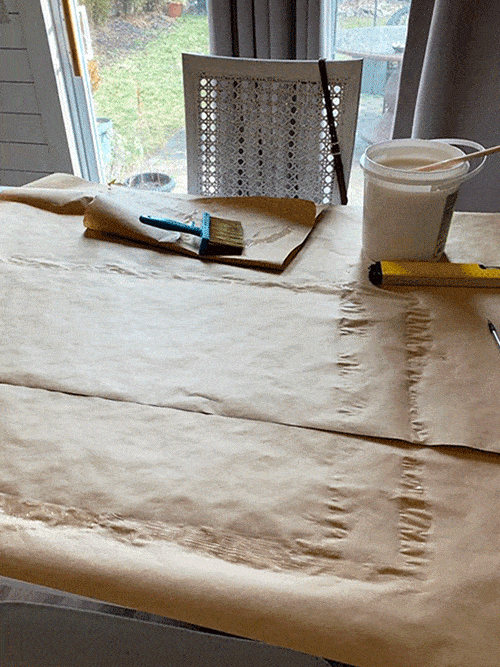
Once you have your first piece ready to hang, paste the back of the wallpaper using the brush from the kit. BE very generous with the paste but apply it as evenly as possible.
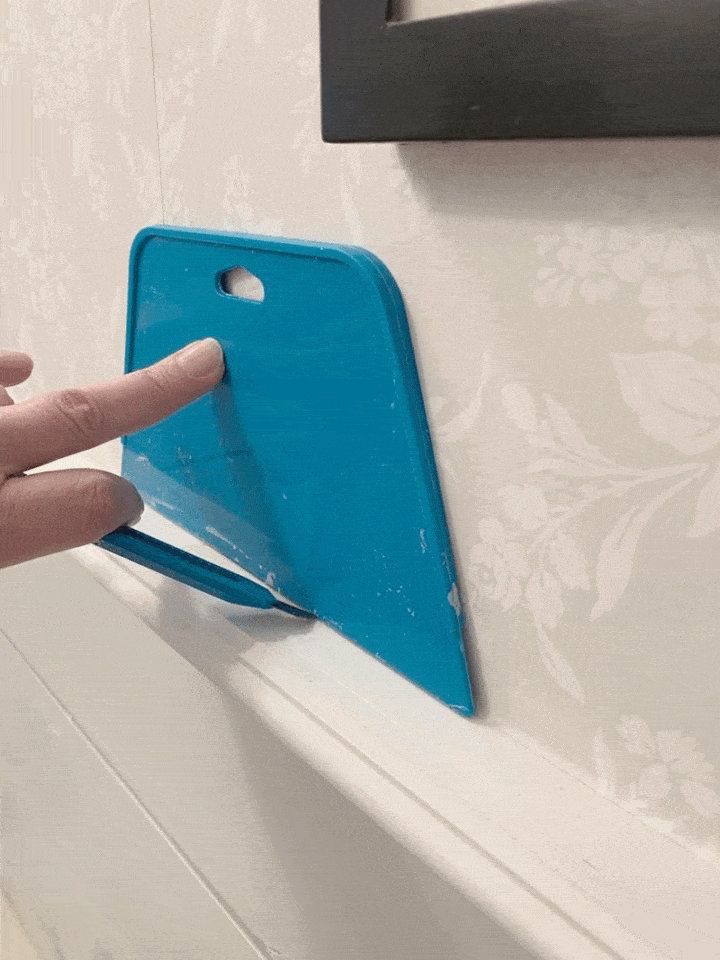
You should be able to slide the paper around on the wall a bit to get it into place. Once in place, use a sponge or the flat tool from the kit to flatten your paper and push out any air bubbles. When doing this, you will also push out any extra paste. Wipe that away with a damp sponge.
I found the sponge to be better at smoothing the wallpaper than the flat tool because with the tool I was worried about ripping the paper. Use a good bit of pressure on this part when using the sponge!
Hang your wallpaper aligned vertically with your initial level line. I started on the largest wall and worked my way out.
When hanging and measuring each section, I estimated more height than needed by an inch or two to allow for errors. Better too long than short, it overlapped a bit on the ceiling and bottom.
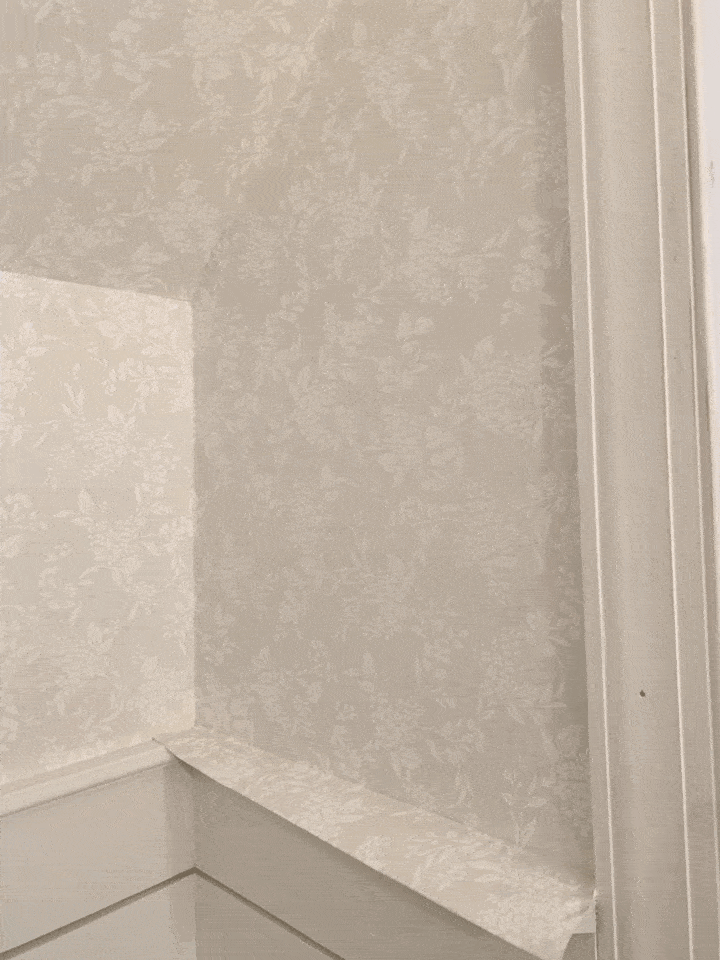
Where there is extra paper on the ceiling or base (or sides) use the flat tool and razor knife to trim the overlap.
Do NOT cut the overlap until it’s dried or it will come out jagged! you can see below where I cut too soon and had some jagged edges.
Continue this pattern around the room. I hung a few sections and then would go back to cut the overlap after it dried a bit.
How to Cut around outlets
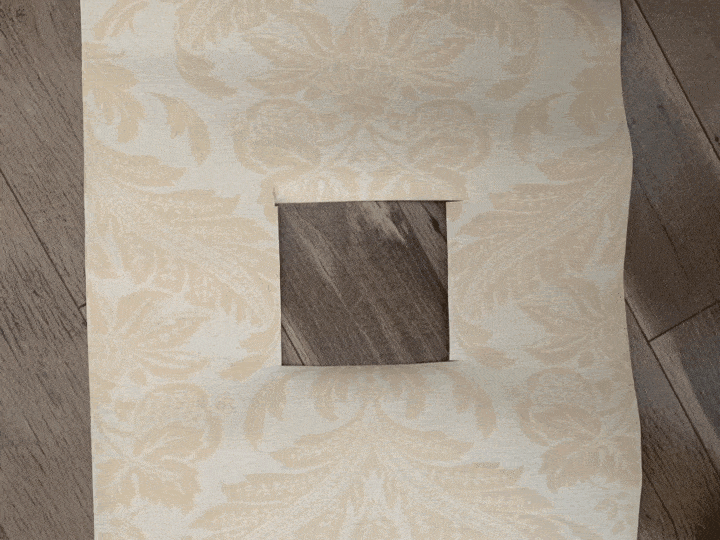
For outlets, measure where they will be and simply cut a square out of wallpaper in that spot. With any obstacles such as that, measure twice (at least) and cut once.
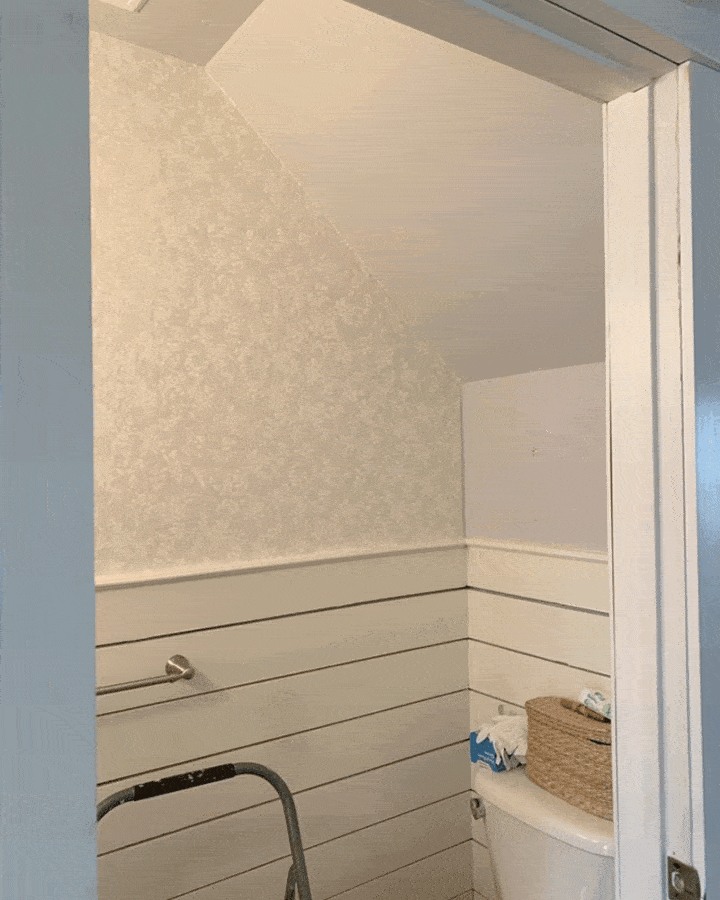
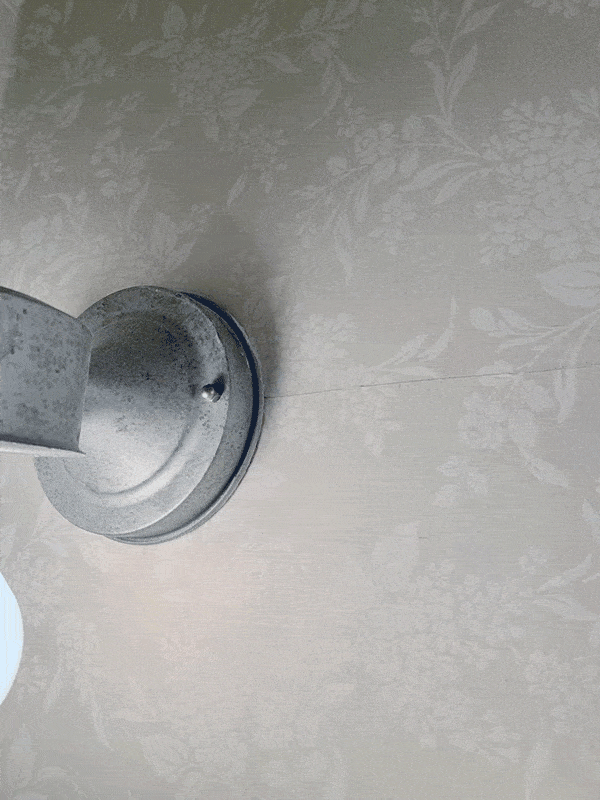
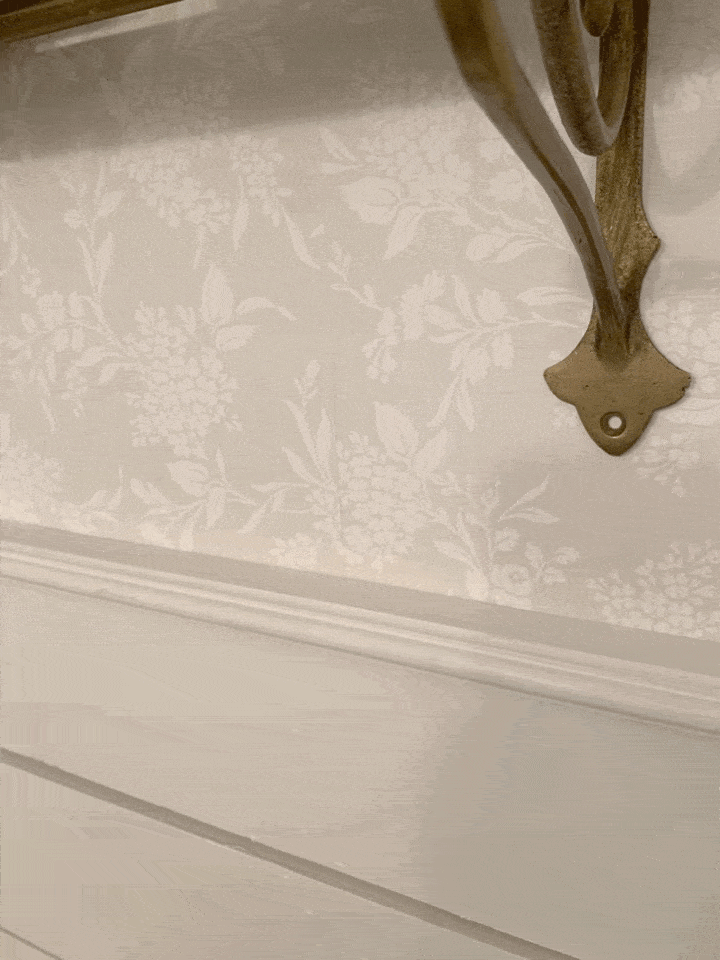
Hanging Wallpaper around Light Fixtures and sconces
Wall with light sconces can be tricky! This is how I handled it.
First, shut off the power to the lights from the breaker. Remove the lightbulbs and any enclosure around them. I loosed the screws on the backplate so that I could tuck the wallpaper behind them. I did not remove them from the wall because I’m not an electrician so this was my way around that.
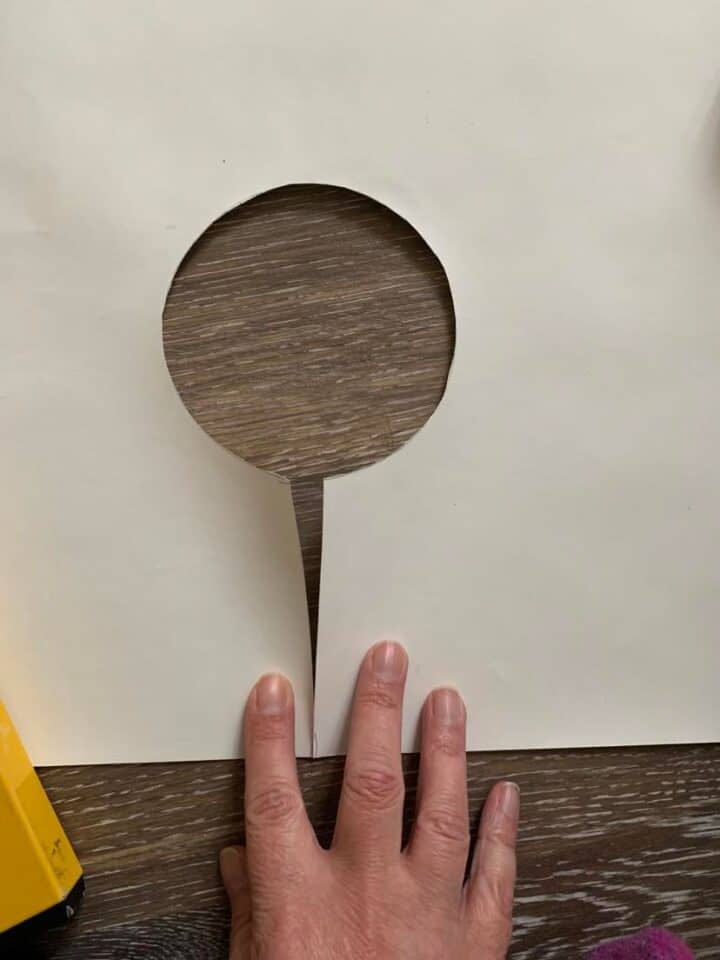
Figure out these measurements carefully. Mine was tricky because I had to make sure the paper aligned with the piece next to it as well as make sure the sconce cut out was exact. It’s better to cut the lighting hole smaller than you think as opposed to bigger because you can always trim it later with the box cutter.
I cut a straight line from the edge of the wallpaper to where the sconce circle would be. This will create another seam in your paper but it’s the only way I could see to do it without removing the sconce.
I am planning to replace the light fixtures so I had some room for error. But as long as you don’t cut the hole too big, you’ll be fine.
I was able to loosen the sconce just enough to tuck the edges of the paper behind it.
Wallpaper tips For BEginners
If you find any air bubbles after hanging, do not worry. You can make a tiny pinhole in the bubble and smooth it again with your sponge. This works amazingly well!
When lining up your wallpaper side by side, be sure not to overlap the seams. Do that side first and be aware when smoothing the rest that it doesn’t slide at the seams. I had some serious problems with this. Once it’s overlapped and starts to dry, there’s not an easy way to fix it. Air bubbles are easy to fix, seams are not.
Use a generous amount of paste, but try to apply it somewhat evenly. Be sure you get a lot of paste on the edges.
Having someone to help you will make this much easier! Thanks to my mom for coming over and helping me with this project.
I don’t have any pretty after shots of the entire room yet because I’m working on finishing up a few details. I have new sconces but need someone to install them and I’m going to replace the mirror and maybe reframe some of the wall art that’s in there. I’ll share that when it’s all done!