Simple Spring Cleaning Tips
I’ve come to realize that my little steam cleaner might be the MVP of cleaning products around here.
If you’re thinking about getting started on your spring cleaning, I’ve figured out how to simplify it a bit. So I thought I’d share a few of these spring cleaning tips with you here today. Spoiler alert, they all revolve around the steamer!
Approaching spring cleaning room by room makes it less overwhelming, as well as using as few cleaning products as possible. Which brings me to the steamer. Before the holidays, I shared with you how I used my carpet steamer to freshen up my area rugs. However, the carpet steamer comes with several attachments which makes it useful for cleaning many areas.
Spring Cleaning in The Kitchen
The worst part of cleaning the kitchen has to be the stove area. No matter how much I clean, there always seems to be grease build-up. Usually, when I clean this area, I use several different cleaners and sponges. This time around I decided to give the steamer a try instead.
Starting with the tile backsplash, I set up the steamer with the squeegee attachment. It has a rubber guard along the edge so as you blast out the steam you go back over it with that. Sort of like when the guys at the gas station wash your windshield. Do any gas stations even do that anymore?
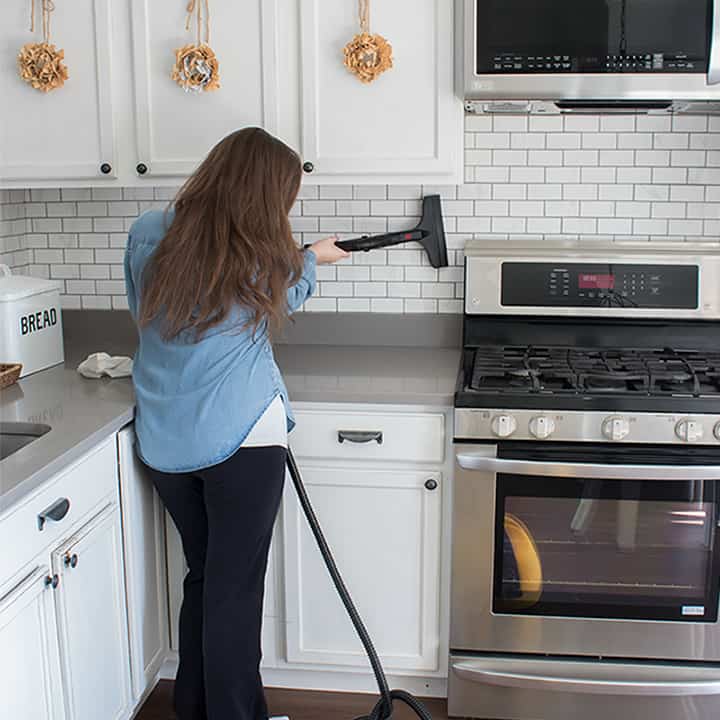
Once I went over it a time or two, I wiped it down with a lint-free cloth. I was surprised to see there was a fair amount of grease on there even though I keep the backsplash pretty clean.
Using the steamer on this cut the cleaning time in half as compared to spraying a cleaner on there and scrubbing it down. It was much less elbow grease as well.
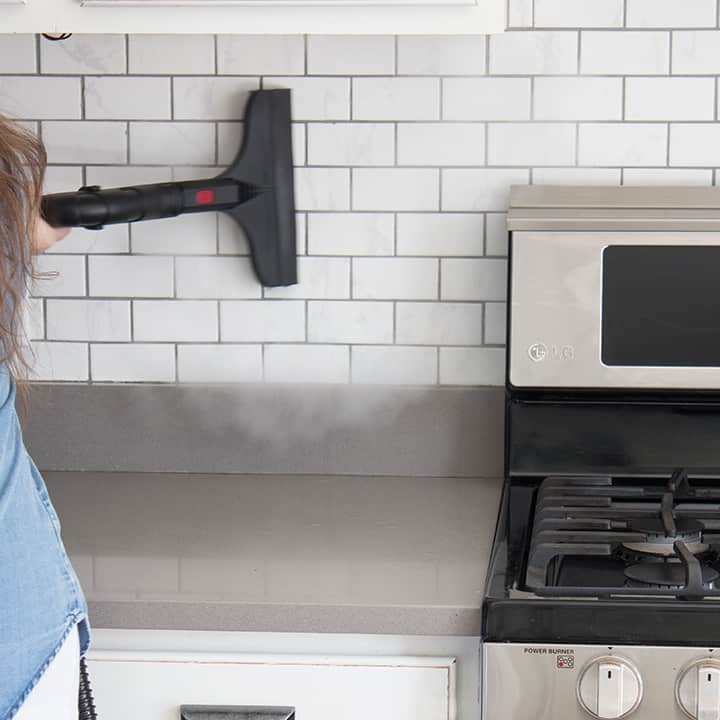
Now I knew I was onto something with the steamer so I used it to clean the stovetop as well. For the stove, I removed the squeegee and instead used the jet nozzle attachment to better direct the steam. The steam helped loosen up any gunk that was on there. In some of the more soiled areas, I used a toothbrush to scrub those away.
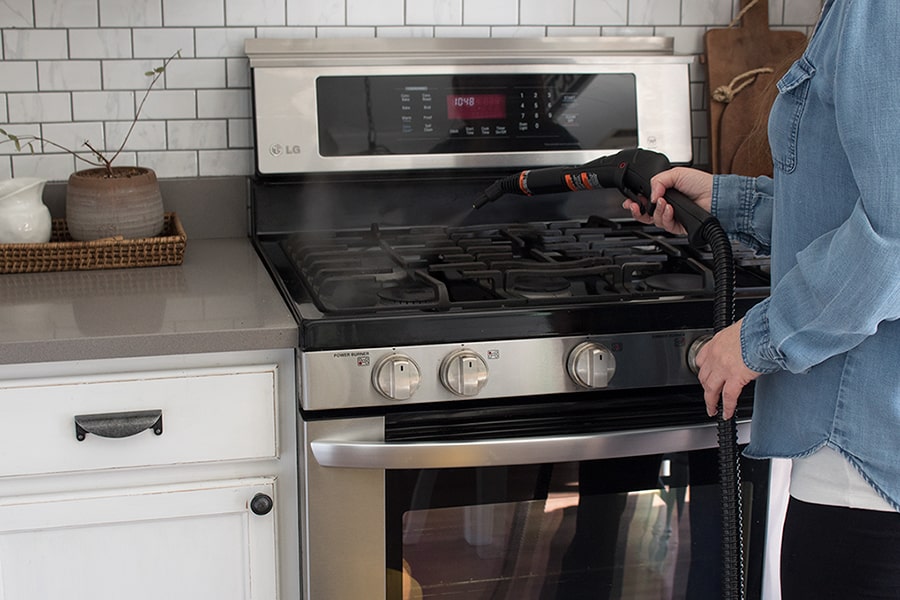
There are two nozzle brushes for scrubbing included with the steamer but I forgot about those until after I was done for the day.
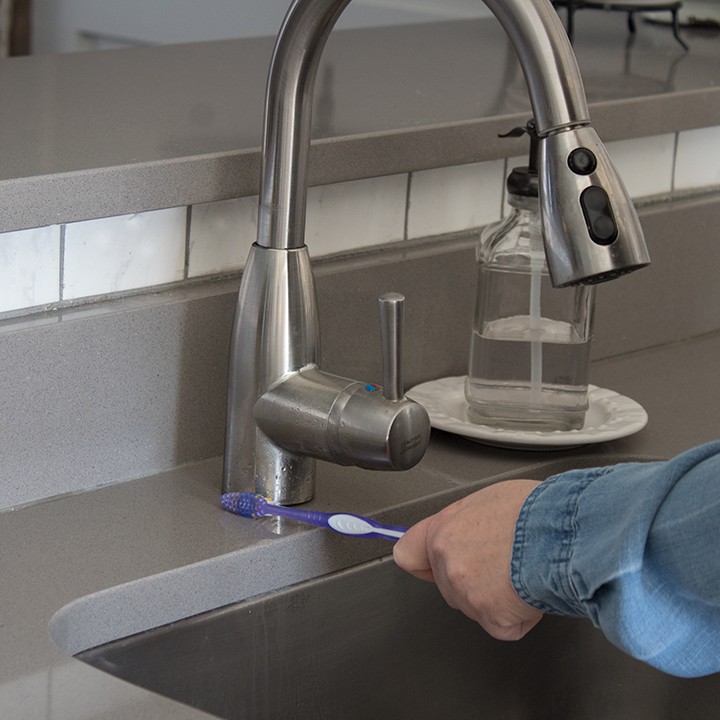
Next, I moved to the faucets. I hate that little area around the bottom of the faucet that always gets gunked up. Normally, I clean that with an abrasive cleaner and a toothbrush but the steamer worked even better.
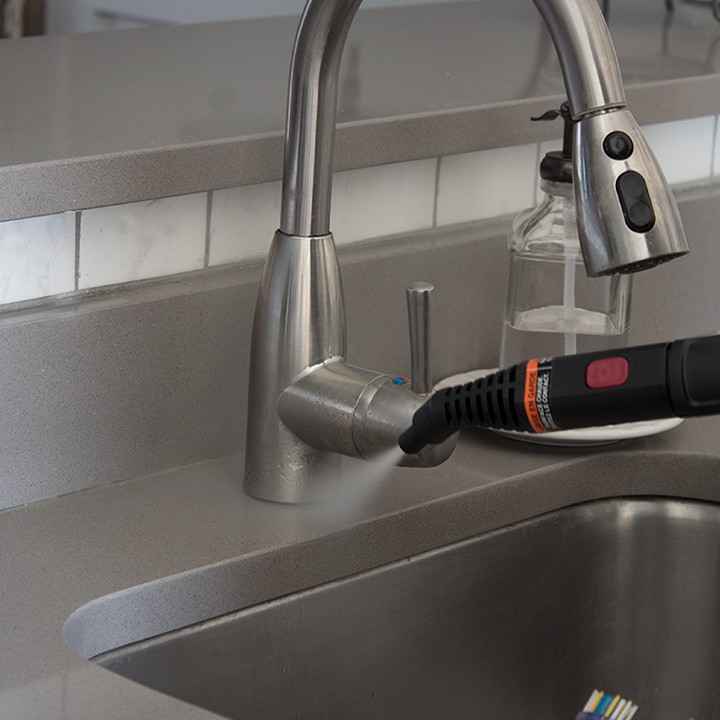
It loosed everything up with one big blast of steam and I was able to easily wipe it away with the toothbrush.
Using A Steam Cleaner Saves Money
At this point, I realized how much I was actually able to clean with my steamer and I hadn’t even used any other cleaning product yet. The more I’m able to use the steamer on, the fewer products I have to buy. Fewer products, fewer chemicals, less money spent. Winning!
Considering I had just cleaned the carpets and the upholstery in my living room a few months ago, I skipped that in my Spring cleaning. I moved onto the bathroom instead.
Spring Cleaning The Bathroom
With the flu still going around and the coronavirus all over the news I also wanted to sanitize as much as I could while cleaning.
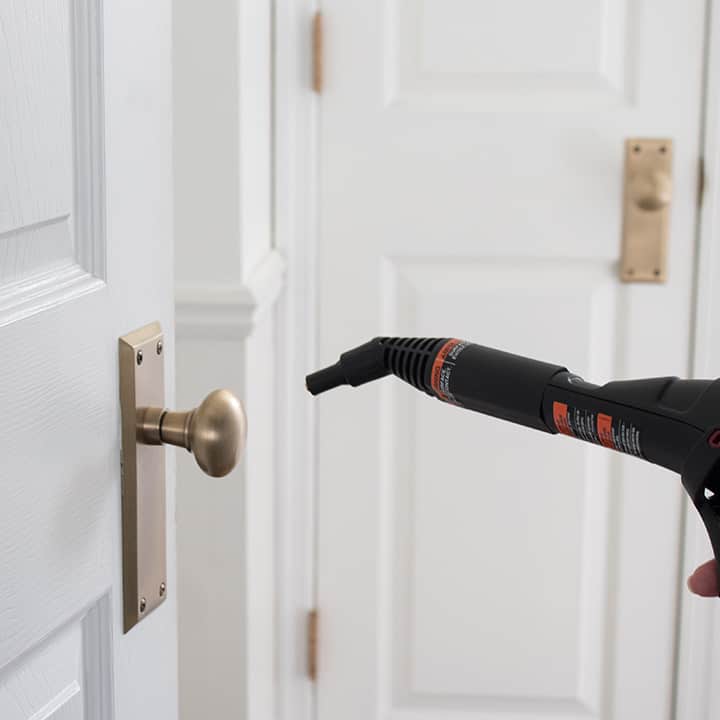
Doorknobs are germy little spots so they got a sanitizing blast of steam as well. Again, I used a lint-free cloth to wipe them down after steaming.
My bathroom faucet got the same treatment as the kitchen faucet did. The bathroom is harder to clean because I can’t fit my hand behind there to scrub it. Instead, I steamed it up and used the toothbrush to get behind it.
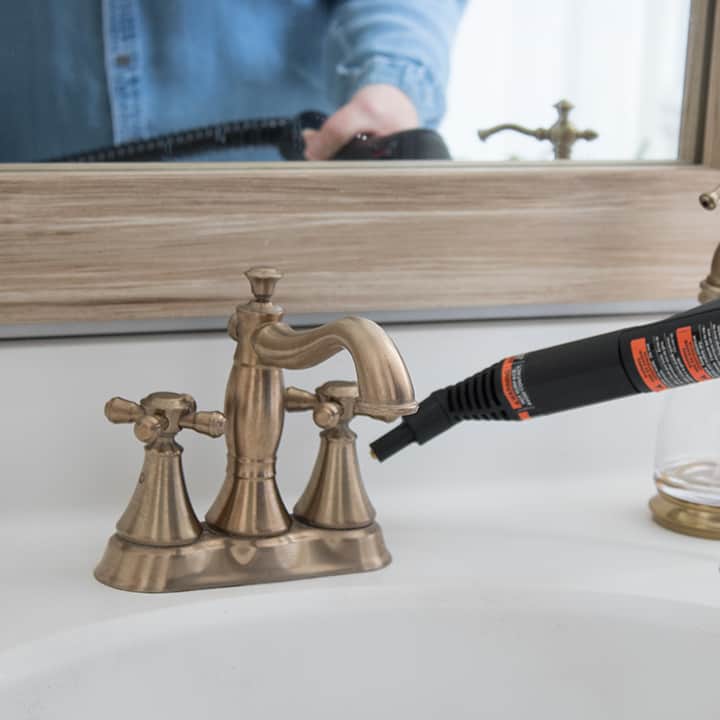
I did the shower, the showerhead, and the base of the toilets as well. And you guys, it did not take long at all.
Cleaning Windows
Did you know that you can steam clean your windows too? I removed the jet nozzle and put the squeegee back on for the window. One thing to note here is, that you should not use the steamer on the window if the temperature is below 32 degrees. Glass can crack in colder temperatures.
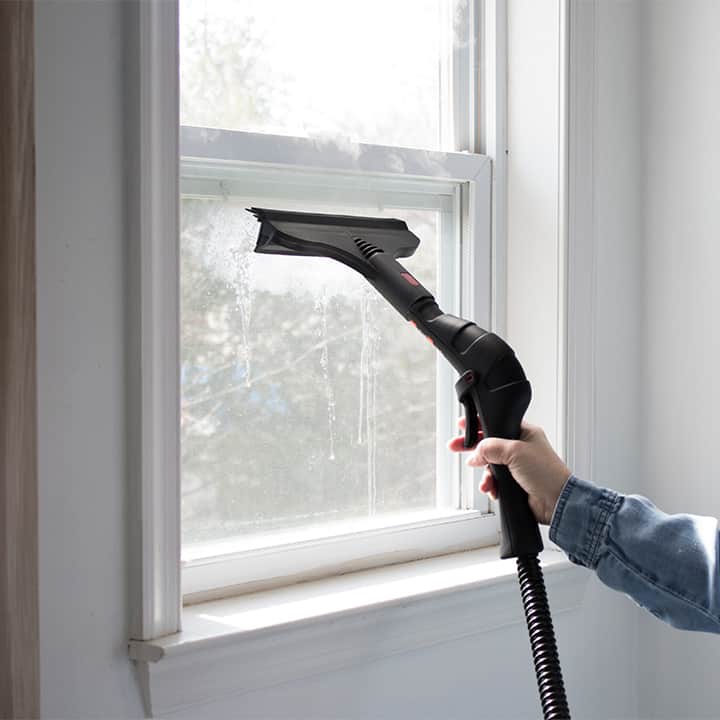
Using the steamer on the window also resulted in zero streaks. That was an added bonus I didn’t expect.
I literally could not believe how many areas of the house I was able to clean with my power steamer and not much else. It makes cleaning so much simpler when you don’t have to run back and forth for multiple products. It’s also a great option in you prefer to stay away from chemical cleaners, which is the direction I’m going in.
I’ll be making my own all-natural surface cleaner next, so stay tuned for that.
What are some of your best spring cleaning tips? I’d love to hear them!

What an addition to the cleaning arsenal! Thanks for the information!
Thats so much better than using chemical cleaners.