Kitchen Makeover Progress
Several weeks ago, I finally shared a before picture of my kitchen for the first time. In the weeks since then, The kitchen makeover had begun. All DIY style of course. Dont’ worry, I’ve included a few pretty inspiration pictures along with my construction pics because no one wants to see boring construction pics. In case you missed it, here it my kitchen before we began the renos.
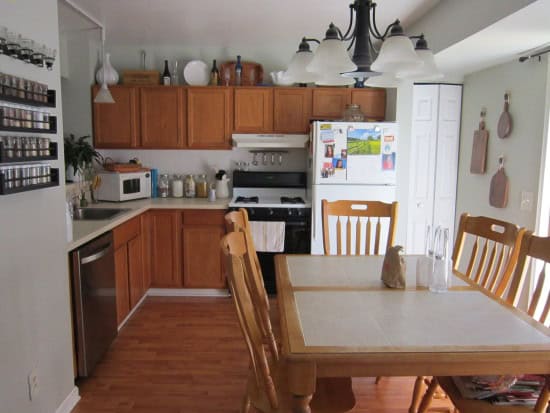
That picture was taken several years ago in my pre blogging days. Everything in this kitchen is basic builder grade materials. Functional, but not much to look at. I’ve thought about how I would makeover this kitchen for years and it always includes lots of white.
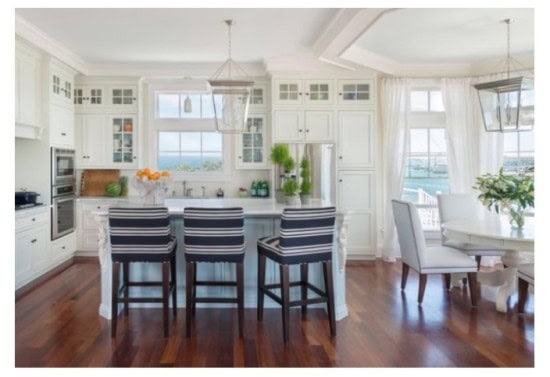
The makeover started when my stove broke about a month or so ago. When we went to Home Depot for the new stove, we got such a great deal that we decided to buy a microwave to hang on the wall above it as well. We can finally get the old microwave off my counters & free up much needed counter space.
However, mounting the microwave above the stove meant losing the cabinet space in that section. The cabinets and the skinny pantry to the right of the fridge are all the storage in my small kitchen, which is not much at all.
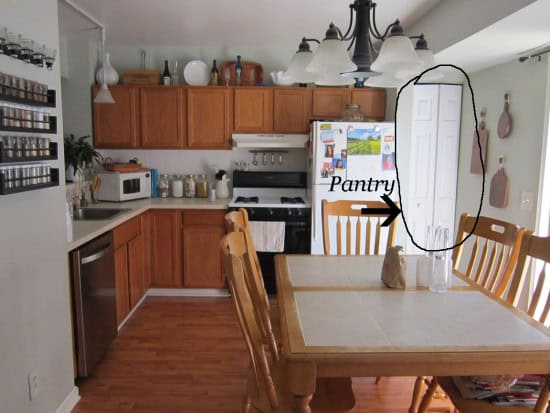
We could have installed the microwave and just bumped up the existing cabinet, but I didn’t want an uneven line of cabinets across the top. I also have always wanted to extend my cabinets up to the ceiling, so this is how we are going to solve the microwave problem.
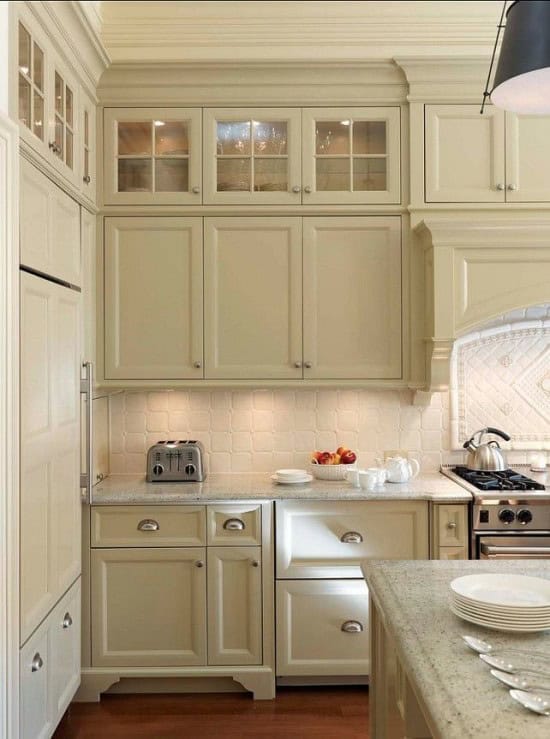 via HomeBunch
The tiny cabinets shown above my fridge are only 12″ tall. The space above the existing cabinets is 16″ H. I realized if we could buy a few sections of the 12″ cabinets, and install them above the existing cabinets we could get the look of taller cabinets. Then we will add a piece of crown molding to the top to finish it off.
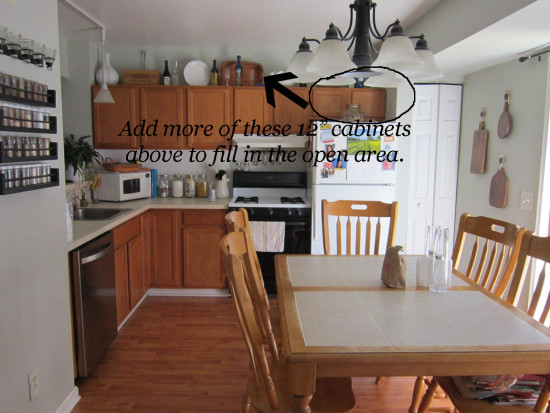
This picture below was my kitchen last Saturday, my husband and his cousin began installing the microwave and some of the cabinets above. We reused the one set of 12″ cabinets that were over the fridge and bought another section at Habitat for Humanity for only $20. Finding pieces at Habitat can save a ton of money, that same piece in Home Depot would’ve cost about $150.

The one thing my husband has always wanted in the kitchen is a larger fridge. Our existing fridge is only 29.5″ wide. He has always said he wanted to take out the pantry to allow for more fridge space. I fought him on this because I pack a lot of food in that small pantry. One thing I’ve always disliked is how the fridge and the stove are placed right next to each other. Not only does it look terrible, it’s not energy efficient at all.
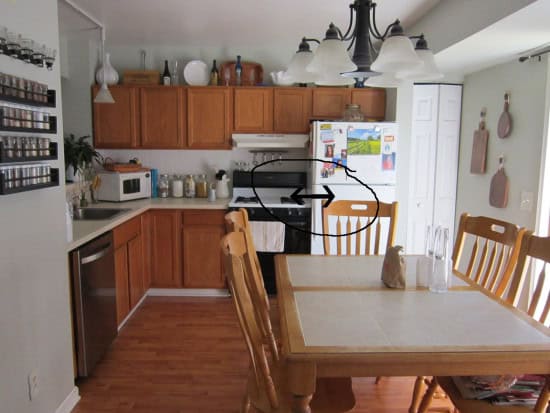
But once we started this kitchen reno, I came up with a solution to solve both issues. We could get my husband the bigger fridge without sacrificing too much storage space, and separate the stove and fridge.
To do this we removed the pantry, to allow enough space to get a bigger fridge and move it over to the right some. That will allow room for a cabinet in between the stove and fridge, while still having a few inches leftover on the right of the fridge to put in a slim slide out storage pantry.
 via DIY Home Decor
After my husband removed the pantry, I picked up a lower cabinet at Habitat for Humanity for only $25. I’m continuing with the builder grade cabinets until all the pieces are in place. Once we get the layout finalized, I will paint and customize them. The cabinet I picked up was 18″ W. We put it in place to see how it would look. I then realized that an 18″ really wouldn’t allow for enough wiggle room for a bigger fridge and a slide out pantry. This (very blurry) photo shows the 18″ piece.

So we went to Lowe’s and picked up a 12″ W stock cabinet. That extra 6″ will make the difference of having everything we want without compromise. Here is how that looks so far.

This is where we are at right now. I need more upper sections to complete the wall first. Once we get those, we can move on to the next steps. We are fortunate to have my husband’s cousin helping us again with this makeover. He and my husband together do amazing work, they are the two who made my family room vision come together so I’m excited to see where we can take this little kitchen!
Update: See the full kitchen makeover here!


I love that slide out storage cabinet:)
That’s a lot of progress! I love the smaller cabinets on top that will go all the way to the ceiling as well as the idea of a sliding pantry. Thanks for sharing your progress!
Shonee
http://www.hawthorneandmain.com
I would like to see a picture of the slide out pantry.
You can see it here: https://thehoneycombhome.com/kitchen-makeover-reveal/
I love your backsplash and tile behind your stove! I’m in the process of doing my kitchen – would you be willing to share what materials/brand/names they are? I’ve got a kitchen that is classic 2003 brown/black, and knotty alder cabinets so going with an off white countertop and trying to find a nice neutral design for backsplash since there’s so much visual noise going on with the knotty alder.
I don’t remember the brand name, but I found the tile at Lowe’s. Hope that helps!