Kitchen Door Makeover

Sometimes life hands you design lemons. I mentioned last week that I’ve never yet shared a picture of my kitchen on the blog, and for good reason. One of several design dilemmas in this room is these shuttered closet doors.

Pretty hideous. My husband and I discussed switching them out but it isn’t that easy. The reason being, behind these doors is my furnace and hot water heater. Right in my kitchen! Talk about design dilemma! Because of that, the doors need to be vented. I had the idea of painting & distressing these doors for a while now, but I also wanted to do something with the doorknobs.
My first thought was to switch them out for the cremone casement hardware , Restoration Hardware style.
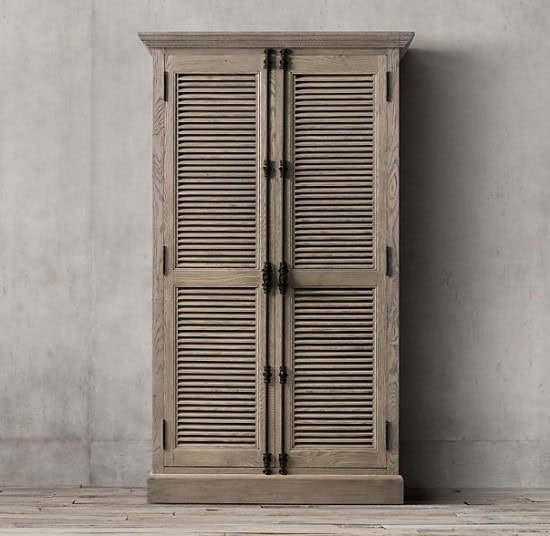
Unfortunately this type of hardware doesn’t come cheap, so I put this project off. Then, two weeks ago my husband and I were doing some yard work and he pointed out my whiskey barrel planter was falling apart and rotting. While disassembling it, I noticed the metal handles and decided maybe they could be my new door knobs. If you follow me on Instagram you may have seen this photo already.

Meanwhile, in addition to my ugly shuttered doors, I have another door just to the right of it. This door leads to our family room which was originally our garage. We had installed a cat door prior to converting the room so the cats could access the litter box. This was the only picture I could find of both doors, pretend you don’t notice the mess!
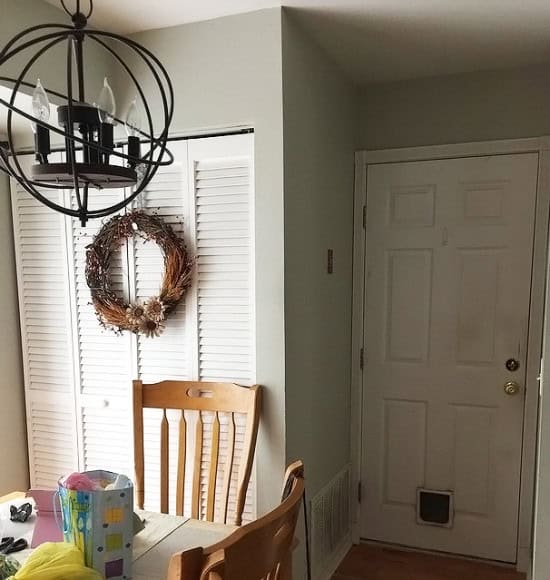
Once we converted the room, we talked about replacing the door with a French door. For my birthday in September my husband bought me one. Yay!
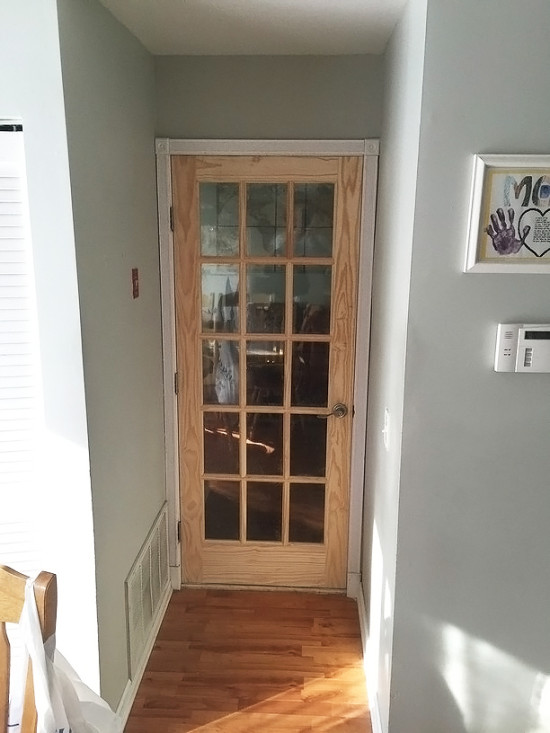
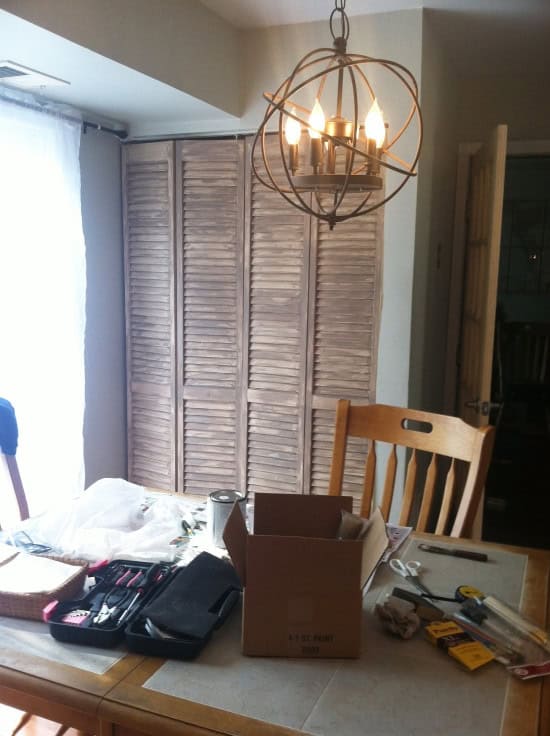
So now that I was ready for a door makeover (times two) in here, I decided to work on the shuttered doors. In order to get the distressed finish I was going for, I first painted them with Annie Sloan chalk paint in Cocoa, so that when it was time to distress them, this is the color that would show through. Read my first experiment about how to use chalk paint here.

This was my first time using the cocoa color and I was loving it. I’m keeping this in mind for other projects. With painting, I have been finding lately that it’s better to use a foam or a sponge type brush* rather than a regular paint brush, you get less brush strokes that way.
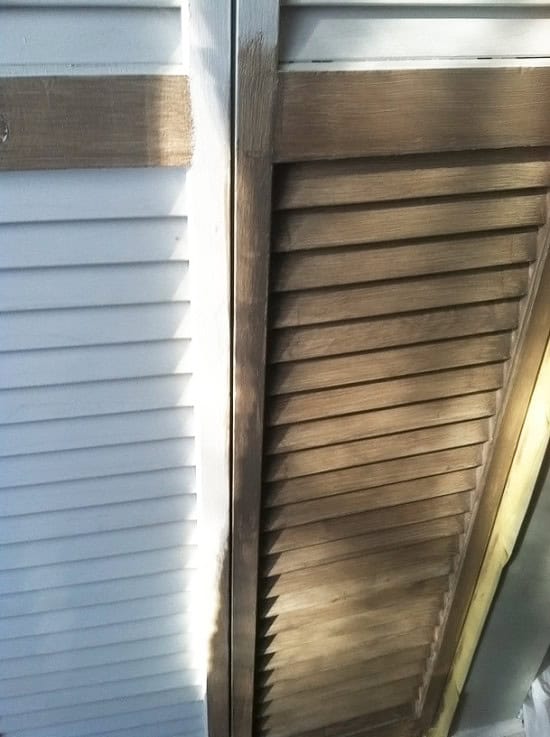
It took several hours to get the first coat of paint on. This is how it looked when I was done with that. Clearly not a staged shot, I’m keeping it real today, mess and all!
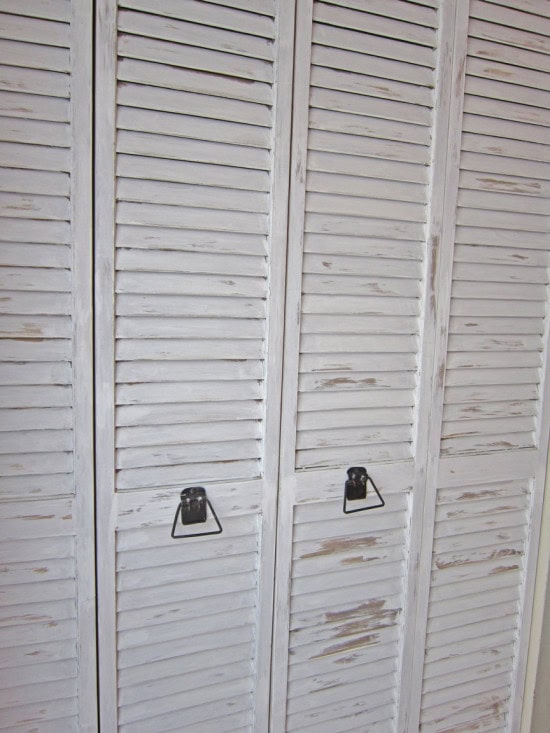
About a week later I got around to part two, adding the Annie Sloan Pure White over the Cocoa. I intended to fully cover the Cocoa, and then sand it off in spots, but when I began I realized it would be easier to just paint it on without fully covering the first coat. Then I wouldn’t need to sand so much after.

As it turned out in the end, I did do a little sanding just around the edges when I had all of the white paint on. Lastly, I attached my repurposed handles for doorknobs!

Using a little of the leftover paint from my One Room Challenge, I gave my French door a coat of Pure White from Sherwin-Williams. Here are both of the doors completed!
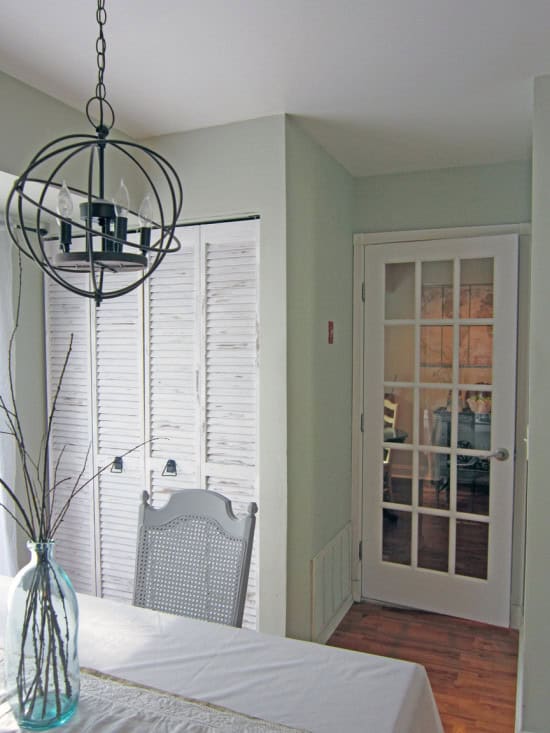
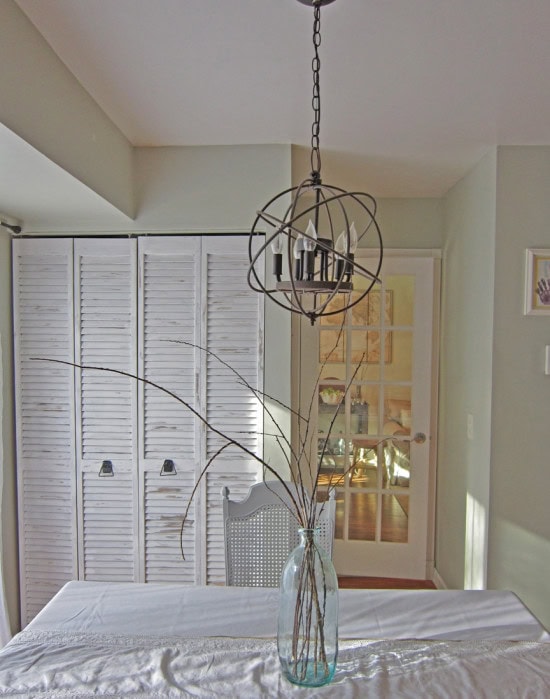

Before and after:
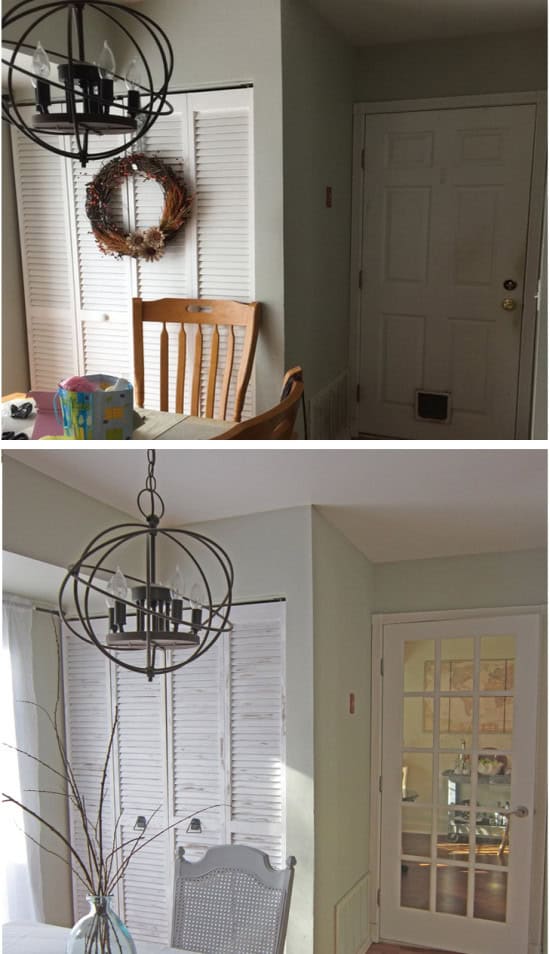
Work has also begun on the rest of my very builder grade kitchen, so I will finally show you what I’m starting with.
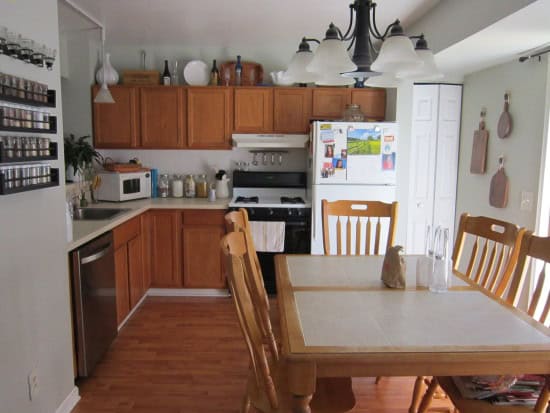
This photo is from 2012 before I even began blogging. The only thing that has changed since this day is that the light fixture was replaced with an Orb Chandelier as you can see in the pictures above, and we have a new stove. The one shown in the picture broke about 3 weeks ago, so we had to replace it. We also picked up the matching microwave to hang above it, that is yet to be installed. We have big plans and a tiny budget for this room so stay tuned for the process!
UPDATE: See the full kitchen makeover here.
*This post contains an affiliate link.

What a difference…you did such a great job on these!
Thanks Tammy!
Beautiful!
It truly makes a huge difference in the the space! I love it, and I bet a lot of people would love to do the same with their doors. Thank you for sharing it with us at the Your Home Decor & More Link Party!
Call me crazy but I love a good shutter. So many people are decorating with chippy, old shutters, and I think your doors are now a lovely back drop for your eating area. Throw some boxwood wreaths in front and your doors are suddenly a thing of dreams 😉 You did a lovely job of transforming these doors.
It looks wonderful! Great job….yes, ASCP is wonderful…and the cocoa color is one of my favorites….My main go to color is French Linen….but it is so easy…and fun…..
Looks great, good job.
Nancy
wildoakdesigns.blogspot.com
They turned out great! It was just what was needed to make these work great here! I love the rough finish of them.
These turned out great! I also LOVE your light fixture!
Wow! I love how you made those doors go from boring to amazing!! I love that french door too; what a great birthday present!!
Thanks for sharing this fabulous makeover! I have been in search of ways to make over my pantry door. Just may be referring to this.
The space was looking a little steral until the kitchen door makeover. Now it looks so cozy!
Roxanne, what a transformation! I love the way the doors turned out. And it was brilliant to not worry about doing a solid white coat of paint. Save paint, save time. Thanks for sharing!
Shonee
http://www.hawthorneandmain.com
Wow. What a difference. Looks great!!
You are so creative!! I can’t believe you made shutter doors look so chic and rustic. They compliment the french door beautifully. Thank you for sharing at The Creative Circle.
Thanks Kathy, that little makeover made such a huge difference!