DIY Moss Topiary
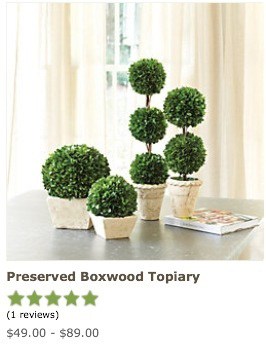
I’ve been searching for some boxwood topiaries for my bathroom and really couldn’t find any. Ballard Designs has these (shown below) that are nice, but the price is way too high. For the two I wanted to buy, it would cost over $110!
Since I had some styrofoam balls left from my Decorative Bowl Filler project, I decided to make my own topiaries. When I was in the dollar store recently I found bags of moss and I thought that would be as good, if not better than boxwood for topiaries.
Supplies needed:
- Styrofoam balls in graduated sizes
- Lollipop sticks
- Moss
- Hot glue
- Small flower pots
- Rocks or sand for the base
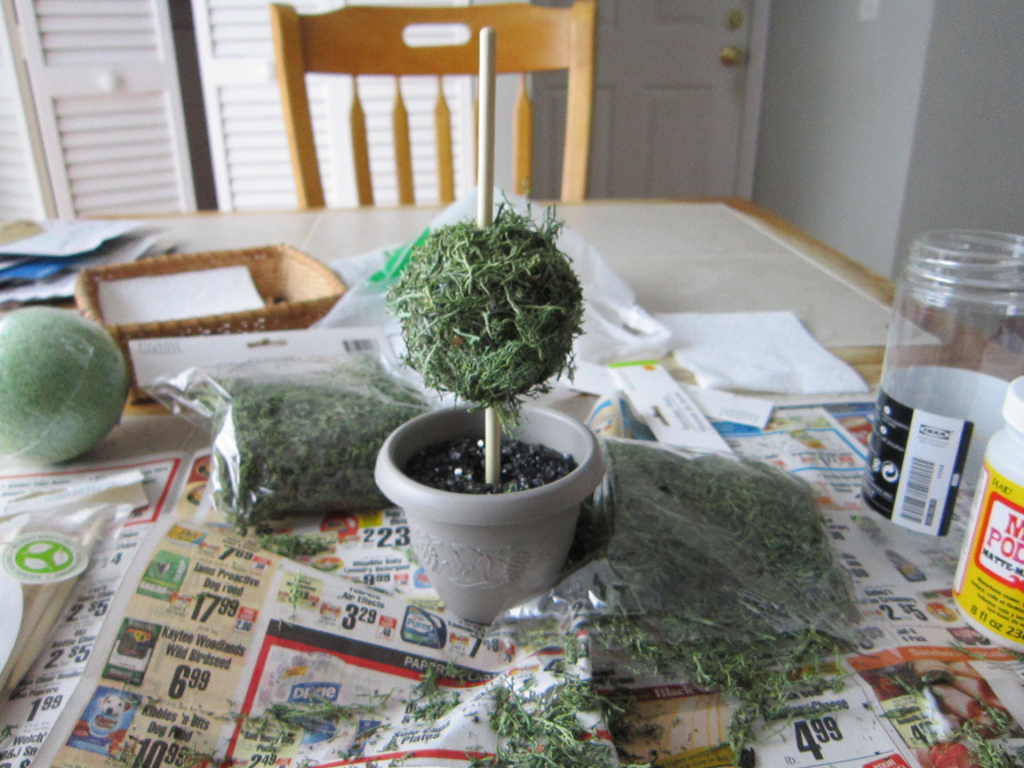
Here is a photo of my supplies. Ignore the random styrofoam balls in the pot. The wood sticks are lollipop sticks I had picked up at Michael’s.

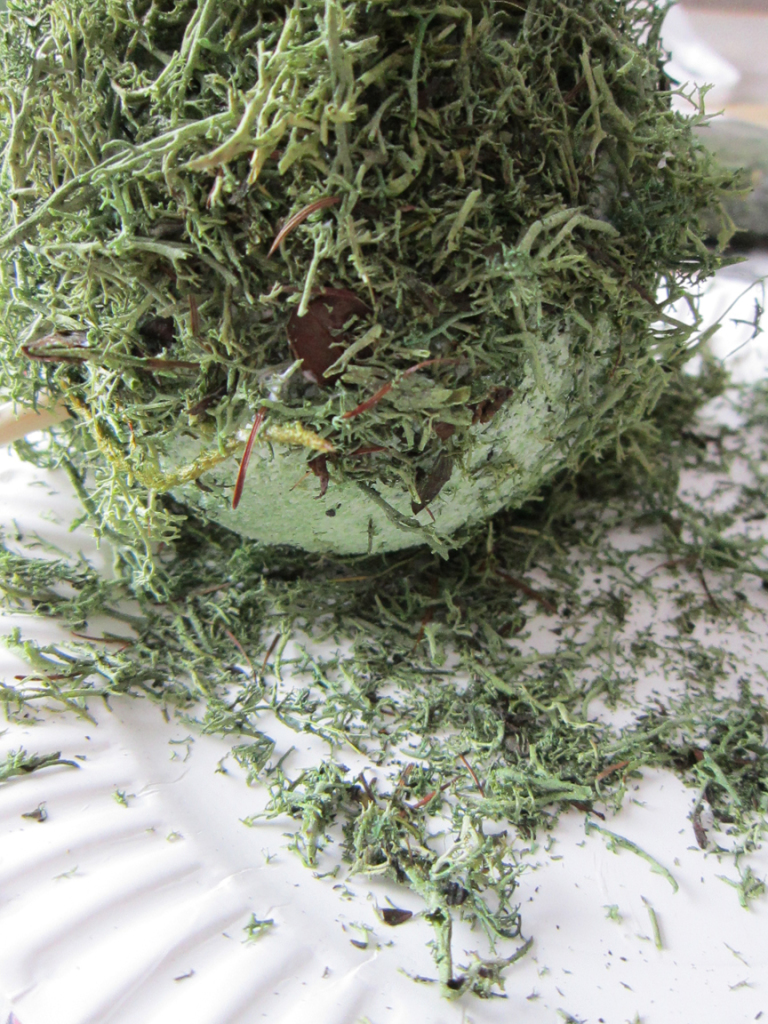
For my first attempt, I used Mod Podge to attach the moss to the ball. I painted it on there and rolled the ball around in the moss. This did not work too well, the moss wasn’t sticking enough and kept falling off. Then I tried using hot glue, which worked much better. It is best to work in sections because the hot glue dries fast.
I needed some weight in the bottom of the pot so it wouldn’t be top heavy. I had these little black rocks on hand I had picked up at Ikea to do a little succulent vase, but my succulents died before I got to that little project. Apparently, “air plants” aren’t so easy to keep alive. I think my husband was over- watering them. When in doubt, blame the husband.
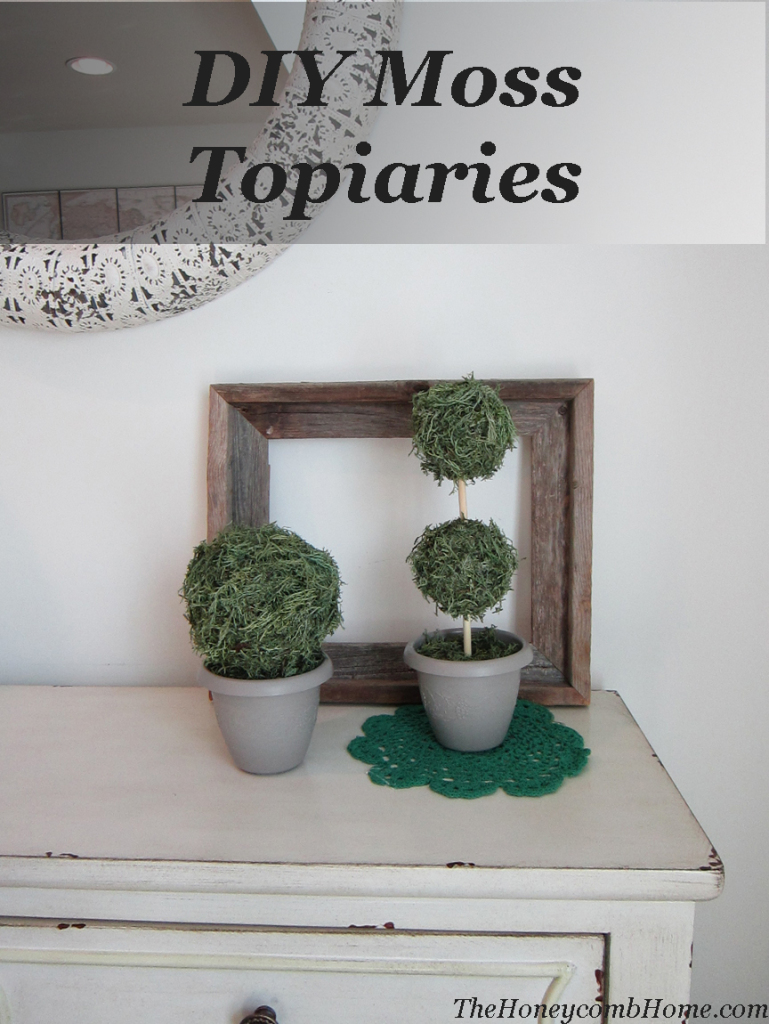
I attached the moss ball to one of the sticks and stuck it in the pot. Then I made a second one and stuck it into the first moss ball. I also covered the rocks in the bottom with some of the moss, using more of the hot glue to keep it in place.
For the shorter topiary, I used a slightly larger styrofoam ball and covered it the same way. I cut the stick down so that the ball would sit more flush with the top of the pot.

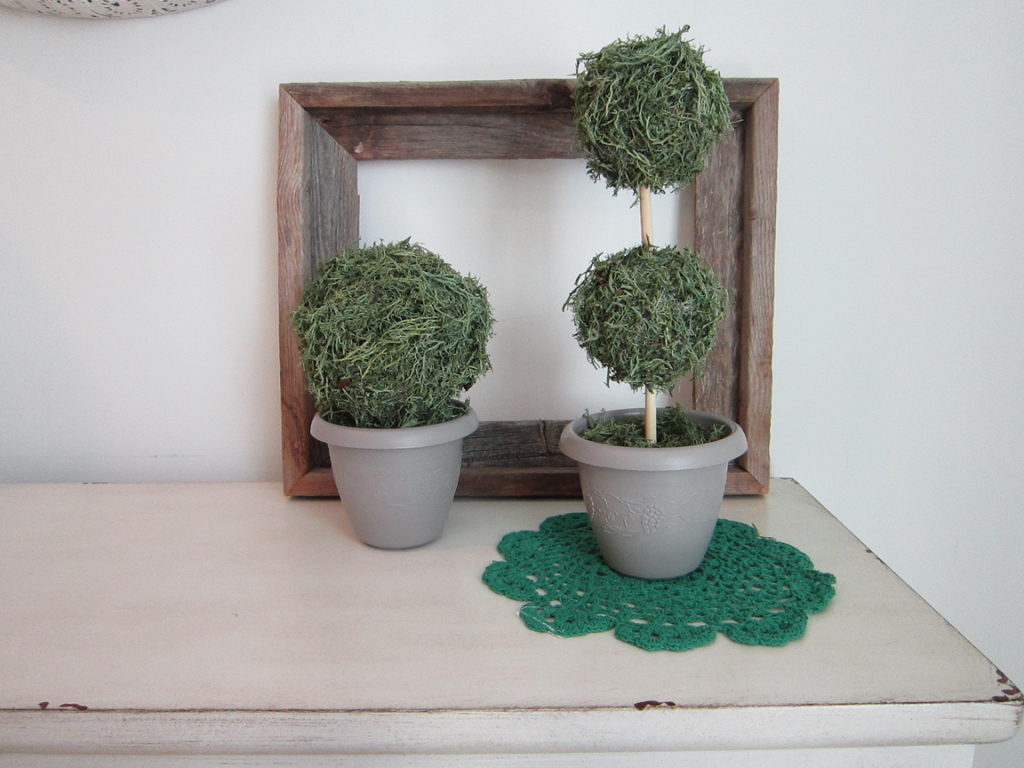
I’m really happy with the way these turned out, and for just a few dollars each. Much better than the $110 it would’ve cost from Ballard. I keep expecting to walk in there and see that the moss has all fallen off, but it’s been a few weeks and they’re holding up great.
Have you entered to win the Luck of The Irish Giveaway yet? $1,500 Paypal cash is up for grabs! (giveaway now closed)
Love them!!
These are great! I love Ballard but not so much the prices! I love that you made your own that are just as pretty for such a low price.
These are so cute! I love them, they scream spring to me. I also think it is cute that you had a lot of this randomly at your disposal in your home. I am the same way and am shocked when I have just what I need. I may have to do this to dress up y outdoor space when it finally warms up.
Emily, I love the idea of making one for outdoors. A really large one on a covered porch or patio would look great! And I wouldn’t have to remember to water it, lol!
How pretty! This is such a good use for styrofoam balls. It’s always fun to be able to DIY and get just the look you want. I’m visiting from the March Blog Hob Nob. Happy to have found your blog.
I love the way these turned out! The moss is lovely!
Those turned out great and you can’t beat that big savings! I’m working on some topiaries now also. Thank you for sharing with us and our readers at Merry Monday! We hope to see you at the next party too!
Love this idea! I’ve been looking for preserved boxwood topiaries or boxwood balls locally and can’t find them anywhere. I want to add a couple inside my kitchen bay window so this would be a great DIY alternative and so much cheaper too. Thanks for the inspiration!
Very cute 🙂 I love a good topiary, yours turned out so nice.
I’d love for you to join in on Talented Tuesday Link Party! It’s on the blog now! 🙂
These are lovely. And I think, perhaps, I could tackle something like this. 🙂 Thank you for sharing 🙂 #SoMe2
Love these! Would you share tomorrow night when Friday Favorites goes live over http://notatrophywife.com. laura
Very nice! The only thing you might think about, is they sell spray paint that looks like stone. Might be a nice touch!
I can’t believe you can buy moss at the dollar store! That is so cool. I’m going to be keeping an eye out to see if there is anywhere here that sells moss.
These are darling! I just found your blog via The Shabby Nest. I love it and am a new follower!
Thank you, Candice!
These look beautiful and easy–I’d actually be able to do that! Thanks for linking up at the #HomeMattersParty!
These are wonderful and I love to save big money like that!! Great job!
I would love for you to stop by my blog and share on our link party Something to Talk About!
Have a great day and hope to see you there!
Karen
Pretty project for spring! I hope it gets here soon. Thanks for linking up with us on the Momma Told Me Link Party. We always love your shares!
~Jen
Roxanne they are fantastic and look just as good as the expensive version – I am off to by some moss 🙂
Love This!! Thanks for sharing on My 2 Favorite Things on Thursday – Link Party!! Hope you come back tomorrow and share some more…I love having you!! Pinned!!
This is so adorable! I love moss, I just did a post on a moss heart too lol.., and its been a while since I have made a topiary. This would be a fun project and the colors on it would work perfect for any home decor style!!
Thanks for sharing at Totally Terrific Tuesday!! Hope you make it back this week!
Jess
Great idea! I love topiaries and frankly sometimes you just can’t afford for the entire home to have boxwood topiaries so this is a great alternative. Thank for sharing.
These are great and perfect for Spring! I will be featuring these in my Friday Favorites this week! I’m happy to be hosting the Spring Craft Blog Hop with you #SCBH2015
Such a great knock off. I have always loved those Ballard ones, but so $$! Thanks for sharing with the Pretty Preppy Party!
Cute & easy–my kind of project! 🙂
Such a clever idea and they look perfect in your bathroom! Thanks so much for sharing at Best of the Nest, Roxanne!
These are my kind of topiaries (the ones that you can’t kill!). They look great!!