DIY Decorative Bowl Fillers
I think I’ve gone from frugal to downright cheap. I was in Marshall’s with my husband a few weeks ago looking at home decor items. I found one round object that I’ll call one of those decorative bowl fillers. It was priced at $5. My husband said, “you can make that yourself”. So true. And I happened to have all the things I would need to make it already at home. I didn’t think to take a picture of the item in Marshall’s. But within about 15 minutes of getting home, I had one made.
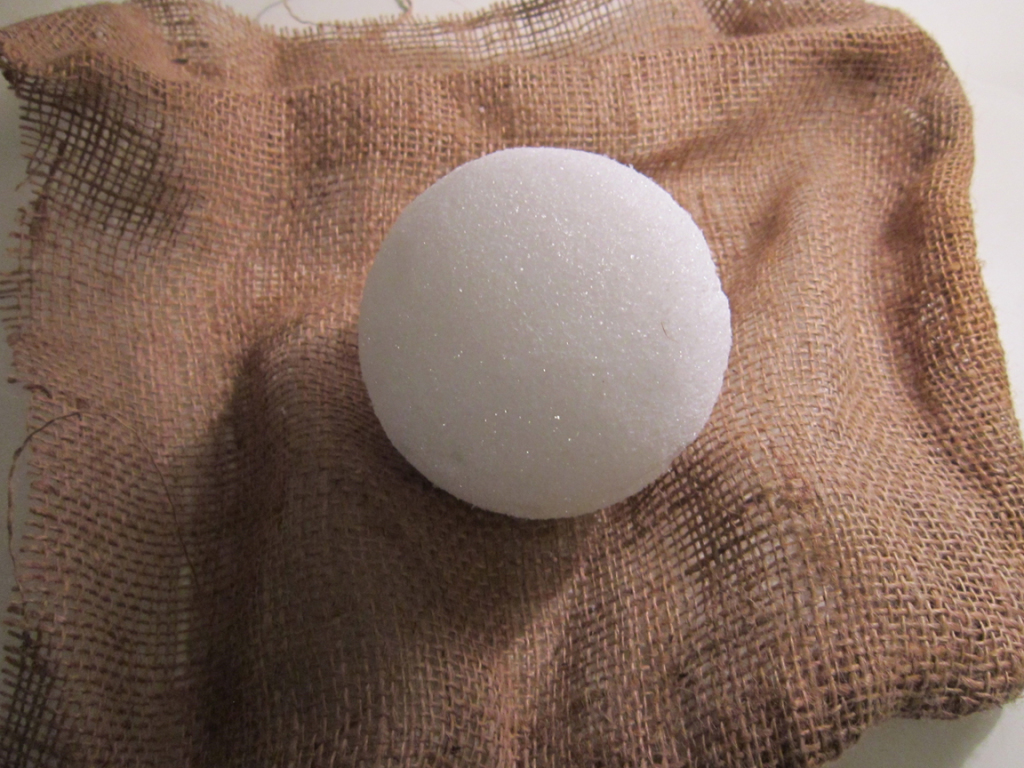
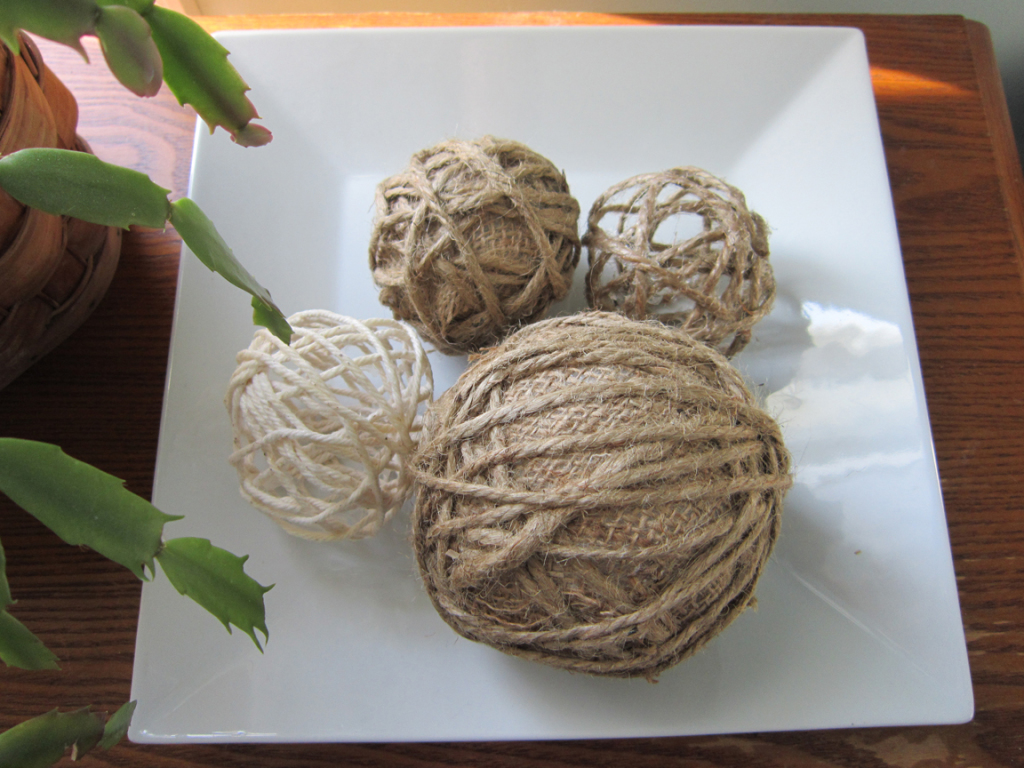
I had some styrofoam balls I picked up for another project that I never got around to. I wrapped the ball tightly in burlap and secured with hot glue.
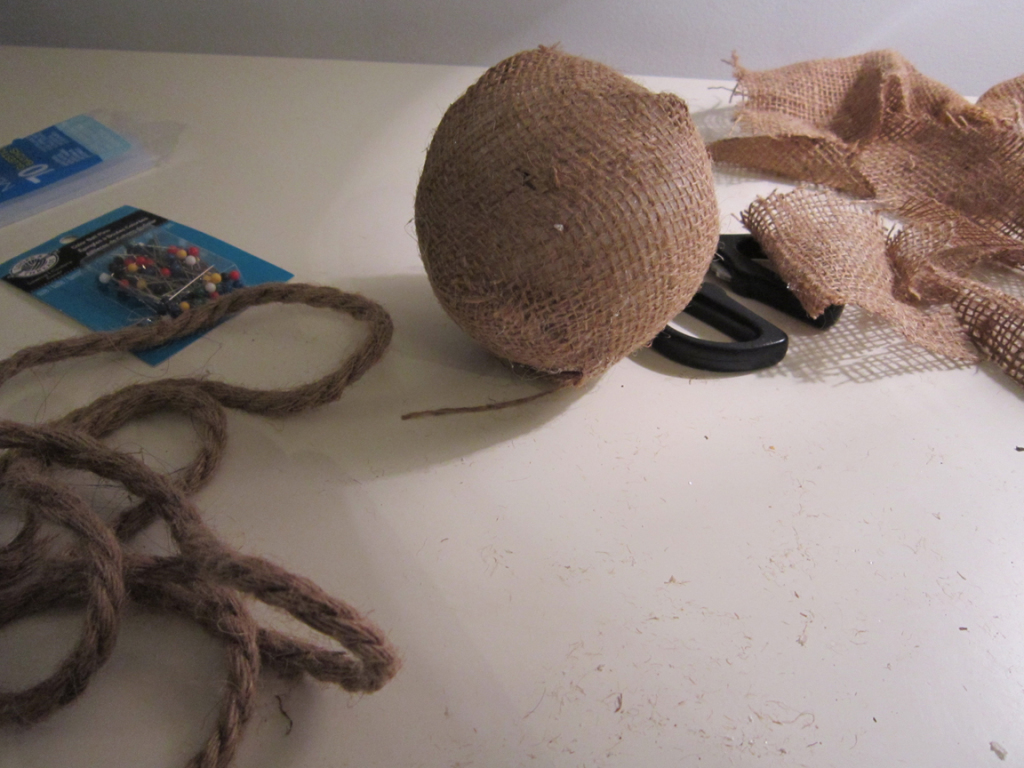
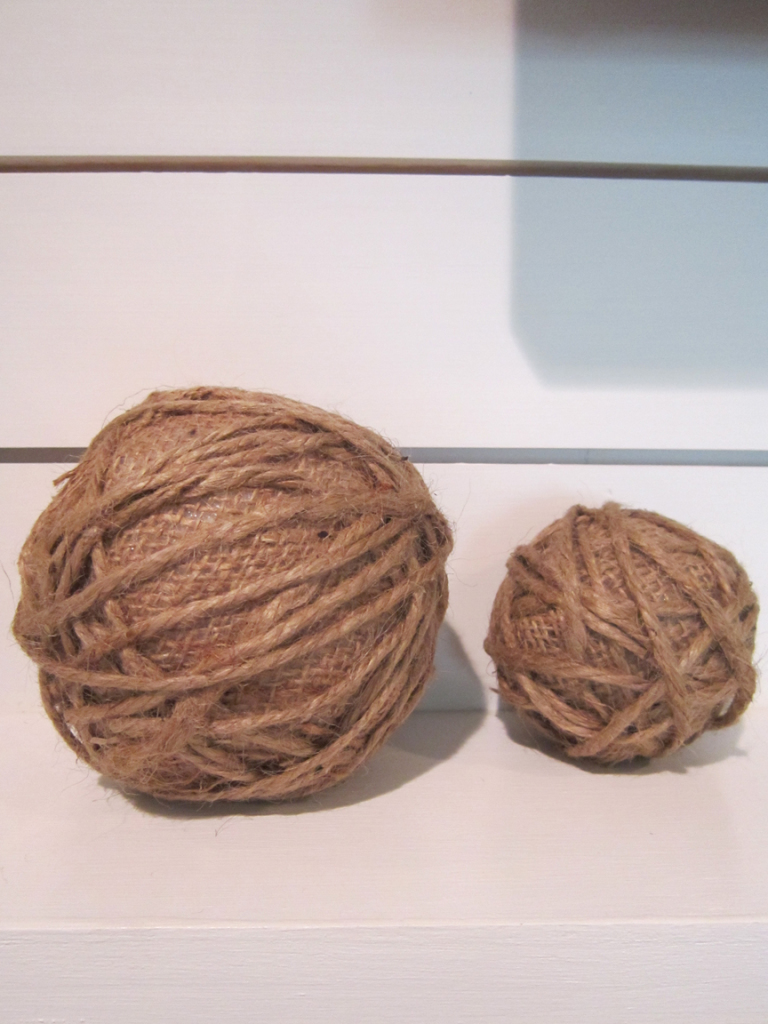
Then I just wrapped it with twine and secured that with some hot glue also. They really look just like the one from Marshalls. In fact, my husband thought I had actually bought it after all.
I got the burlap years ago when burlap was everywhere. My father had retired and was living in Alabama, and working part-time as a caretaker on a farm. I called him to see if he could get me some burlap sacks. Within a week, I had a box of burlap on my doorstep, no questions asked. My father has since passed away (or as Joel Osteen says, went to be with the Lord), so I am choosy about what I will use this burlap for. I tried to make Poinsettia ornaments a few years back with it because I had seen some in Pier 1 that I liked, but were expensive. They didn’t turn out well. I seem to have the most challenges with Christmas projects.
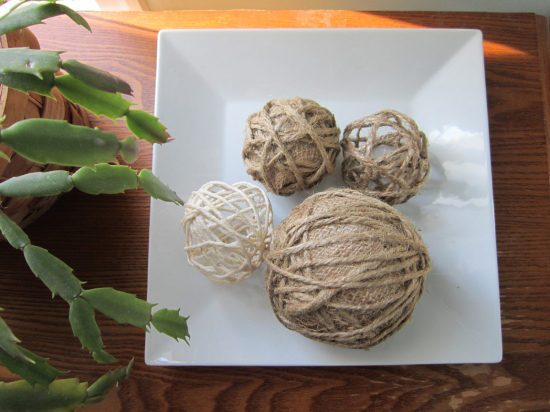
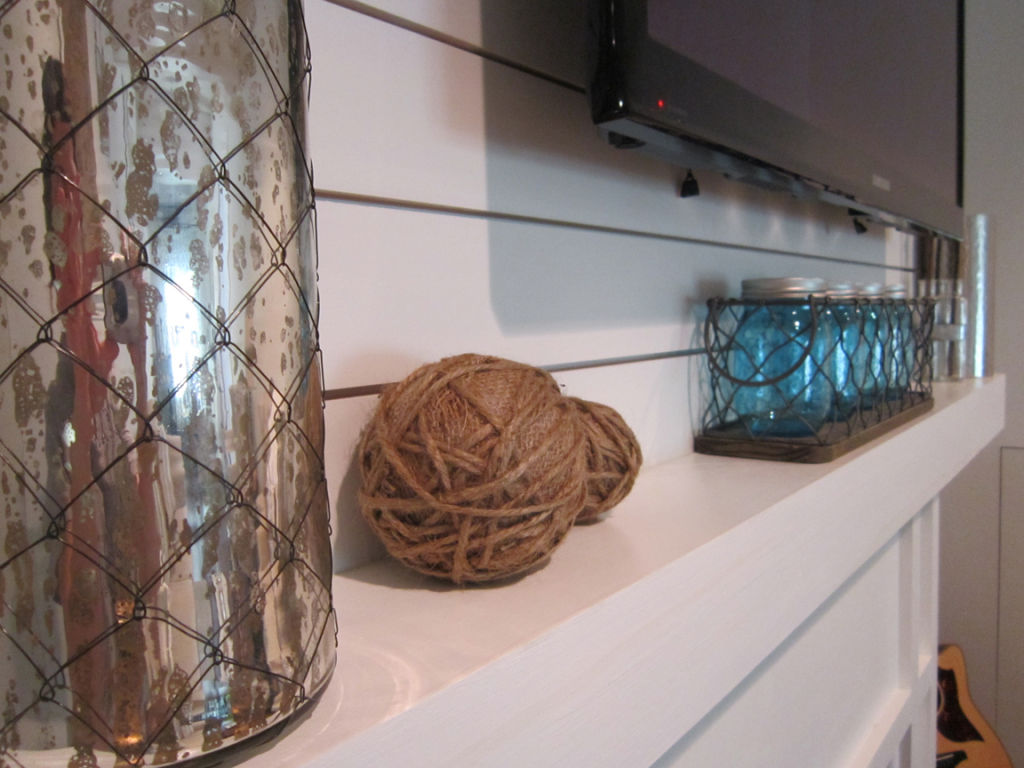
Luckily, my DIY bowl fillers did turn out well. I have them on my mantel. It adds some texture to the space.
Then I decided to make some more, a little differently. I wrapped balloons with some different types of twine that I had and covered the twine with Mod Podge.

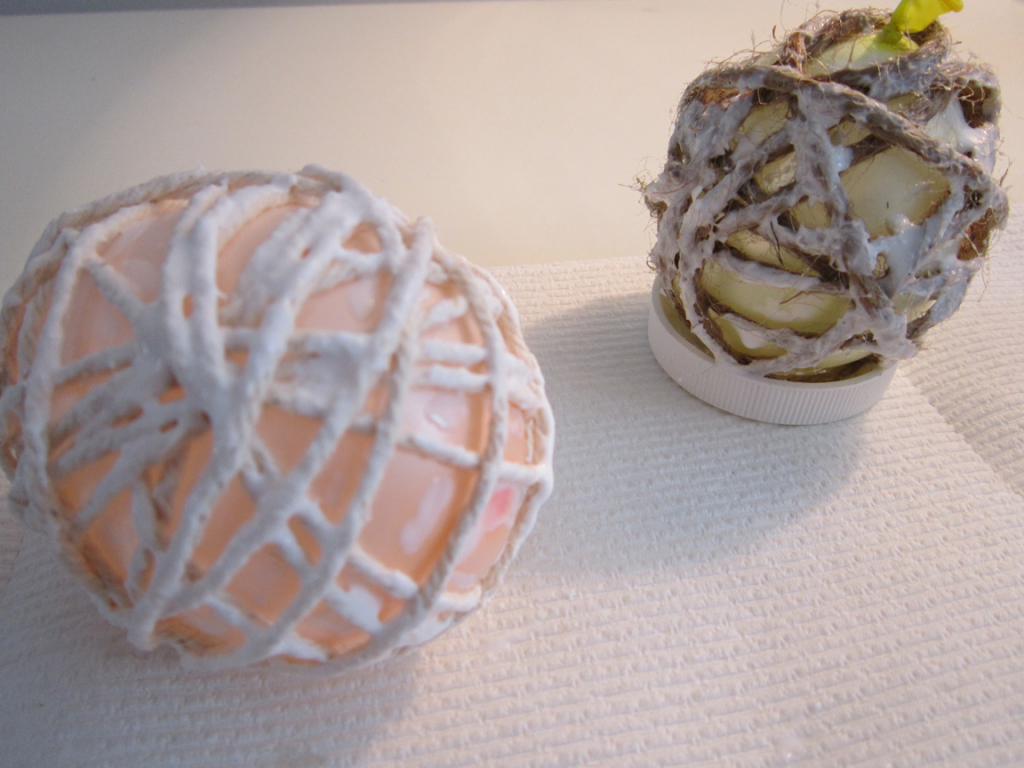
Once it fully dried, I popped the balloon and that was it!
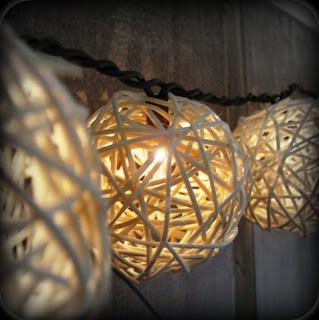
I found this cool light string made with those decorative bowl fillers on the blog Crafty Butt (yes, that is really her blog name, lol). Very clever idea.
I think these go into the category of easiest DIY project ever. I even made a small burlap ball for the cats, which they loved!
There is still time to win $100 Paypal cash. Enter the giveaway here until 2/7/15. (Giveaway ended)
I was totally thinking of making something like this just the other day! I’m so glad to see it can be done easily! Thanks for the great post!
I absolutely love these! I especially love the ones you made using the balloon. Great idea and I can’t wait to try it!
Love these! Don’t you always wonder who actually buys the ready made things like this!? I made some burlap poufs that would be nice additions to your bowl. There are lots of tutorials for them….but basically you just pin pieces of burlap onto styrofoam balls. Great Post!
What a great idea, I love these!
These turned out great! I cant’t wait to try this as I’ve already thought of a few places to display them. Thanks for another fun post!
I am such a fiber person so I love this idea, especially the fact that it appears so easy. I’m on my way upstairs to get started!
Great DIY ideas…thanks for sharing! I remember making Easter eggs and baskets by wrapping string around balloons when my kids were little…never thought to use the same idea for vase fillers. So clever. I can’t wait to try these!
This is my first visit to your blog (from Tweak It Tuesday) but I’ll be back!
Cheryl at 22 Applegate Lane
These are amazing! I love how they look, I will be doing this for sure!
These are super cute! Love them! Would be thrilled if you’d share them at our link party tomorrow please 🙂 Hope you have a great rest of the week!
What a great idea. I love to change mine up but it can get expensive. Thanks for sharing. Cathy
Great idea! I made some with burlap but haven’t thought to use a balloon! Great idea!
These came out really well……….and at $5.00 a ball I can certainly see why you did them.
I was thinking those lil ones must be done around a balloon. We did something like that
in art class years ago, then popped the balloon. Think it was pinata’s maybe…….
Well, enjoy all that nice texture, they look pretty in the white bowl.
Blessings, Nellie
I’ve seen this type of thing at home stores for wayyyy more! They are so easy to make. Thanks for sharing this tutorial! I pinned it to make soon. Stopping by from the Pretty Pintastic Party.
Those turned out super cute! I used the same idea to repurpose my christmas ornaments this year using twine and tan and burgundy burlap. It was super simple to do and gave the tree a whole new look. Way cheeper then buying the new set I wanted at hobby lobby.
These are beautiful and look like something I might could actually accomplish for my home. Thanks for Sharing on the Home Matters Linky Party this week!
Very pretty!! And I’m so glad to see that the balloon trick works- I’ve seen it on Pinterest and wondered if it REALLY turned out that well…and clearly it does! So glad you linked up at Snickerdoodle Sunday- hope to see your latest makes next week!
Sarah (Sadie Seasongoods)
haha I love it!!
Super cute and kind of simple!! Love! Thanks for sharing on My 2 Favorite Things on Thursday – Link Party! Come back again on Thursday and share some more!! I love having you!! Pinned!!
Totally love this! And isn’t it such a curse when you start looking at things and your first thoughts are “I love that … and I could totally make it.”! Thanks for sharing these at the Pretty Preppy Party! xx, b
Those are so amazing! I always wanted bowl fillers like this but can’t bring myself to pay the price. Now I’m going to make them! Thanks for re-sharing.