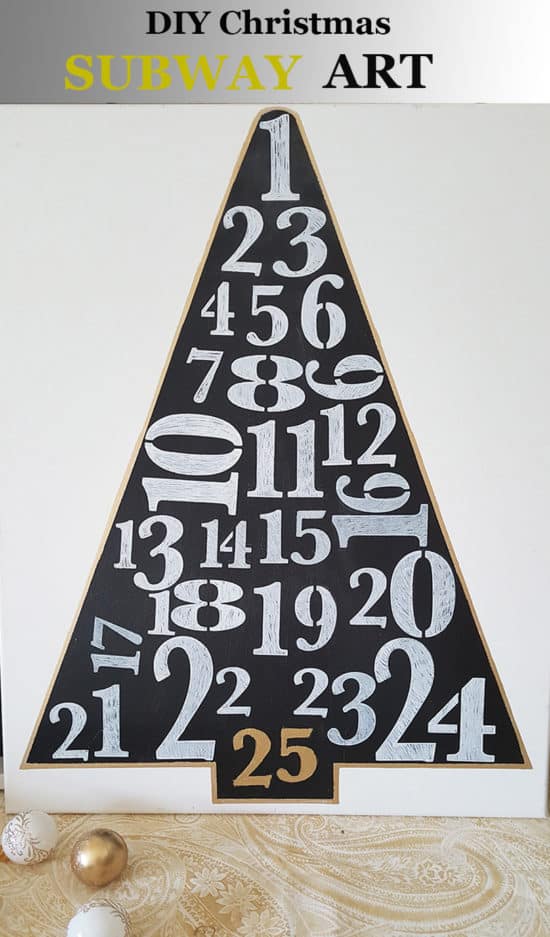
Easy DIY Christmas Tree Sign
The idea for this easy DIY Christmas tree sign came to me at the oddest time. It was early August and I was in Georgia at the Haven conference (a conference for home decor bloggers). I had received a numbers stencil from one of the vendors, Deco Art, the day before. This day I was sitting in one of the blogging classes when the idea formed out of nowhere. Apparently, I wasn’t paying much attention to whichever class I was in at the time.
You may remember I used these stencils once before to make coasters. This time I wanted to make a Christmas version of subway art. This was a fun project, but I didn’t do it all in one day because it takes some time. I started it one night (which is why my in-progress photos are a little dark) and finished it up another day.
What You Will Need*:
Ruler (or something with a straight edge)
Pencil
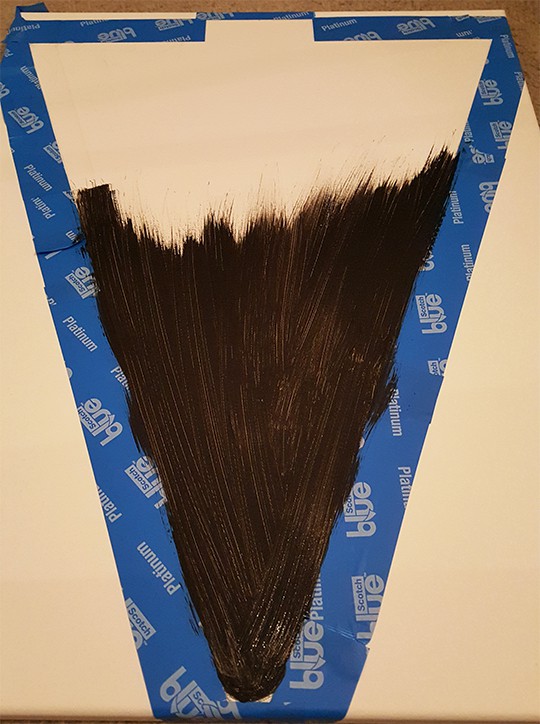
To get started, first you have to draw out the shape of your tree on the canvas. I was going to use a ruler to do this, but I had this rustic tree which had the perfect angles so I used this. The tree I was tracing was smaller than I wanted it to be on my canvas, so I just used it to trace the edges, making it much wider than my tree template.

Next, I used my painters tape to tape off the edges. Then I painted in the tree area with black chalkboard paint.
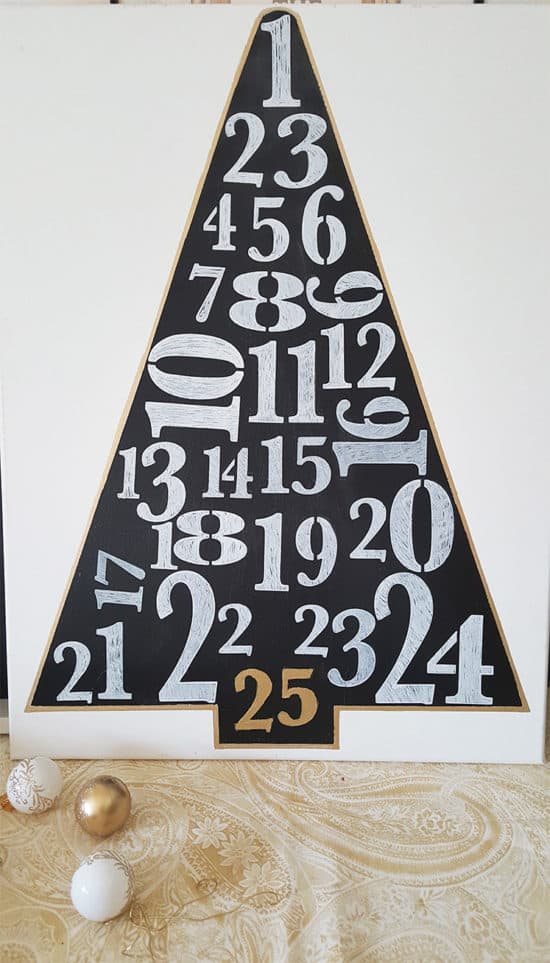
Once that is fully dry, start tracing out your numbers with a pencil. I made up the pattern as I went along, which is why it was important to use a pencil with this. That way I could erase anything that didn’t look right. I wanted the look of subway art, so the numbers had to be a little random and varying sizes.

I did erase and redo several areas before getting the look I wanted.

Once the numbers were traced, I colored them in with a white chalkboard marker. I forgot to take pictures of this step. I placed the stencil back over each number as I colored it in to make it easy.
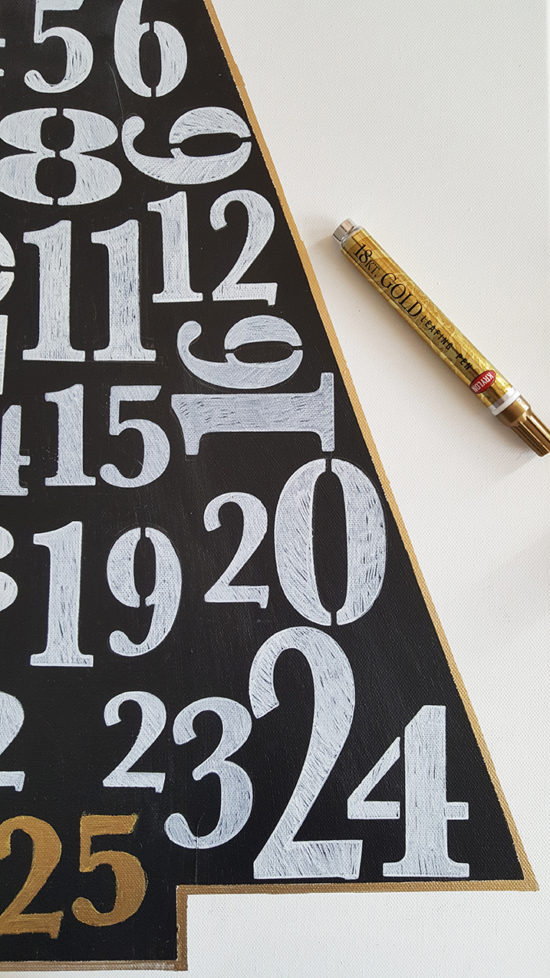
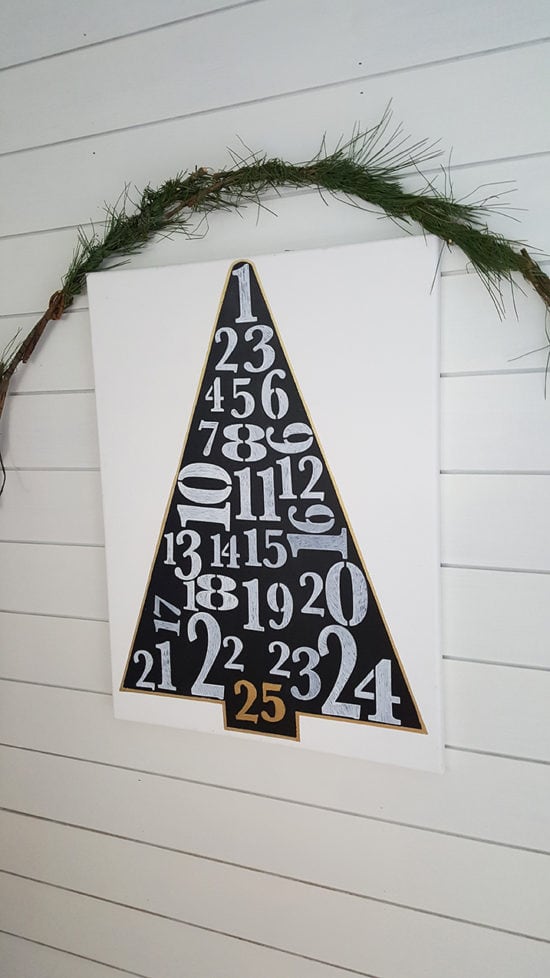
I knew I wanted the number 25 to stand out. When I was shopping in Michael’s one day, I saw foil leaf markers. I bought the gold one and used that to color in the 25. Then I decided to take it a step further and outline the entire tree in the gold leaf marker. I’m seriously loving this marker and will likely be gold leafing everything this Christmas, lol.
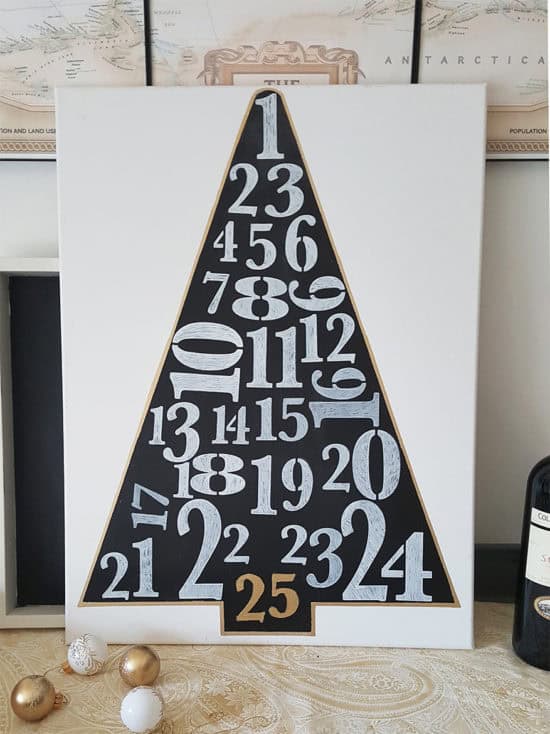
I always know a project was a success when my husband comments positively on it, which he did when he saw this. I had a little fun trying my new DIY Christmas tree sign in different locations around the house.
This project was a little time consuming but easy! I really enjoyed this one and would even say this is one of my favorite Christmas decorations now.
Like this? Pin it for later!
*This post contains affiliate links for your convenience, see my full disclosure here.
What a modern vibe to the holiday’s, some thing unique and well done! All your hard work paid off.
Maria
Here’s to time-consuming but heartily satisfying projects!!
I love this canvas! It’s so beautiful.
Such a cute idea. I have a slim canvas that I want to recycle and I may have to do this. Thanks for sharing this on Merry Monday. Pinned.
Aww. Such a cute modern spin! I love how this turned out. Thanks for sharing this!