DIY Caned Sideboard {Designer Knockoff}
The process we used to add cane to this sideboard was super easy and can be used with any wood furniture!
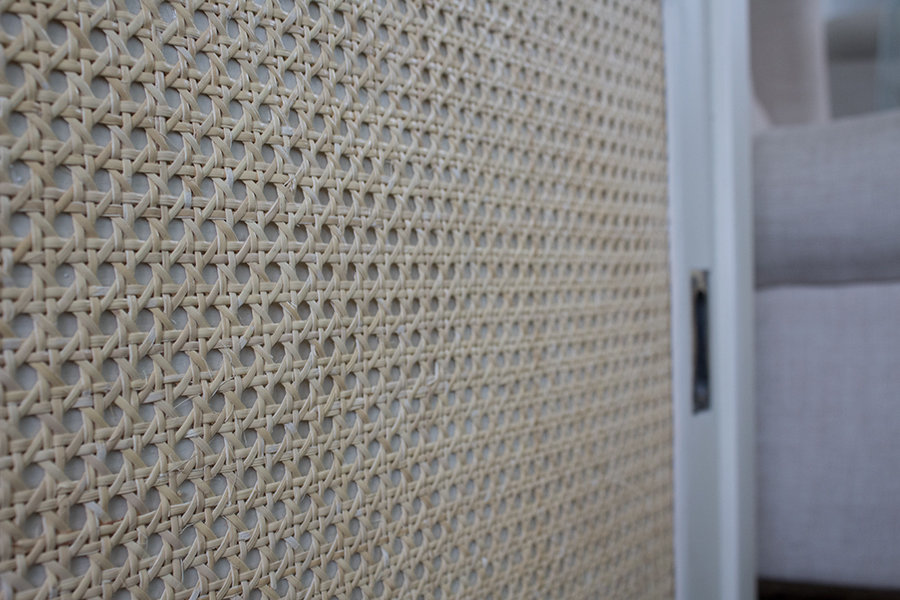
They say the third time is a charm. That’s true for me and this vintage sideboard that has gotten two prior makeovers before this one!
I went farmhouse crazy on it the first time and really didn’t like that from the start. After that, I removed all the paint and overlays I added the first time for a natural wood look. While that was better, the overlays I removed had damaged the doors significantly enough that I couldn’t live with it.
For round three, I wanted to recreate a beautiful designer piece I’ve had my eye on but could never afford to buy. This sideboard is over $2,000! Fortunately, it was relatively easy and much less expensive to get the same look myself, DIY style!
The traditional way of caning typically entails cutting a groove into the wood. Next, the cane is pushed into the groove and attached with some glue. Finally, a material called reed is inserted into the groove to hold it in place. This is NOT how I applied my caning, I went a much simpler route.
After measuring how much I would need, I ordered this caning from Etsy. I ordered a quantity of four for this sideboard. It arrives in a roll, so I unrolled it and set books on top of it overnight to flatten it out and make it easier to work with.
Prepping The Sideboard For Cane
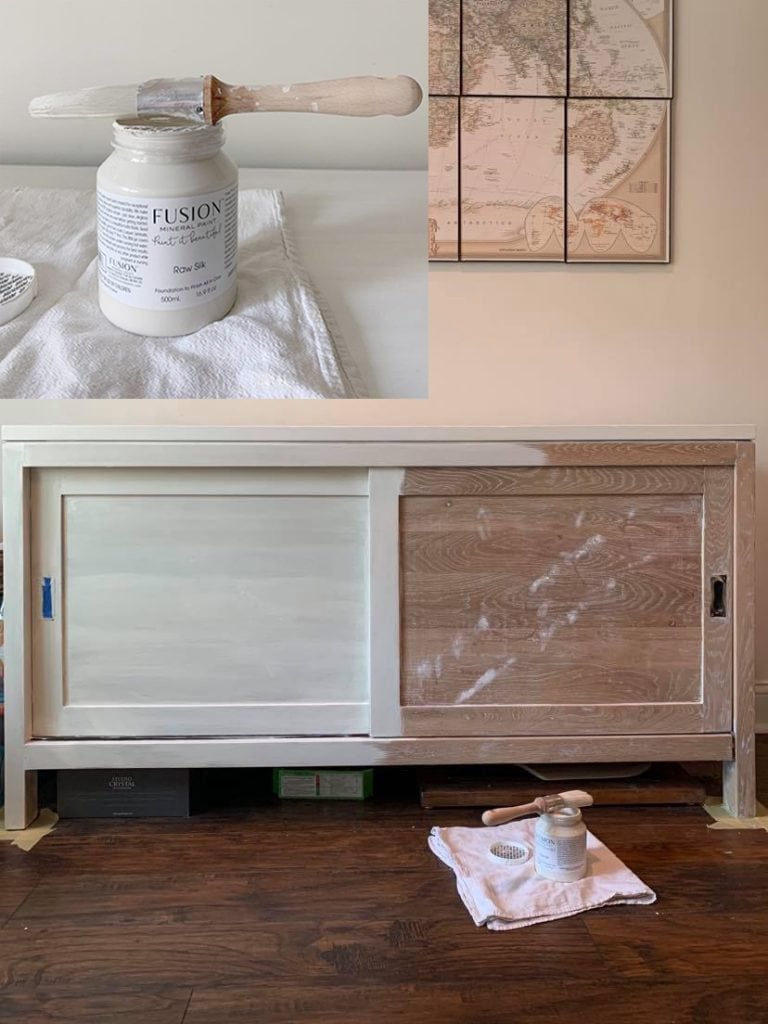
In the meantime, I painted the entire sideboard over. First, I spackled and sanded the damaged areas. After that, I used a really beautiful color called Raw Silk from Fusion Mineral Paints.
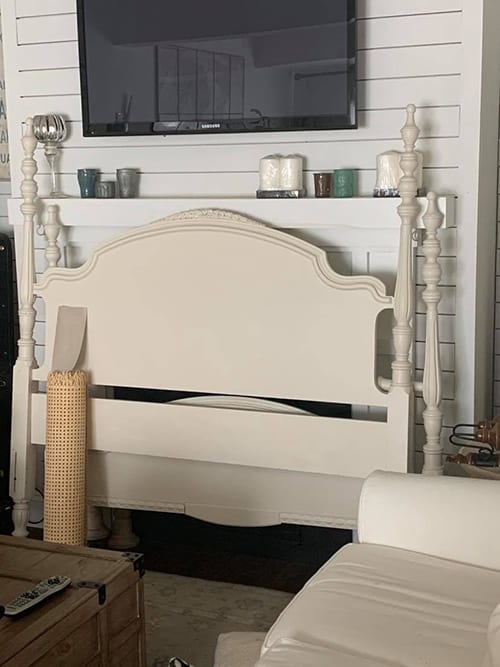
The color is a gorgeous off-white. I had used it to paint a vintage bed I found on Facebook marketplace. Sadly, the bed ended up not being right for my daughter’s room. However, I wanted to show you this photo of it because it really is a good representation of what Raw Silk looks like in person. You can see the difference between it and the pure white of the fireplace.
I applied two coats of the paint to the entire sideboard. While I love to use my paint sprayer on furniture, this piece is very heavy and I did not want to bring it outside. Instead, I used the same Zibra paint brushes I had used on the picture frames I showed you last week. They work very well without leaving any brush strokes.
The Easy Way To Cane Furniture
The first thing I did was measure each door and create a template from paper to use as a guide for cutting the cane.
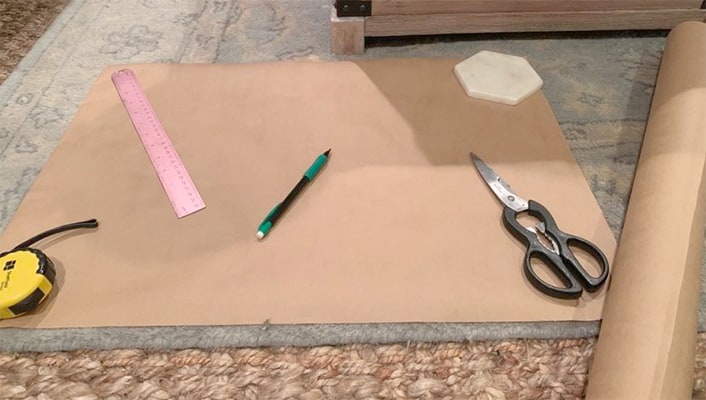
Next, I laid that over the caning and made light pencils marks as my guide to cut. I also trimmed the fringe edges off the caning.
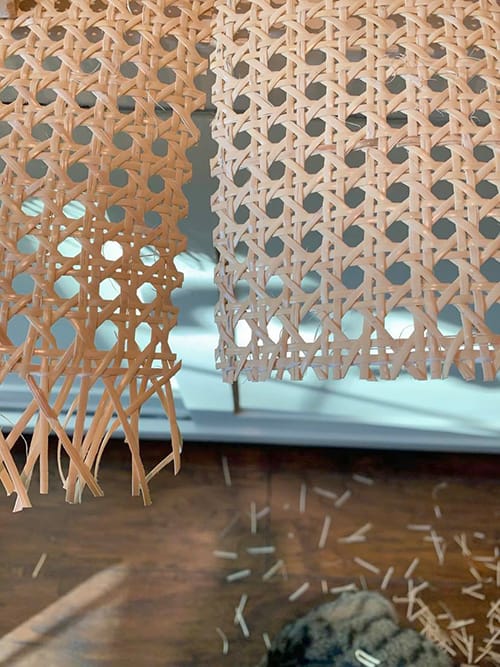
I tried to make all of my cuts just outside of the double lines in hopes that I wouldn’t have any of the cane unravel. That seemed to work because I did not have any issues with that.
I wasn’t too worried about the edges being exactly perfect because I planned to add a bit of trim around the border once it was on the sideboard.
Once I had my pieces cut it was time to apply them. To be very honest, I was winging it at this point. My plan was to use Mod Podge spray adhesive to the back of the caning and apply it to the doors that way.
And that worked, kind of. The reason for that is I was only able to remove one of the sliding doors from the sideboard. I could not get the other off no matter what I tried.
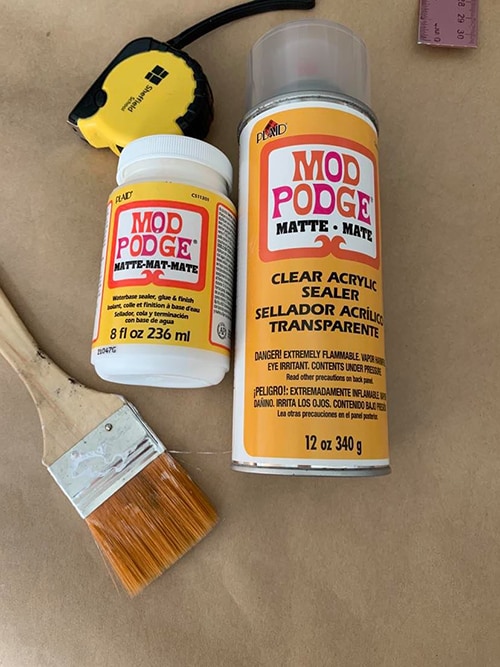
For the door I removed, I was apply to use the spray adhesive on the caning, and I also painted some of the other Mod Podge to the door before attaching. The Mod Podge takes a good bit of time to try so I put a bunch of books on top of it to apply pressure. Not only does that help it adhere better, it also helps keep the caning perfectly flat.
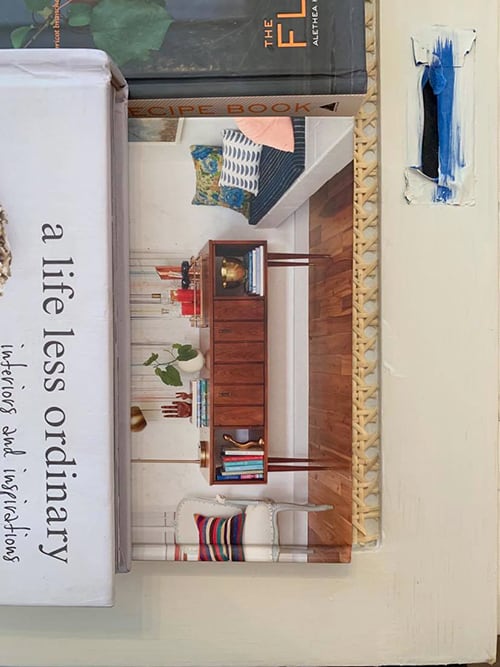
You have to be careful if you do it this way to not overload it with Mod Podge or the books will stick to that. In one spot where I did apply too much I put a piece of parchment paper between the caning and the books. I did not have any problem removing it.
For the second door I couldn’t remove I had to do it another way. There was no way to apply pressure to it while upright. What I ended up using has got to be the MVP of tools, hot glue! It dries so fast that I was able to get the caning on without holding it in place for hours.
If you end up using the hot glue method, be careful not to apply too much or the caning won’t be flat against the furniture.
Attaching Trim Over The Caning
Once I had the caning on the doors, it looked really good. I really didn’t have to add trim but I thought it would give it a more polished look. I had purchased a few rolls of spline along with the caning so I thought I’d try using this as the trim.
The spline is flexible, but it does require a little patience in getting it straight enough to use for trim. You could definitely go to Home Depot and find some other kind of trim that might be easier to work with and likely give you a better overall result. I liked this option because I could cut it with a scissor and not have to use any power tools.
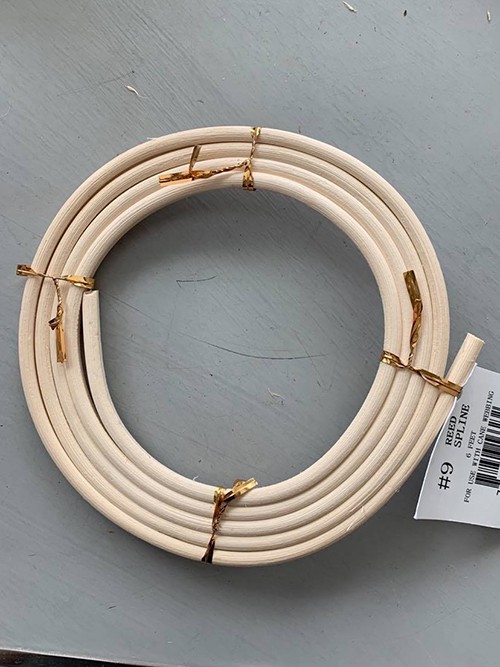
Before I began applying this to the sideboard, I painted the reed in Raw Silk to match the sideboard.
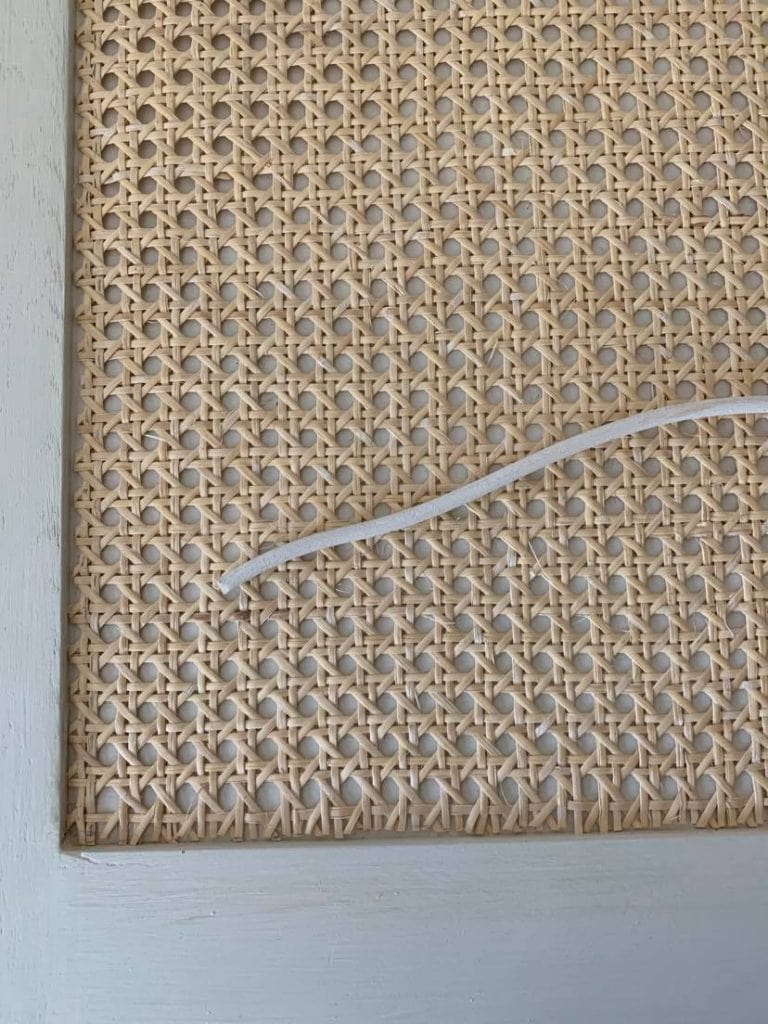
I cut four pieces to size for each door and applied them with hot glue. There was a corner or two that didn’t line up perfectly together. For those areas, I added a tiny bit of spackle to cover it up. Then I sanded it and touched up the paint. If using real wood trim this would be less of an issue.
Are you ready to see the after?

I’m really happy with my caned sideboard now! Especially considering that I did it at a tiny fraction of the cost of the designer version! Designer version $2,025. My version: $100, plus the $50 I spent on the sideboard which was found at an antique shop. Savings: $1,875!
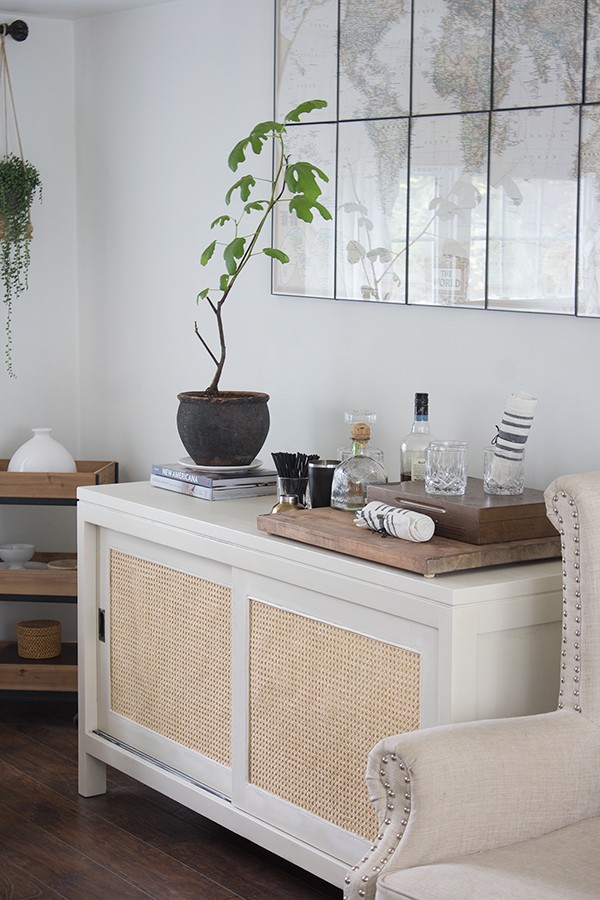
Sometimes you have to just keep at it until you get it right. I’ve been thinking about replacing the map prints with something else but I have not been able to find anything I like better yet.
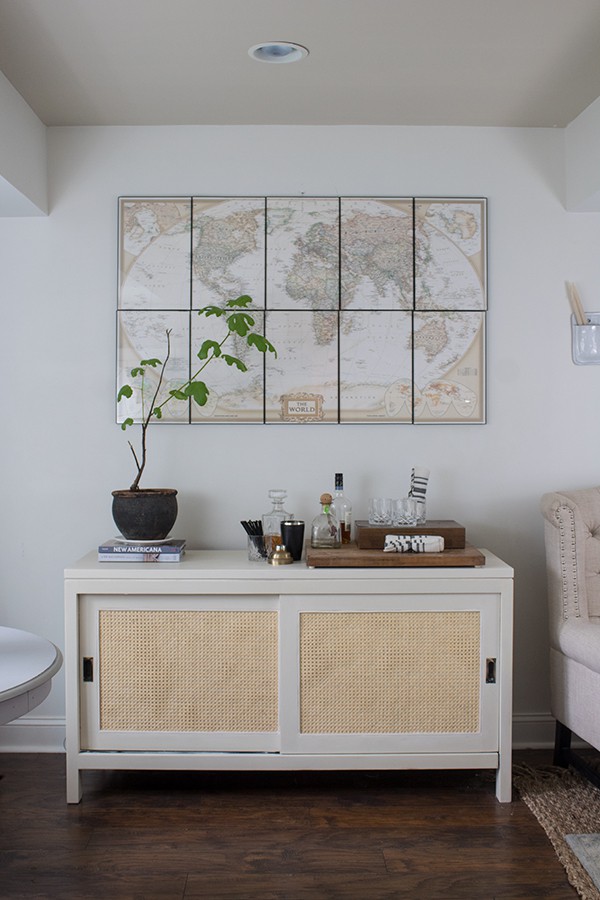
One last thing I plan to do is add a bit of black rub n buff to the metal handles to polish those up.
This post may contain affiliate links, see my disclosure page for more info. Linking with bnotp.

Gorgeous, great tutorial too
Thank you, Marty.
Great idea for any chest. Yours turned out beautifully. THanks for the great tutorial. I enjoy your blog so many different things posted.
Thank you, Mary. I appreciate that! 🙂
I love it! I have several pieces in our bedroom with frosted glass doors that I think i’ll cover with cane. I may be reaching out with questions!
fABUlous job on these I love the caning.. It makes such a huge diference.
Thank you, Marie.
I’m wanting to DIY caning to the side of my (soon-to-be) baby’s crib to recreate the look from the Harbour Cane crib from Serena and lily— would you recommend I use hot glue or the other adhesive you used?!
Thanks so much and this is the only tutorial I found for caning that made sense for what I’m trying to accomplish— thank you for posting!!!
The glue worked better for me, good luck with your project!
Great, practical tutorial! One question – did you just hot glue around edges or did you use it across the face of the door, too? Thanks!
Hi there! I wanted to use cane to freshen up my side tables, but wasn’t sure about how to get them on. I was ready to just use stick on, but it wasn’t the look I really wanted. Your tutorial was just what I was looking for! Thanks so much. Your finished sideboard is gorgeous. I think that the map above goes perfectly.