Shiplap Accent Wall – The Easy Way!!!
 You guys!! I have a new shiplap accent wall to show you and you will not believe how easy this was! No chop saw required. I noticed while scrolling Instagram that Giani Granite had a new DIY shiplap kit out. Having used their countertop kits twice already with great results, I wanted to give this one a try as well. I was not disappointed!
What You Will Need*:
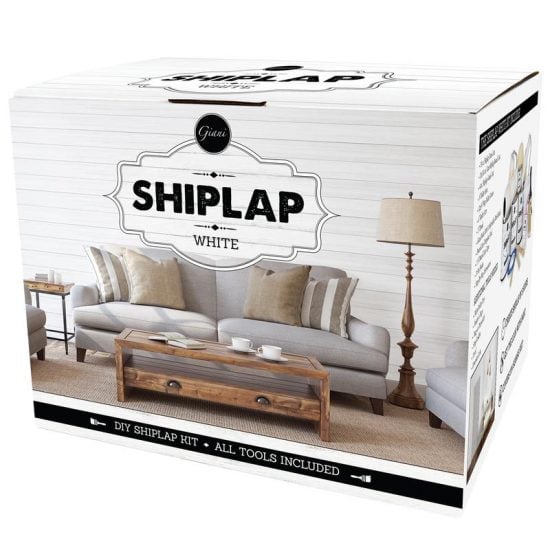
Shiplap Kit from Giani
Laser Level (recommended)
Pencil
Everything you need, including paintbrushes and rollers, comes within the kit. I highly recommend a laser level as well and you’ll see why.
How To Paint A Shiplap Accent Wall:
For the first step, you will paint your wall with the tone coat, which is a gray color. You simply paint the wall as you would normally paint it.

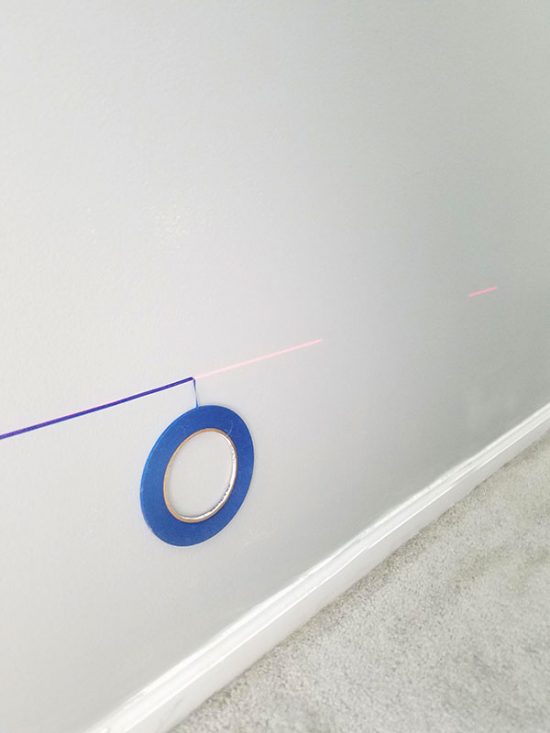
After that dries, you’ll need to check that your baseboards are level before proceeding. Fortunately, mine are but if you find that yours aren’t you will need to tilt the level until the bubble shows in the middle and then draw a pencil line underneath the level the length of the wall. This is the baseline, so it’s really important to get this one straight.

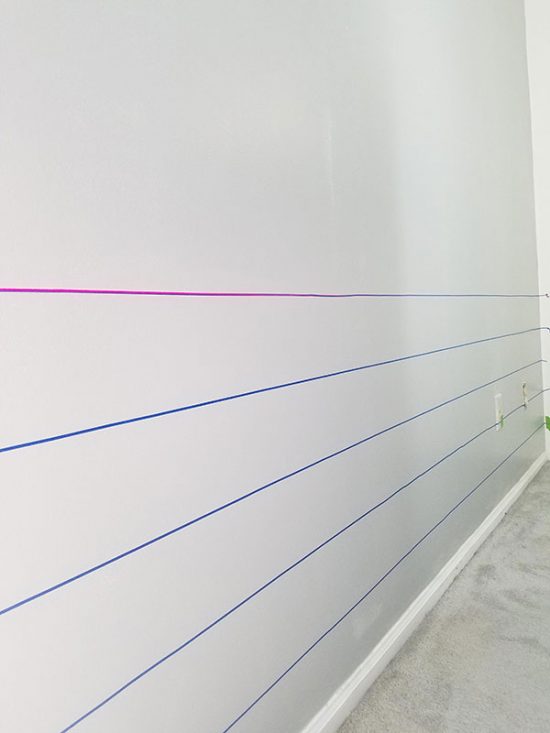
The kit comes with a template that shows you how far apart to space your lines. I used a piece of rolled up tape on the back of the template to attach it to the side wall. Once that’s in place you mark the spacer lines with a pencil. These are going to be your board lines.
Now that your spacers, or board lines, are marked you will apply the painter’s tape across the wall for each one. This is where I used my laser level. I definitely don’t trust myself to get the line perfectly straight without it. Make sure the tape is firmly pressed into the wall, you can go back over it with a credit card to be sure.
You follow this process all the way up the wall. This is the most time-consuming part of the project.
Here you can see the spacer that comes with the kit.
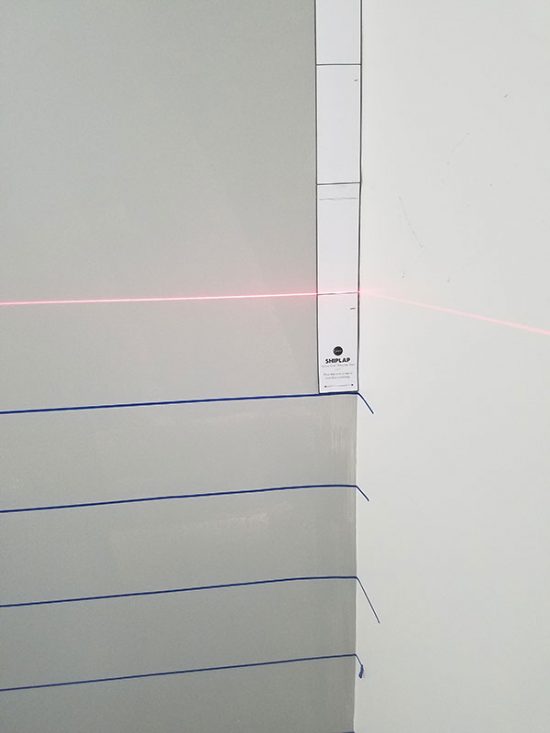
This isn’t the most professional photo, but I’m showing you in an effort to keep it real. When I got to the top of the wall, I couldn’t find anywhere that the level would stick to (it’s magnetic) so I had to get creative!

Here it is once I had all the tape in place. When I got to this point, I was thinking I’d like to do a gray shiplap accent wall somewhere too.

Now you’re ready for the board coat which is the white paint. This paint is very thick so that it creates texture on the wall to better replicate authentic shiplap. I used two coats to cover up the gray.

Lastly, the kit comes with a grain coat (step 3) that is applied after the board coat. This is intended to give the look of a light wood grain across the wall. I opted to skip that step because I really love the pure white shiplap. In fact, I’ve painted my real shiplap to cover wood spots in my bathroom but this is personal preference.
Once all your steps are complete and the paint is dry it’s time to remove the tape. Peeling that tape off is the most gratifying thing!

One thing to note is that when you get to the top of the wall, the board lines may not be spaced perfectly even. My top board is slightly wider than the rest. I decided to leave it that way rather than add another line and have one very skinny board at the top.

My only complaint is that this shiplap accent wall looks so good that I now want to do the rest of the room!

If you want to learn more about the process, you can watch a how-to video here.
Pin it for later:

*This project is in partnership with Giani Granite and may contain affiliate links. You can read my full disclosure here.
That came out great. Looks like real ship lap. Room looks nice and bright.
WOW! Initially I was thinking – why tape the wall and not just nail the boards on…I’m a little slow, I guess! I took awhile before I realized – there is no wood! lol Love this look and so easy! 🙂 I checked and Giani does indeed ship to Canada, so…..there may be some shiplap in my future! 🙂
This is such a clever idea, I can’t believe I never thought of it. Thanks for sharing
WHAT A GREAT IDEA! AND IF YOU DON’T TELL EVERYBODY NO ONE WILL NOTICE THE TOP BOARD IS WIDER!! LOL LOVE IT….
I love this wall and am going to try it after the holidays! It looks awesome! Is the art above your bed framed fabric?
Hi Vicki, yes it is! I wrote a post about it if you want to read more about that: https://thehoneycombhome.com/knock-off-wall-decor/
Great job, I’ve thought about trying to paint a fake ship lap wall and now thanks to you I know how to do it. I’m 70 years old and the thought of cutting and nailing boards in a room with 9 foot ceilings was kind of overwhelming.
I think I’ll try starting at the top and working my way down to the baseboards and that will compensate for the uneven boards where they won’t be seen.
That’s wonderful Brenda! This is why I love this kit – anyone can do it without any help! I think starting from the top will work too, especially if furniture will be covering most of the bottom!
Do you have a discouNT code since you are working with them?
UGH.. I WAS REAlly looking forward to doing this but it seems theyve stopped selling the shiplap kit 🙁 if anyone finds it somewhere let me know! 🙂
Hi! I did it wIthout uSing a kit and it came out great. I can share pictures if you want.
Nicole, I would loVE PICTURES AND INFO ABOUT HOW YOU DID THIS WITHOUT THE KIT.
I HAVE NO IDEA WHY CAPS HAPPENED IN MY FIRST REPLY.