Painting Grout How-To
 Two weeks ago I showed you how I updated my tiled bathroom floors with these amazing floor stickers. The existing brown grout in the space was not going to go well with this gray and white pattern. I did some research on painting grout and decided that was the way to go.
Painting grout isn’t difficult, you just need to have a little patience. Luckily, this is a small room so it didn’t take me long to do. I debated between using white or gray grout paint, but decided to go with gray because it’s easier to keep clean and would also cover the existing brown grout better.

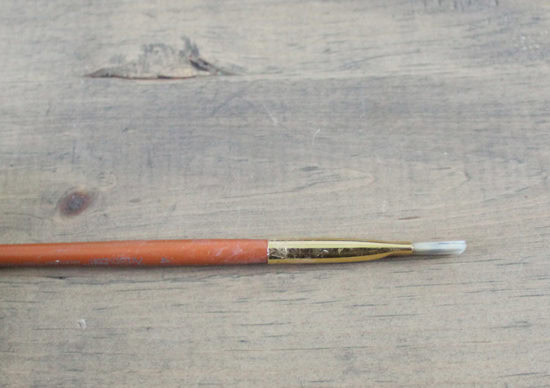
I bought a bottle of Grout Renew in the natural gray* shade. Next I went through my little stash of artist brushes and came up with these two paint brushes that I thought work work for painting grout.

I started with the tapered one, but found it was too messy so I switched to the flat bristled brush. To buy just one of these little brushes can be expensive, I bought an inexpensive set of artists brushes awhile back that always come in handy for projects. You can find a similar set of artist brushes here.
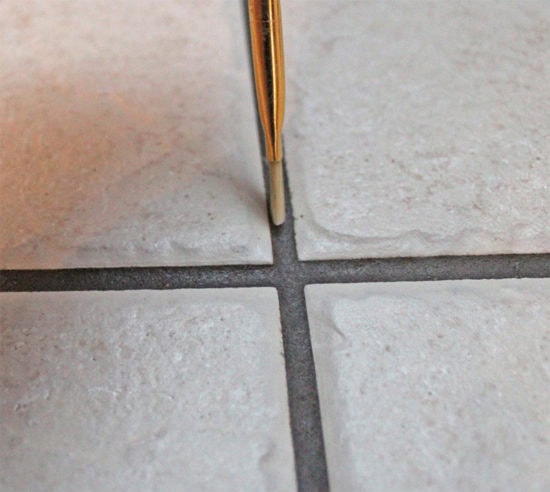
I found holding it perpendicular to the floor was the easiest way to paint it without getting too much onto the tiles.
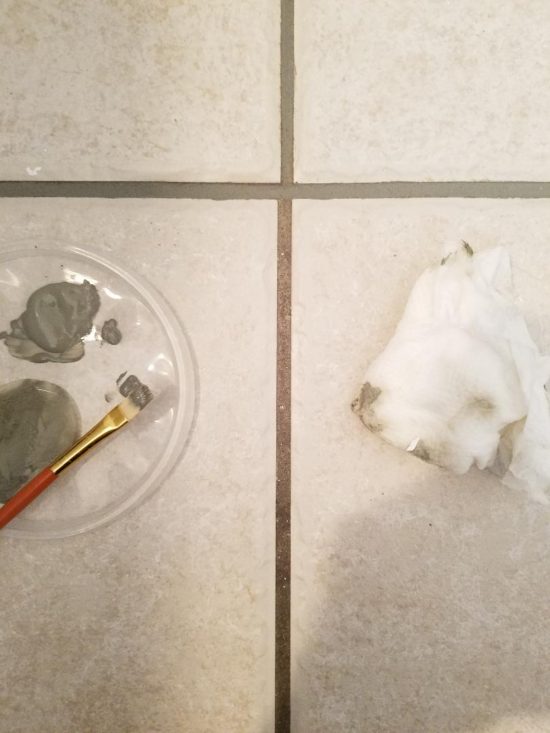
Unless you have a super steady hand, you will get some onto the tiles. I kept a damp paper towel close by to immediately wipe up those areas. You can see in this close up that it’s not perfect. My existing tile is textured so it wasn’t possible to get a perfectly straight line, though from a standing position it does look perfectly straight.
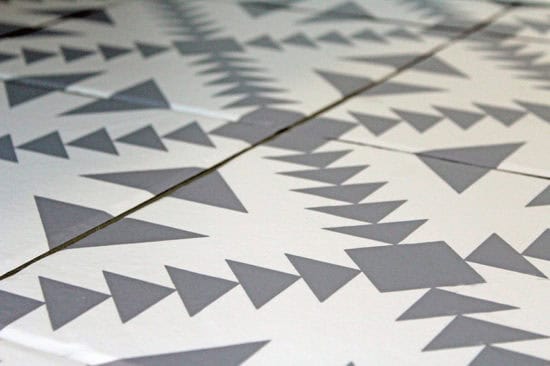
That’s really all there is to it! I spent about an hour and a half on painting grout this day, to do a larger room would obviously take much longer. Here is what it looks like completed with the floor stickers. I’m really happy with the results! You can see the whole before and after floor project here. They are holding up amazing for those of you that have asked, and we do often wear shoes in here because it’s our main downstairs bath. Between the floor decals and painting grout, you can easily update any tile in your home that you wish to change!
*This post contains affiliate links, you can read my full disclosure here.
Did you paint the tile white and then the grout? If so did you have to make sure there was no paint on the grout?
I did not paint the tile.
The picture of painting the grout seems to be around the original tile, then the new stick tile was installed, yes?
Yes, that’s correct!