How To Make Pinecone Picks
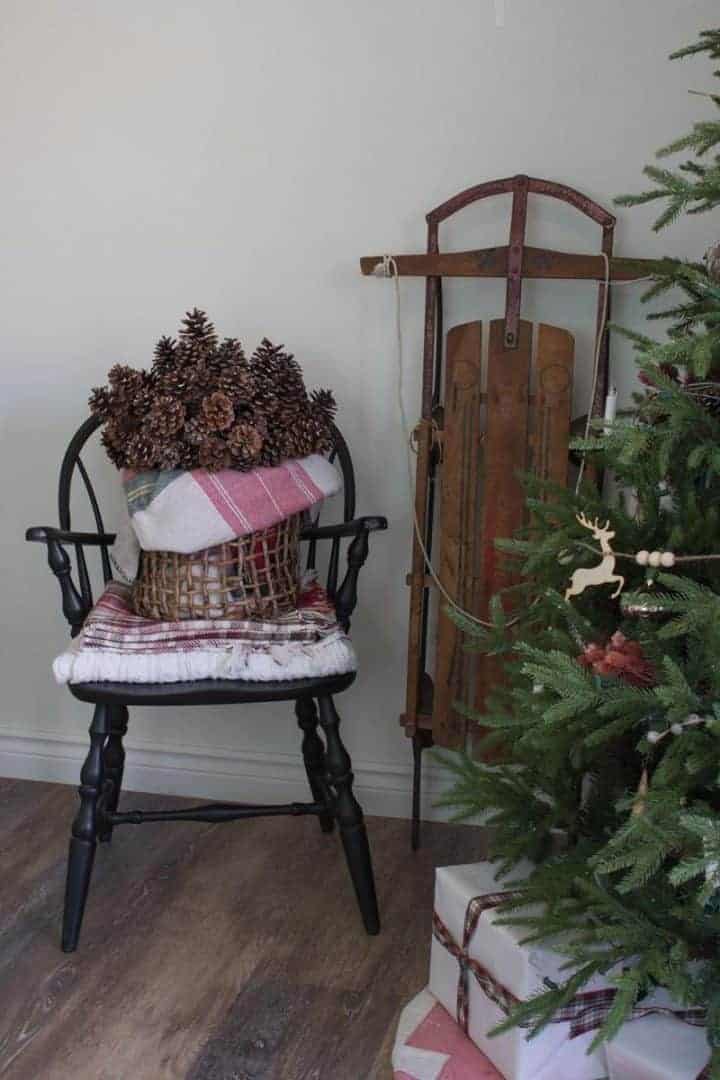
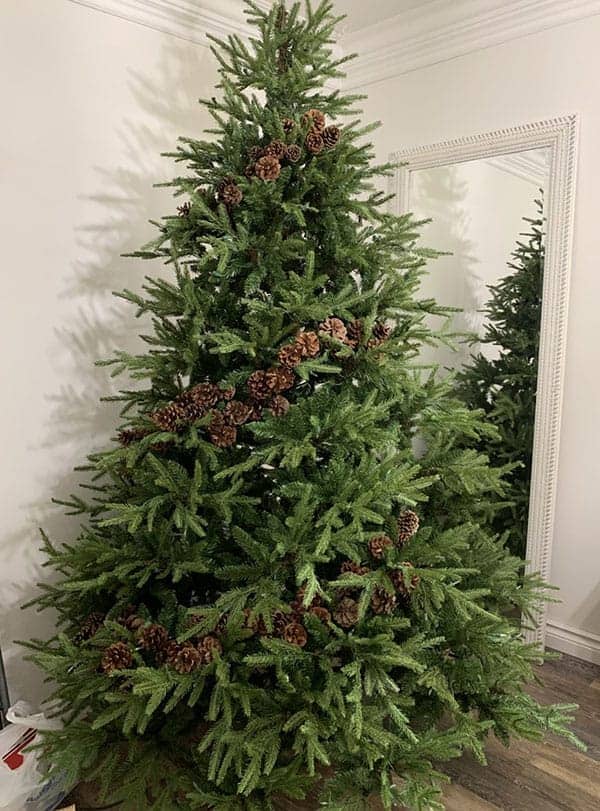
I don’t usually post blog posts on Fridays but I know next week is a big holiday decorating time for most people. Due to that, I wanted to show you guys how to make these cute pinecone picks. They are so easy and there are so many ways to use them! I used a bunch of them on my natural Christmas tree this year.
In the stores, floral picks can go for anywhere from $5-10 each. That’s expensive when you can easily make them yourself for much less! They can really add up if you want to use a bunch of them on your Christmas tree.
Supplies for Pinecone Picks:
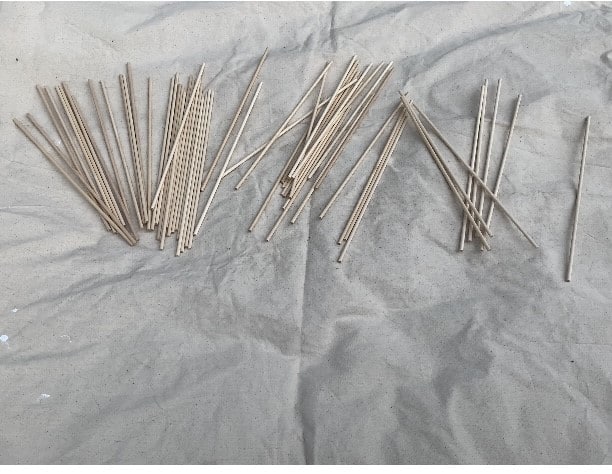
Toss a bunch of wooden dowels onto a tarp. Above, I linked to the most inexpensive dowels (1/4″) I found. However, with larger pinecones, a thicker dowel will make it a little easier.
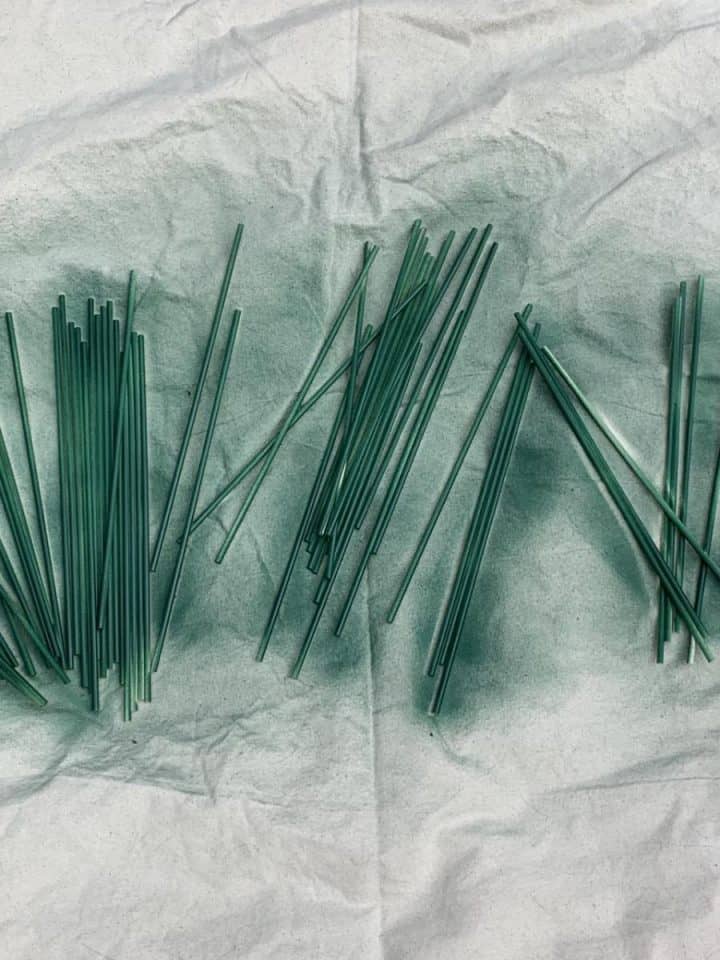
Next, I spray painted them green. The idea here was to make them green so they are less visible when used in planters, or in greenery.
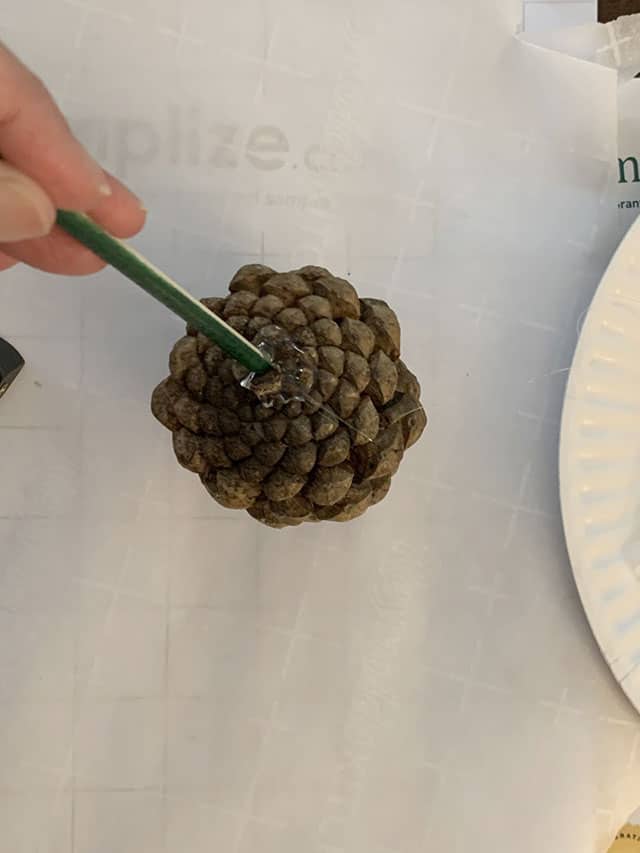
Use a generous amount of hot glue on the pinecone. You will have to hold it for a few seconds until it sticks. After 5-10 seconds or so, I placed them flat on the table to set completely.
Once they were fully set, I transferred them into a pitcher until I was ready to use them. I made a ton of them because I was planning to use a lot on my tree.

You can also spray them with flocking spray if desired. I used a little bit on the tips of the pinecones.
When they were all dried, I placed them around the tree like garland.
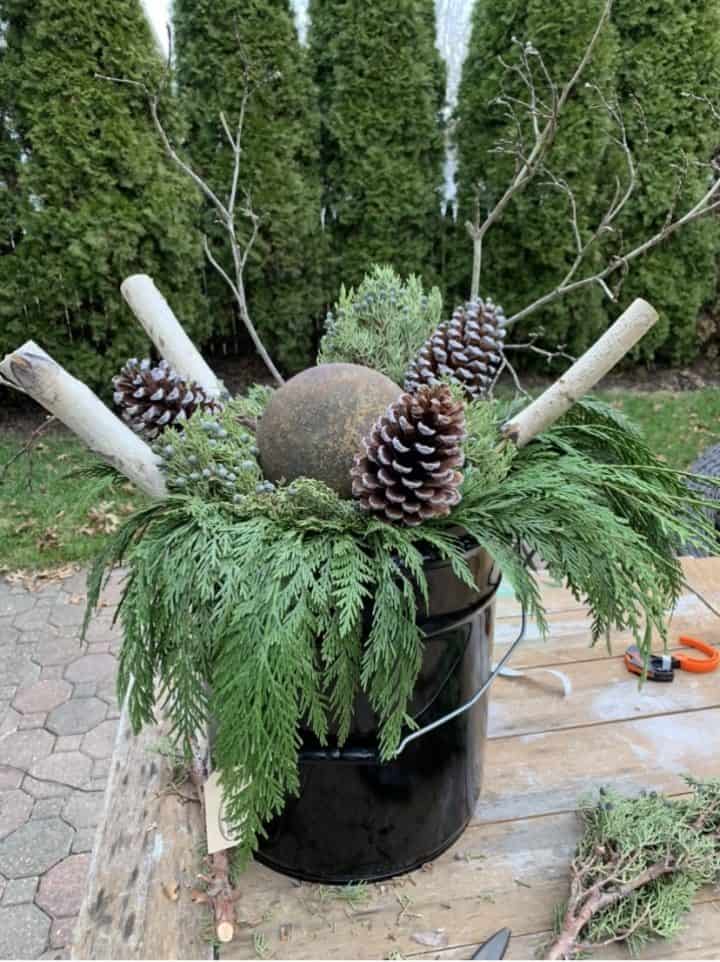
The pinecone picks are really beautiful in winter planters. This is one I was working on two years ago.
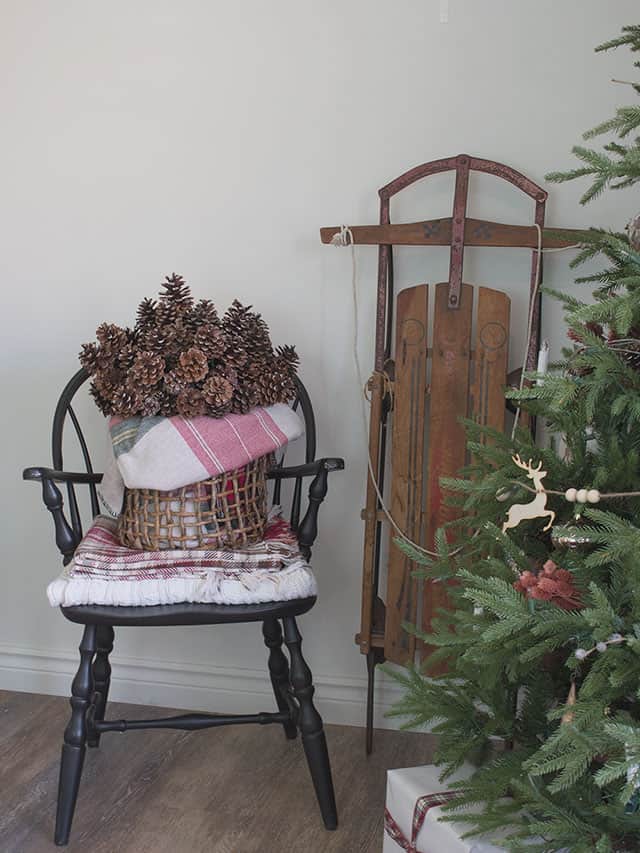
I also love how they look grouped together in a basket.

You can really use these anywhere, in so many ways. It’s a simple DIY project and very versatile for decorating! Instead of pinecones, you could use virtually anything you can think of to make picks for your trees or planters.
Here’s a quick video to better show you the process!

What a great idea! Thank you for sharing this simple and budget friendly idea.
I would drill a small hole before the glue.
This looks beautiful!!!