How To Make Candles With Flowers
Last week I taught myself how to make candles with flowers. I’d love to say this was a super easy little project but if you happened to see my Instagram stories that weekend you already know it wasn’t!
In retrospect, I have to admit it was a struggle only because I jumped in without bothering to read the directions on the candle molds. Had I done that, this probably would’ve been super easy. Learn from my mistakes and you will likely not have any issues if you try this yourself.
You may remember I tried candle making before, and that experiment was simple. However, this time I wanted to try and make my own pillar candles without needing a jar or vessel to pour the wax into.
Floral candles are so beautiful. I had seen this pretty botanical candle online and was shocked at the price of $58! After seeing that, I was determined to make my own pillar candles with flowers.
Supplies Needed for Floral Candles
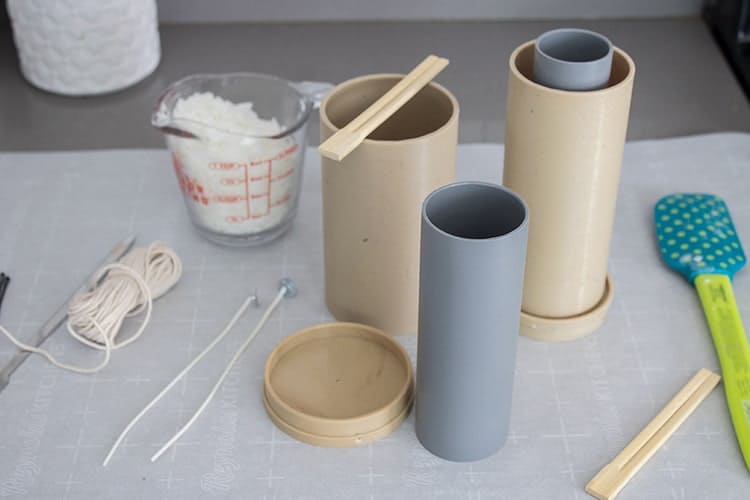
- Candle Wax
- Candle Mold Set
- Old pot for melting
- Parchment Paper
- Scissors
- Tape (medical tape works well)
- Essential Oil for Scent (optional, I used lemon oil)
The candle mold set I bought comes with almost everything you need except for the candle wax. I have an old pot, measuring cup, and spatula I stash away in a box with the candle wax that I use only for candle making. It can get messy so I also line my counters and/or table with parchment paper.
I used natural soy candle wax for these. Here is more information if you are interested in learning about different types of candle wax.
In the photo above, you see two candle wicks and also a roll of candle wicks. The two single candle wicks did not come with the set, and when I used them I had problems (again, should have read the directions). Ignore those and if you have them, don’t use them with this set.
Prepare Your Candle Molds
First, you have to grease the molds with cooking oil. Make sure to grease them well so the candles come out easily later. This part is messy but important. I ended up washing my hands about 50 times during this whole process!
Next, you will thread the wick through the hole in the bottom of the candle holder and tie a knot as close to the holder as you can. Then place a piece of tape over it to further seal it as shown below. This prevents the hot wax from seeping out.
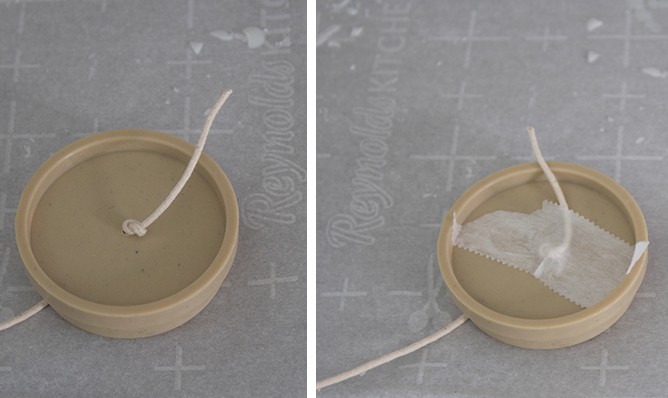
The candle mold kit comes with a metal poker that helps get the wick right through the hole easily.
When I did it the wrong way and used my old wicks, my hot wax came pouring out the bottom and I ended up with a big mess. Here you can see the start of that, it was everywhere by the time I figured out what was happening!
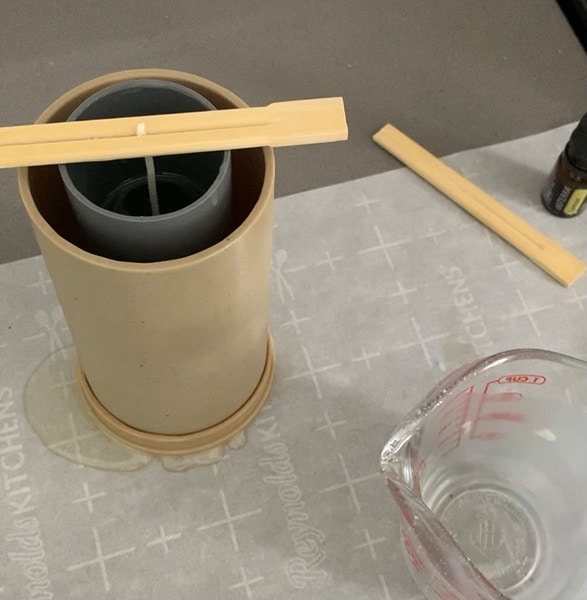
After you have the base prepared with the wick, place your pillar mold on top of that. This candle set comes with several pillar molds in different sizes. I used one of the smaller molds for the base. Melt your wax and add essential oil for scent. I used lemon essential oil for this because I planned to add lemon slices in addition to flowers to my candles for spring.
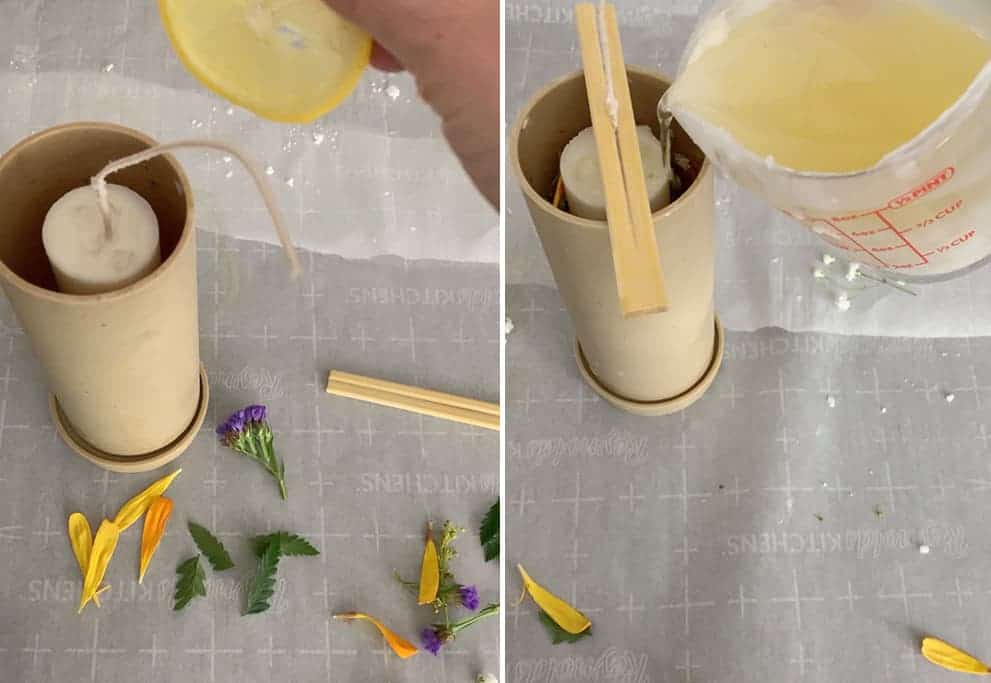
Pour the melted wax into your molds. Use a wooden chopstick to keep your candle wick straight and taut. Those wooden sticks come with the candle mold set.

Separating The Candle From The Mold
Separating the candle from the mold is super easy IF you do it right! Which I most definitely did not the first time around! You really have to give it plenty of time to set. Because if you don’t, you’ll end up with something like this.

How embarrassing! Patience is something I struggle with. Trying to remove the candle before it was set resulted in that mess. Every time I touched it another piece fell off, lol.
So let your candle sit for a few hours. After it looked firm, I then put it in the freezer for another hour or so. When I did it that way, the candle slid out of the mold like butter.
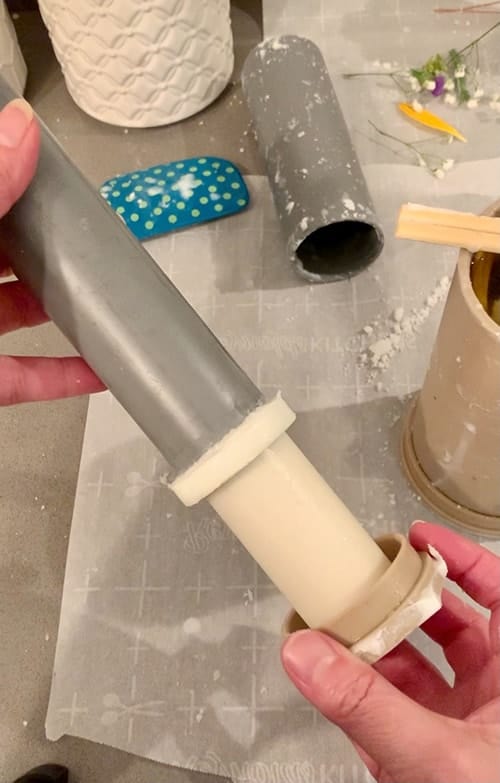
Much better!
How To Add Flowers To Candles
The point of using the skinny mold first is so that now we can place this candle inside of a bigger mold. Make sure the inside of your bigger mold is well-greased with cooking oil again.
In between the candle and mold, add your flowers, lemon slices, or whatever else you’d like to use. Once you have enough, melt more wax and pour it in.
Use your chopstick to hold the wick up after this step as well.
Is it safe to put flowers in candles? I’m not totally sure, but I think if you do it this way, with the solid candle in the center that it should be. I rarely burn candles, I use them more for decoration.
Now let it set for several hours and then place it in the freezer for another hour or two after that, just like with the first mold. Once again, it should slide right out.
I made two floral candles, here are the finished results. Much better than the first round, lol.
DIY Floral Candles
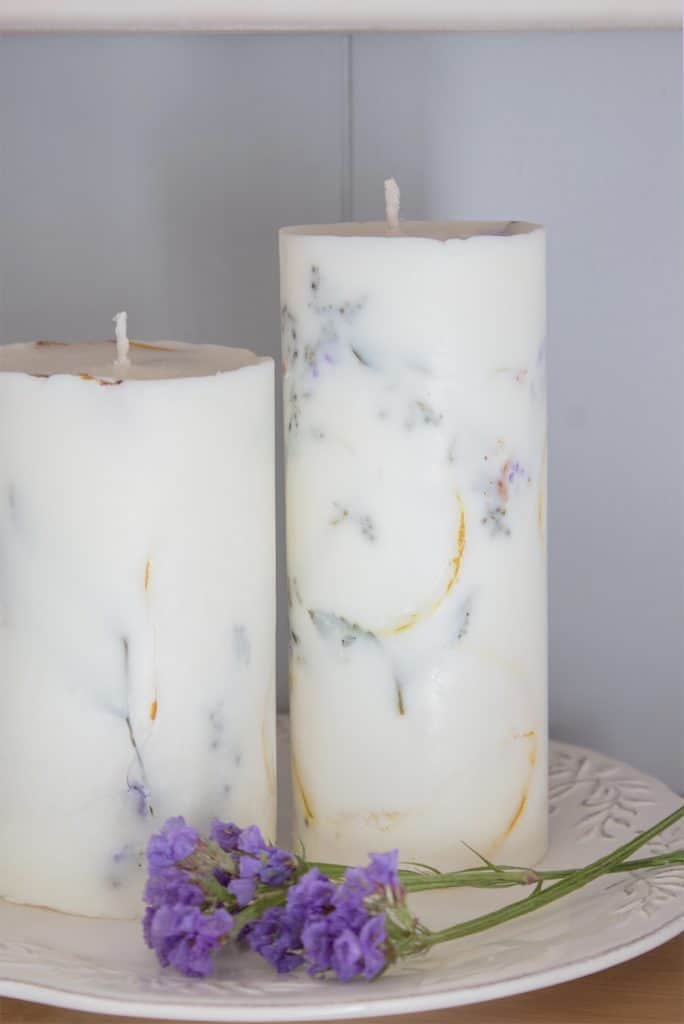
You can see the tops of my candles aren’t perfectly level. I’m ok with that but if you’re not you can fix it. To smooth it out, heat the back side of a spoon with a candle or a lighter. Then just go around the candle top to smooth it out.
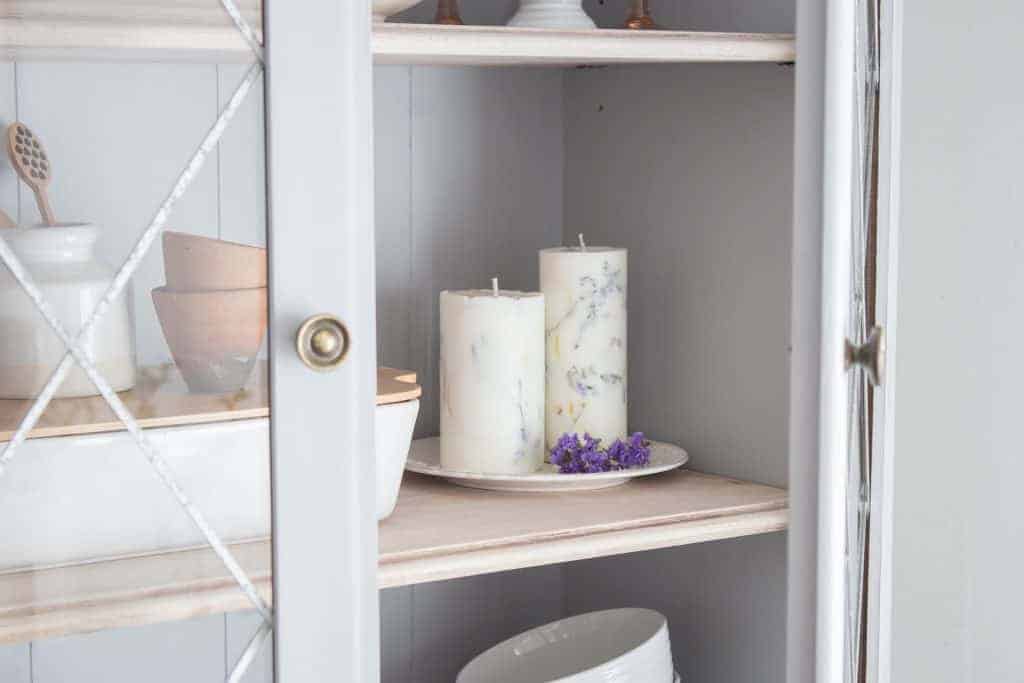
My candles inspired me to style my hutch for spring, I’ll show you that another day. It took much less time to style the hutch than it did to make these candles! I was cleaning candle wax off the stove for days.
In my mind, I always think small projects like this will only take an hour which is why I get impatient when it takes much longer. I guess that’s why I don’t get impatient with large DIY projects – I expect those to take days.
When I set out to make candles again (which I will) I’m sure it’ll go much smoother now that I learned from my mistakes!
Here’s a quick 3-minute video I put together of the process in case you need a better visual!
YOU MAY ALSO LIKE:


I make candles to burn. I was taught to spray the inside of the mold with a cheap g spray like Pam, but cheaper. You also should put your mold in cold water. but you will have to weight id down. Wickd should also be exactly in the middle or it can have a blow out and possible fire.
Thanks for that info, Ellen!