How to Make a Shabby Chic Throw Pillow Cover
HOW TO MAKE A SHABBY CHIC THROW PILLOW COVER USING FRENCH SCRIPT STENCILS AND CHALKART, NO SEWING REQUIRED
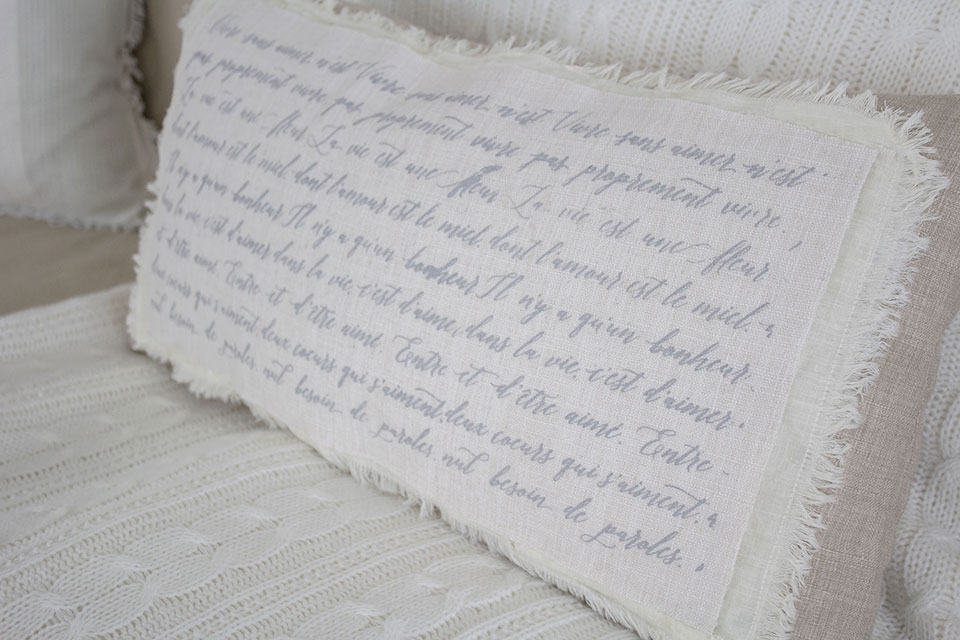
Sometimes when I do small craft-type projects I feel like I have the skills of a kindergartener.
As I’ve said before, if I’m working on a whole room makeover I feel like I’m in my element but sometimes the small craft projects give me a run for my money. This throw pillow cover is one such project. Not because it was difficult, it’s definitely not. I just made a mistake along the way, which I’ll show you so you don’t make the same mistake.
What You Will Need*:
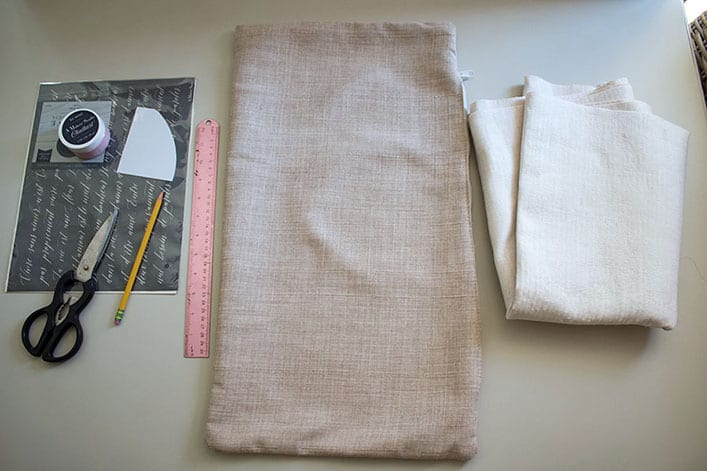
Throw Pillow Cover (similar here)
Lighter-colored Fabric
Fringe Trim or Fabric Napkin with Fringe Trim (similar)
Pencil
Scissors
First, you’ll need a pillow cover. I had a linen lumbar pillow that came with one of my chairs that I never used. You will also need another piece of fabric that you will be stenciling onto. I have a basket full of scrap fabric in the closet and I found this material in mine. It was lighter than the pillow cover and has a nice texture, which is exactly what I was looking for.
Once you have your fabric, cut it to size to fit your pillow cover. I wanted mine to fit across the pillow cover while leaving about a 2″ of the cover showing on each side.

Lay your stencil (these have an adhesive backing so they don’t slide) over your fabric and apply the chalkart using the spreader.
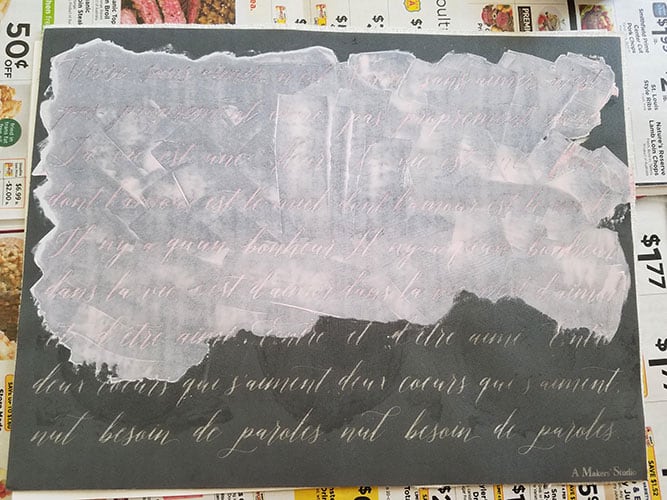
Here is where I need to stop and explain the mistake I made before continuing. My original idea for this project was to stencil the lettering using pink chalkart, which I did. However once the pink dried on the fabric you could barely see the lettering. I ended up doing that part of the project twice which explains why you’ll see pink lettering in some photos and gray in others.
Because I used a lumbar shaped pillow the stencil wouldn’t cover the whole piece of fabric in one shot so I had to do this in two steps. After round one was done, I waited for it to dry and lined the stencil back up to finish the second half. I used chalkart again and applied it with a spreader, just as I did with my kitchen wall art and the french script ornaments that I made. You can see a short video on how to apply the chalkart here. I’ve been doing a lot of projects with these stencils and the chalkart because they’re so easy to work with.
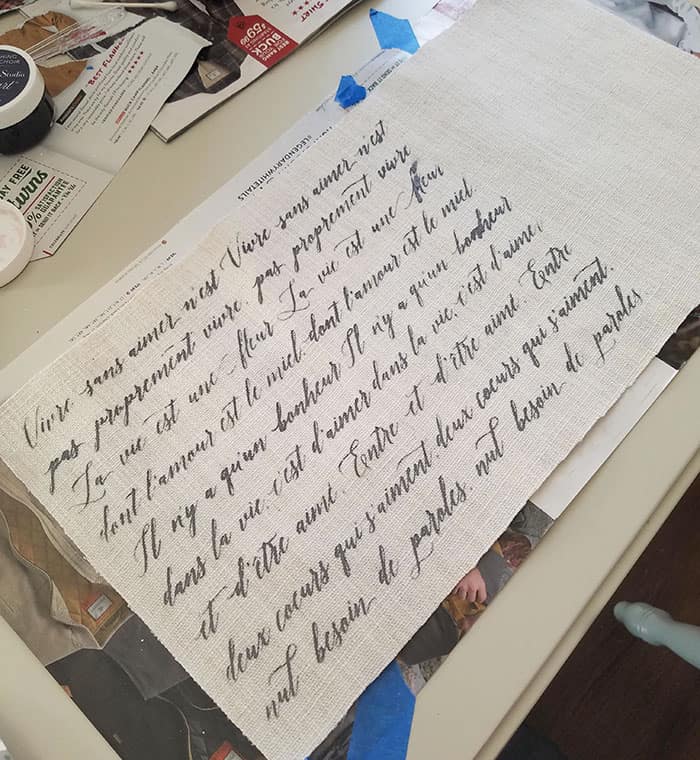
I wanted my lettering to have a fringe border for interest, so I picked up an inexpensive fringed linen napkin at World Market. It was under $3. I actually bought two but you’ll only need one.

Cut the napkin to size (smaller than the pillow cover but larger than the stenciled fabric) and use fabric glue to attach it to the pillow cover.
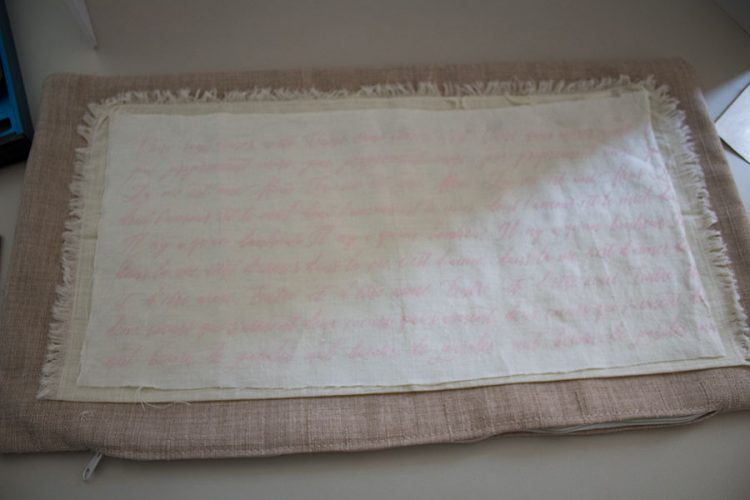
It worked out so that the fringe was on 3 sides, I had to cut the napkin and attach the bottom fringe separately. If you use a square pillow it may work out that your napkin fits without having to cut it at all. Or you can use fringe trim rather than the napkin, I was going for a layered look.
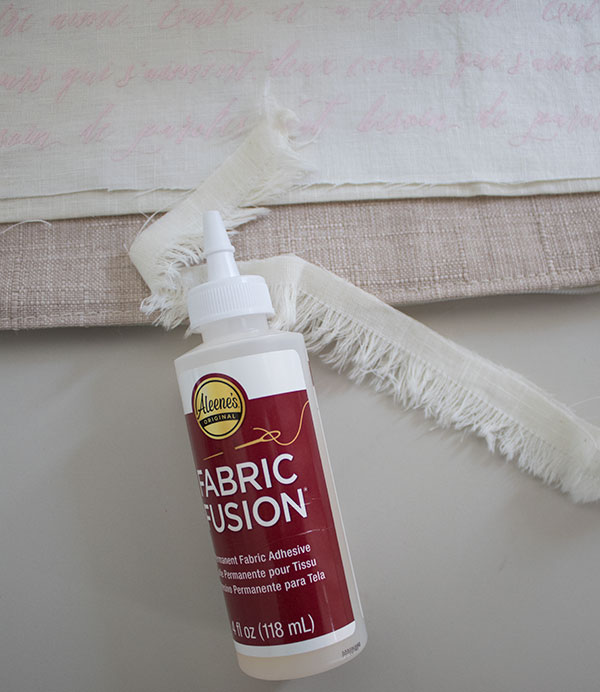
Another thing to note is I placed a magazine inside the pillow cover when I was gluing the fabric on. I was afraid the fabric fusion might leak through and glue the front of the cover to the back. Also, the gray chalkart I ended up using I made by mixing black with pink. They do sell the chalkart in gray, but I didn’t want to wait for it to shipped to me so I mixed my own.
Once your glue is fully dry, check that everything is securely attached and you’re all set. I’m loving all that texture! (That beautifully textured blanket behind the pillow is the softest, warmest blanket ever.)

Between the fabric glue and the chalkart, I would not put this throw pillow cover in the washing machine. This is really for decorative purposes. The chalkart is washable, so you have to be careful with spot cleaning as well.
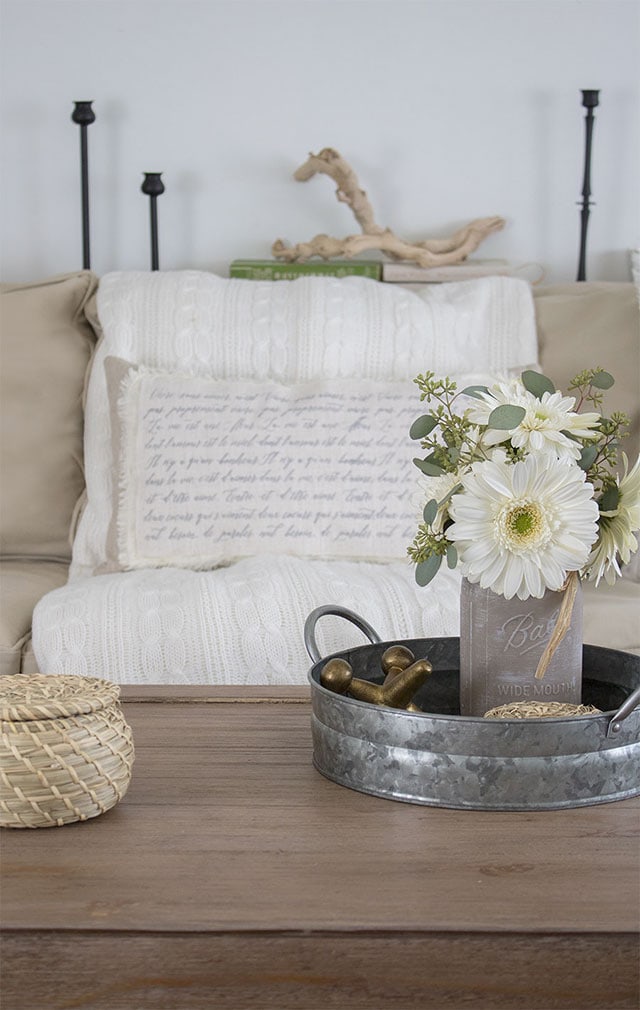
Pink lettering would have been nice for a little pop of color but I’m loving the gray now too. What color would you use?
*This post may contain affiliate links, you can read my full disclosure here.


What a creative idea to add some beautiful style. Thanks for sharing your tutorial. Have a great week!
Love this idea, Roxanne… so pretty! I think, if I was making a Valentine’s pillow, I might take a red and mute it down with white or gray. 😉 Pinned!
I’m new and haven’t wasted one moment scrolling & admiring all your hardwork and time spent designing this display of your many talents and dreams. I have found so many ideas here, can’t wait to get started Thank you so much!
It turned out really great Roxanne. That is one of my favorite stencils and you have really done it justice on that pillow. Love the fringe too!
I love your pillow, Roxanne! I think I’d do what you did and mix the pink and black to create a pink-toned grey ~ really beautiful in the French script! Where did you get the stencil? I have an older French script stamp from Stamping Up from when I scrapbooked a lot in the late 1990’s/early 2000. I think both could be employed to create a pillow similar to yours! 🙂 Pinned several photos to share. <3
Enjoy your sweet pillow and great job!
Barb 🙂