How to Install Board and Batten
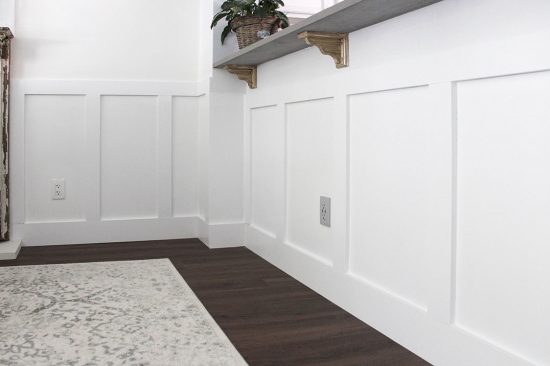 As I mentioned in my family room post, we were under construction here for the first half of the year. It started out with ripping out the old floors downstairs back in February, removing the chair rail molding in the living room and replacing all the floors and moldings in our kitchen, living room and entry. Lastly, we added architectural detail with board and batten trim.
We’ve had tools and moldings all over the house for months. The living room furniture was shoved into the family room where we were also keeping the paint supplies. When you work on it a little at a time, there is no sense putting it all away only to pull it all back out when time allows. Also because our family room used to actually be our garage, we no longer have garage space for storing these things, making it harder to DIY in the winter months. I’m so happy that this project is finally done, and while this entire project was a good bit of work, as always it’s all worth it in the end!
What You Will Need:
Baseboard Moldings (We used 5 1/2″ Flatstock moldings)
Molding for Trim Work (we used 3 1/2″ flatstock moldings for the vertical and horizontal pieces as well as the door and window trim, and the board and battens over the fireplace)
Door and Window Topper Trim (we used this more decorative trim above the windows and doors, this one piece of molding gives the appearance of a layered look)
Spackle (I recommend a large bucket)
Paint
How To Install Board and Batten:
- Measure how many feet you will need for materials. Baseboard, horizontal pieces and vertical pieces. Door and window trim too.
- Mark the height on walls where the horizontal pieces will go. We placed ours at 40″high for this room. You can also do a 60″ height. We put painters tape on the wall to get a visual before we decided exactly how we wanted ours. Make sure to factor in the height of your baseboard molding.

- Install the baseboard moldings first.
- Use a laser level to mark a line around the room at the height of your top piece, then install the top horizontal pieces.
- Next, decide the width you want between the vertical batten pieces. Standard is 16″ apart, but we adjusted ours to 14 1/2″ apart because it worked out better in our space. We cut the pieces and placed them in between the baseboard and top piece around the room before actually nailing them into place to be sure we liked the overall look.
- Cut a piece of wood to use as a spacer between battens, it helps not only to ensure exact spacing between, but it also helps when nailing them into the wall to keep everything straight. I recommend marking the spacer so it doesn’t get mixed in with any scrap pieces of wood (that happened to us a few times).

- The vertical pieces may not always line up with the studs for nailing. When that happened, we used an angled nailer and nailed those pieces into the baseboard and top horizontal pieces. By the way, our Kreg portable workbench was a great buy, it folds for storage and we can just pull it out of the shed when we need it.
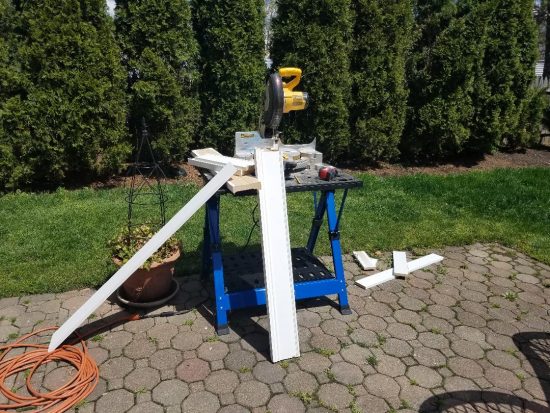
- We treated the corners as if they were still a flat wall, and kept the same distance between the battens. (You won’t be able to use your spacer piece in these areas).
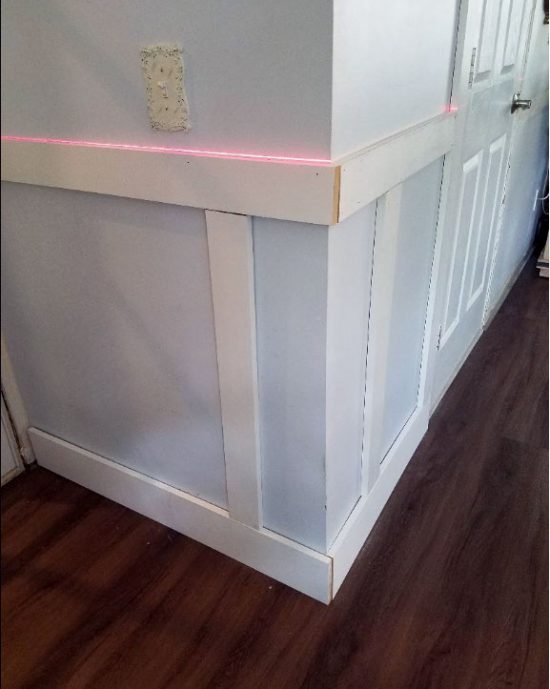
- Finish work. This part really took forever! All the minor gaps between the boards and the walls need to be filled in with spackle, as well as all the nail holes. To fill the gaps we put spackle on our finger to place it in the gap and slide it down the wall, and then immediately went over it with a damp paper towel to wipe off the excess. Once the spackle set, we sanded and did it again in the areas that needed it. This part was messy as well as time-consuming.
- You may find some of the nails didn’t go all the way into the woodwork. For those, use a nail punch and a hammer to sink them in before spackling. This is a good exercise in patience. 😉
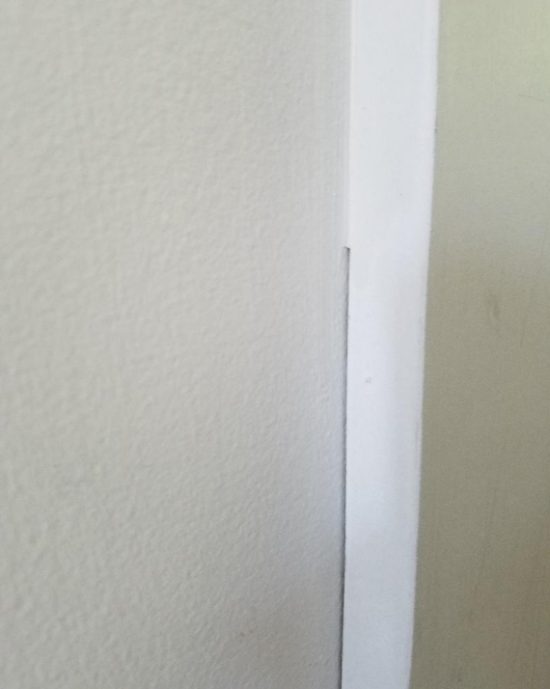
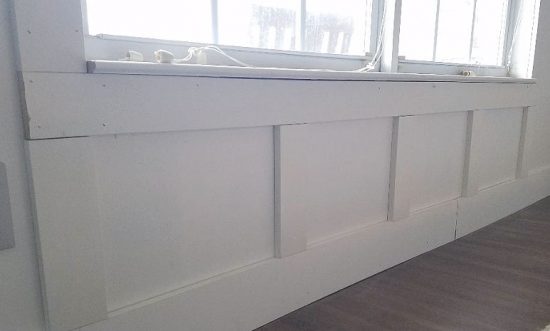
Some things to mention, under our windows we wanted the end batten pieces to be flush with the window trim so we slightly adjusted the 14 1/2″ width under the windows to make it work.
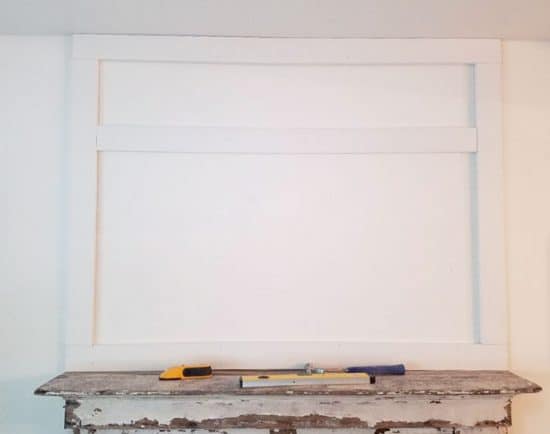
We also wanted to add a board and batten feature over the fireplace. We followed basically the same process as on the walls. We cut the top and bottom pieces first, followed by the two side pieces which gave us a frame. Then we filled it in with the horizontal piece followed by the vertical pieces. Here is an in-progress shot of that.
And here it is with all the pieces in place.

Once we were finally done with the sanding and spackling, I used my favorite trim paint on all the new moldings, Sherwin Williams Pro Classic paint in Extra White. It’s expensive paint so I recommend watching for sales and stocking up on it at that time. I saved $30 a gallon by doing so.
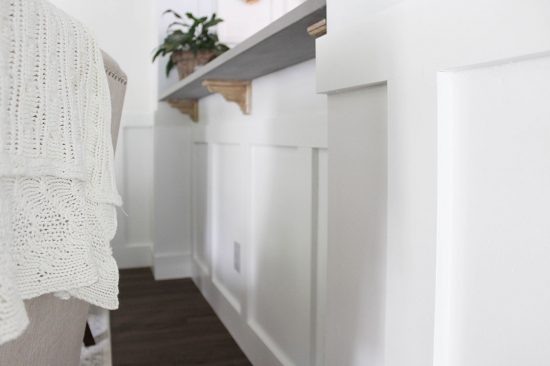
I’m still debating whether to add a light color to the top half of the walls. I’m going to live with the all-white look for a while before making a final decision on that. I do think a light color would make the new trim work really pop.
I will share all the pretty after pictures soon!
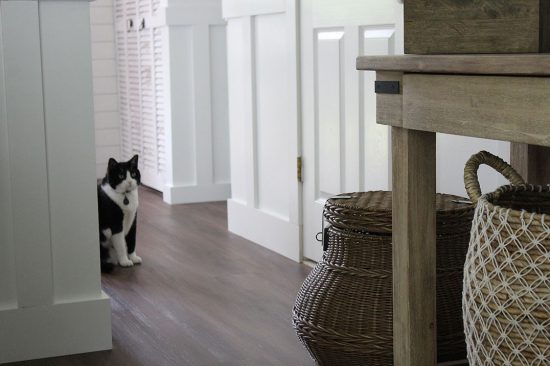
All of the trim and moldings we used for the board and batten are from Metrie.com*. I find it so much easier to plan these types of projects out in advance and have the moldings delivered rather than run back and forth to the home store 101 times!
We love when you share our projects! Pin it for later:
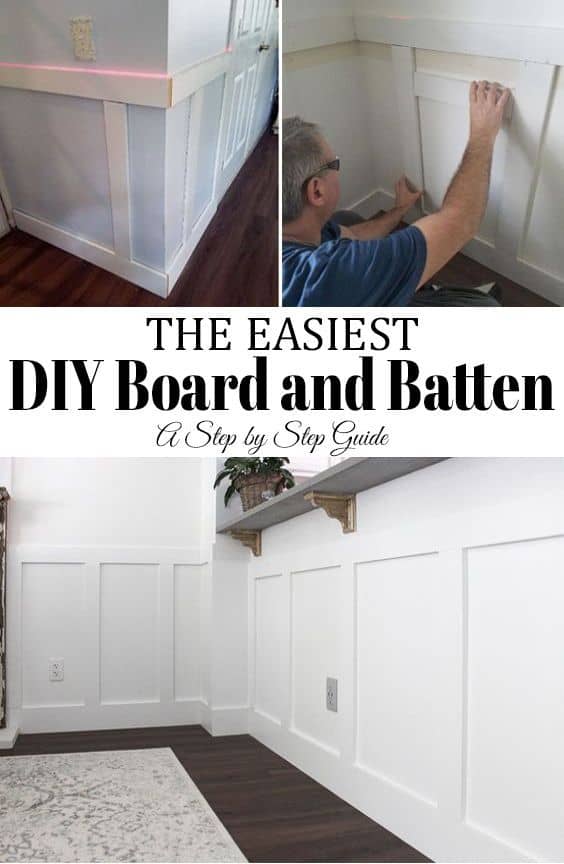
*This project was in collaboration with Metrie.com, all opinion are my own. This post may contain affiliate links. You can read my full disclosure here.


Thinking of doing this in a long narrow hallway! Great tutorial.
Thank you!
I love this look, I think it adds so much character to an otherwise plain room. You did a terrific job.
Thanks, Mary!
What a difference this is! The board and batten looks amazing – such a beautiful finish.
Thank you!
This is on my bucket list of DIYs. The board and batten is gorgeous!
You make it look so easy Roxanne! It looks great!!
This is just beautiful – I love it!!
Thank you Meg!
I am planning on doing this in my new home upstairs, it really helps the walls from getting dirty! Your turned out so pretty and looks professional too.