DIY Shelves

A few weeks ago my daughter mentioned to me that she really needed a study space in her dorm room. She lives in an off campus house that she shares with three other girls. She had been studying in the dining room of the house, or at the library and was craving her own quiet space. Her bedroom in this house is tiny, so adding a desk posed a challenge.
Aside from the bed, there isn’t space for any other furniture. The only space available was 2 feet of wall space behind the door. I initially thought about making my own fold-down wall desk but decided it would be much easier to buy one. I found an affordable folding wall desk* in just the right size, but the wrong color. The price was right so I ordered that one and painted it white. My daughter took it home and hung it herself. This is what it looked like.
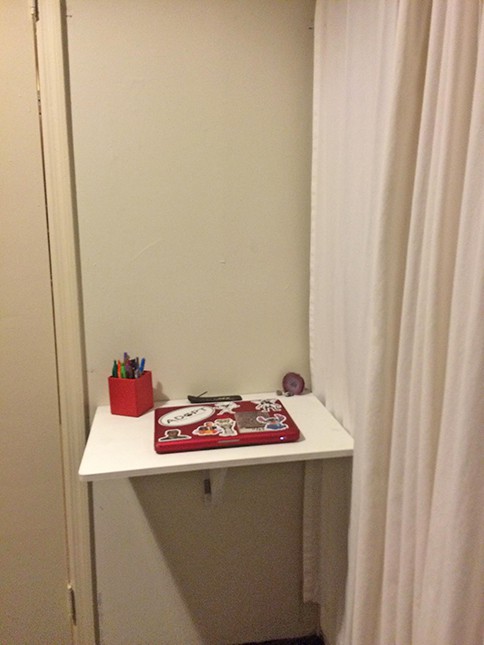
Pretty sad, right? To make this area prettier, and to give her more storage space I decided to add some wall shelves above it. My daughter also mentioned that she would like a mirror above the desk so it could double as a vanity. Because I needed my shelves to exactly fit this space, I decided that DIY shelves were the way to go. I sketched a plan for the space on graph paper.
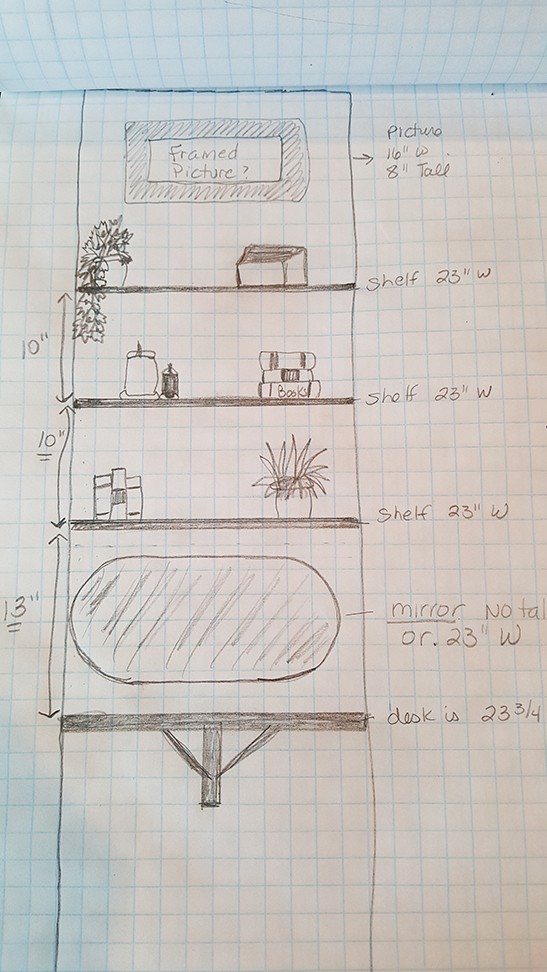
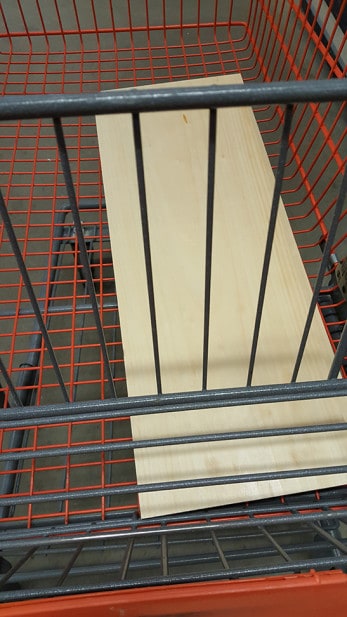
My drawing skills are terrible, but you get the idea. I had exactly 2 feet of space to work with. The depth of the desk is 15.8″ so I wanted the depth of the shelves to be less than that. I figured around 8″-10″ would be good. Now that I knew the dimensions I needed the shelves to be, I went to Home Depot. I picked out some inexpensive wood and they cut it into 3 pieces for me.
Next I had to figure out how to attach these to the wall. My first thought was to drill four holes in the corners and hang them using rope. After thinking about this, I decided that wouldn’t be secure enough so I ruled that idea out. After Home Depot I stopped in Hobby Lobby to look for a mirror for the space. I didn’t find one, but I did find these cool industrial pipes.
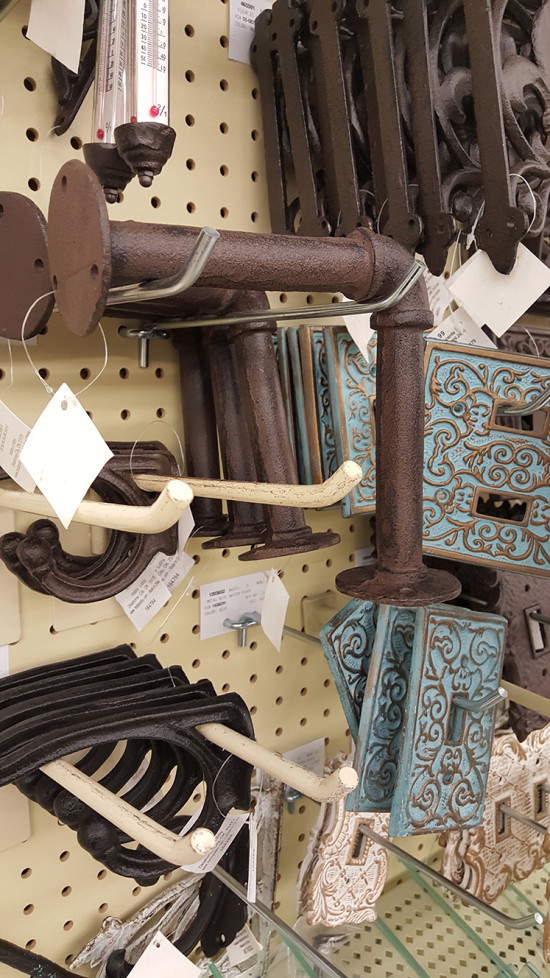
They were on sale for $5 each, so I grabbed six of them to use for hanging the shelves. I attached the brackets to the shelves at home before bringing them to my daughter’s dorm.
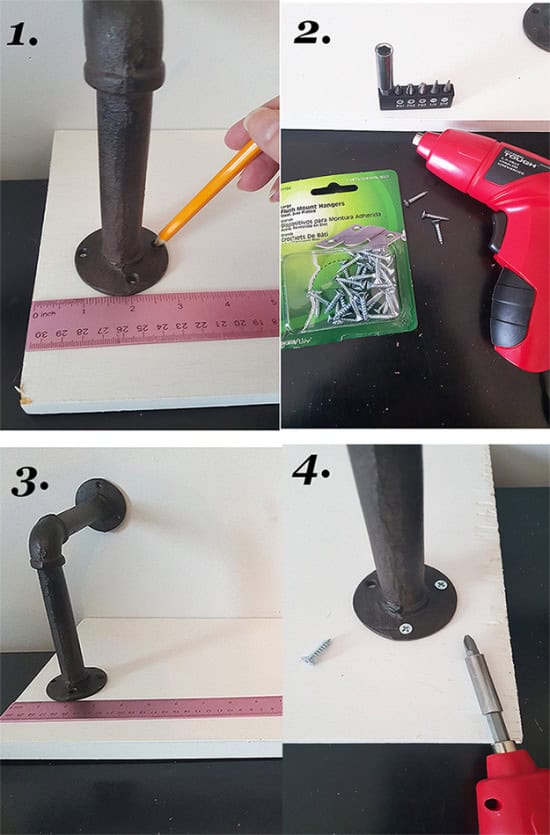
1. I measured how far in from each side I wanted the pipe brackets to sit, and marked that with a pencil. 2. I set up my new cordless electric screwdriver (Christmas present from my daughter, love it!) & used screws from a set of picture hangers I had around the house because they were the right length for my shelves. 3. I double checked that my placement was even on both sides. 4. I drilled in the pipes with the screwdriver. Easy!
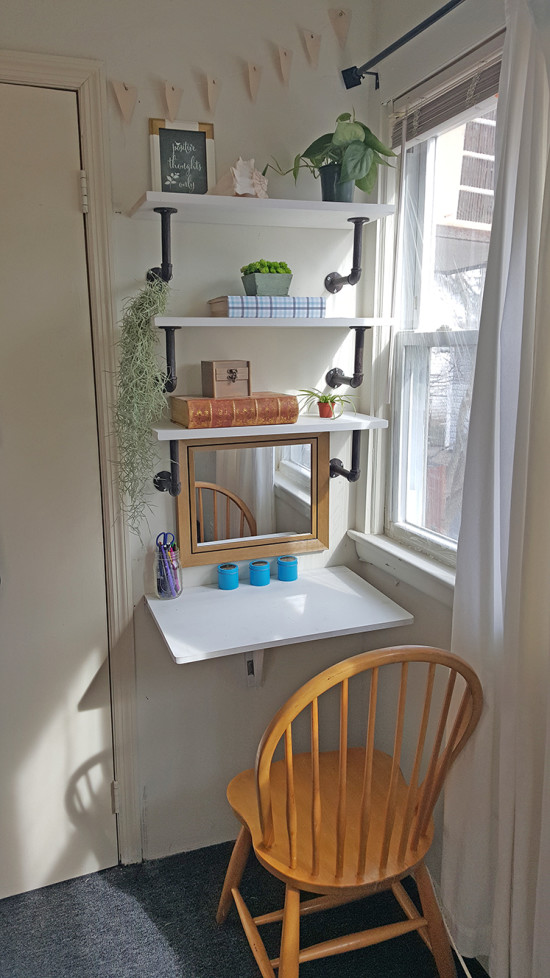
My next step was to find a mirror and accessories for the shelves. I wanted objects that could double for storage so my daughter could tuck away phone chargers, make-up, etc. The mirror was the hardest thing to find of all. It had to be large enough so that it is functional, but small enough to fit the space. And it needed to be oriented horizontally. I finally found a small mirror that was all of the above at Wayfair. Once I had everything I needed, I headed over to my daughter’s and installed the DIY shelves. I am really happy with how this came out!
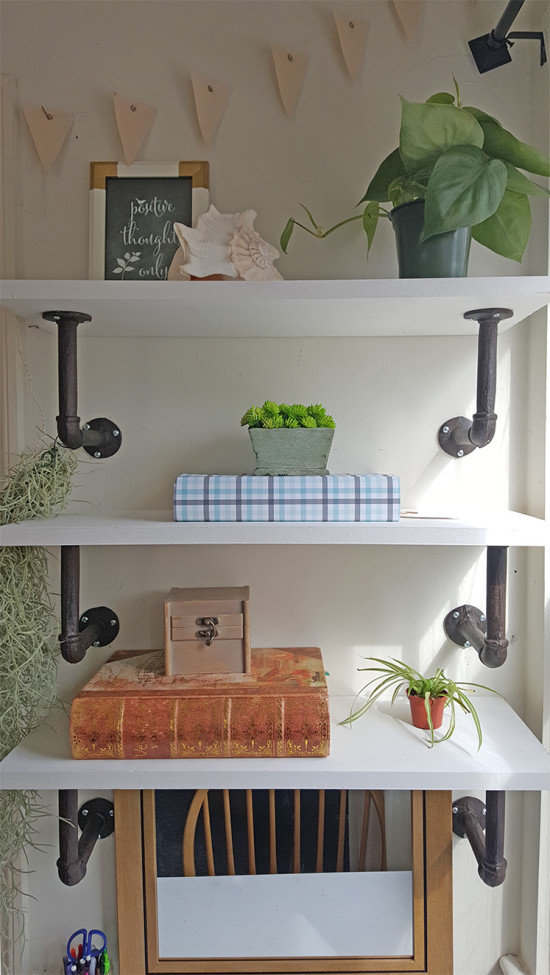
Of course I also added a few succulent plants to give the space some life.
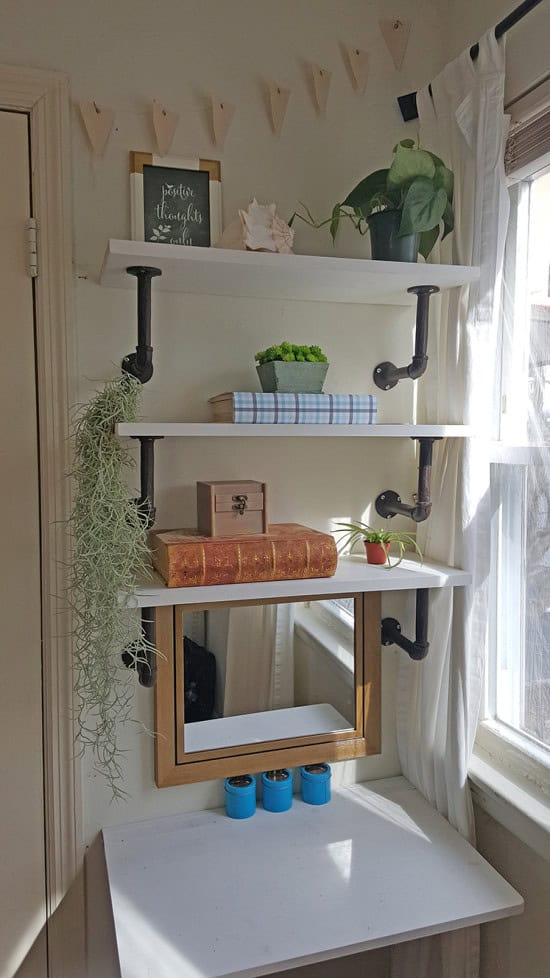
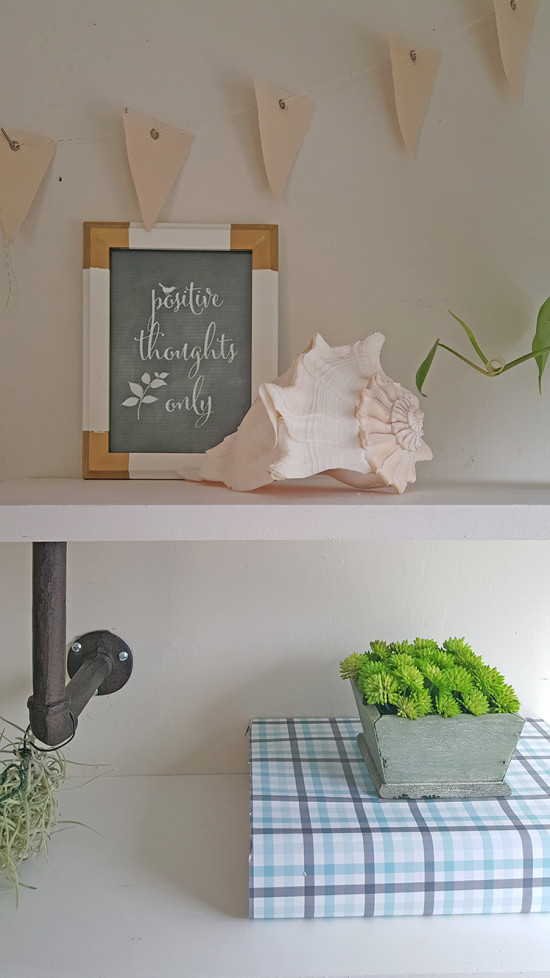
Both of the books shown are faux books that open to hold items. The one on the middle shelf is a wooden book box that I got at Michael’s and covered it with scrap-book paper. I also picked up the wood box with the little latch shown on the lower shelf and painted that. The framed art was leftover from when I decorated the living room in this house. I ended up not using it there, but it was perfect for here. It is a free printable. I painted the corners of the frame gold, an idea I found from another blogger.
We pulled a kitchen chair in here for now, until we find something else.
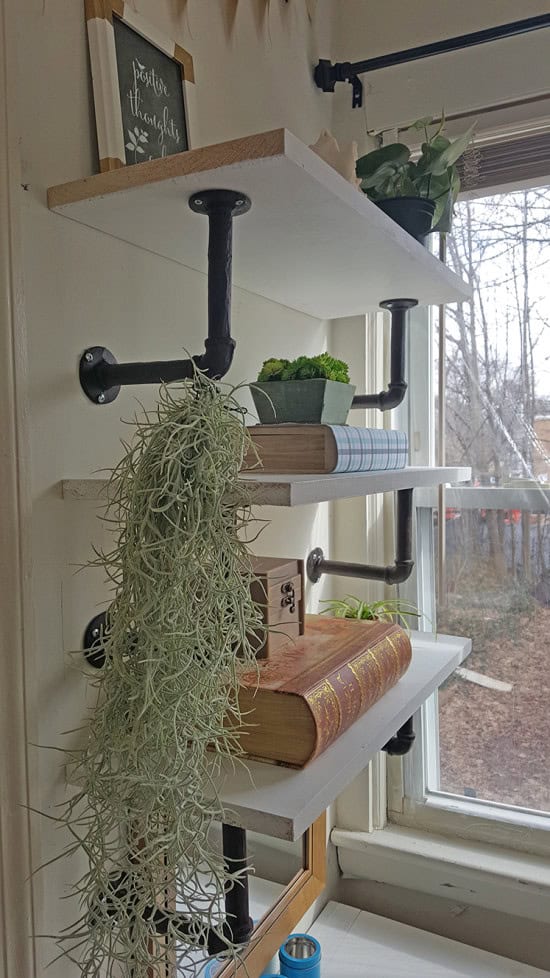
The hanging succulent plant on the left is so pretty that I had to go back and buy one for my own house. I plan to share a whole post about the gardening center where I found that.
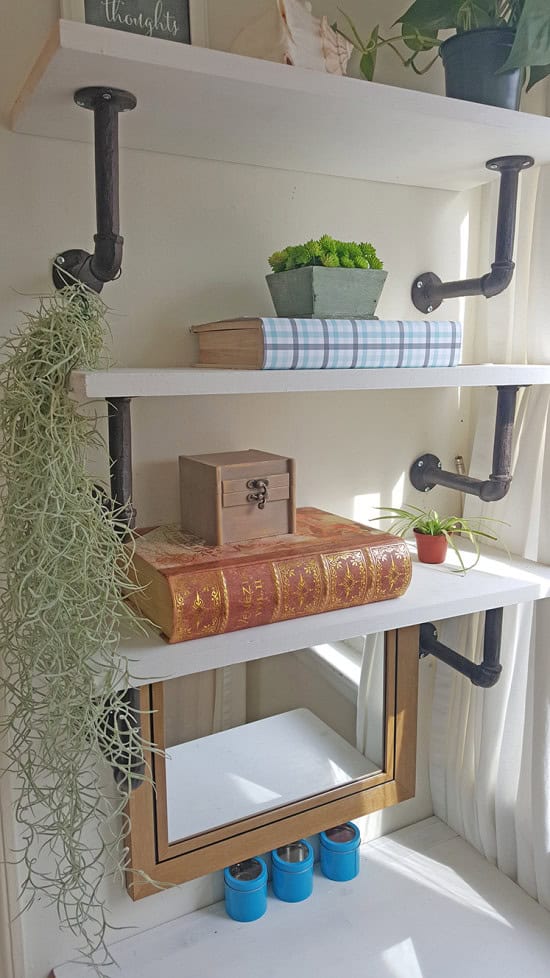
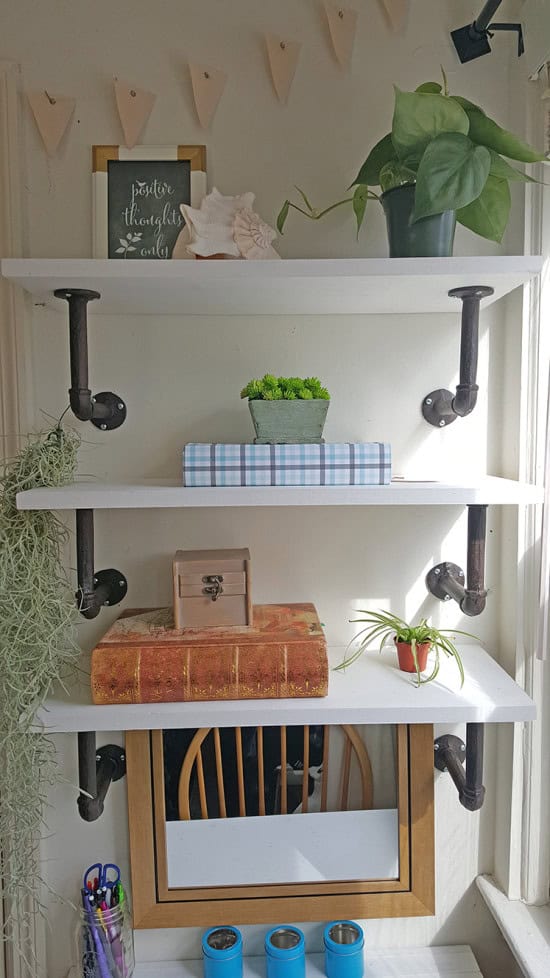
We carved a lot of functionality into only 2 feet of space. The best part is my daughter is happy with it and finds it to be a peaceful space to study. 🙂
*This post contains affiliate links. Read my full disclosure here.

This is amazing! What a GREAT use of a little bit of space. I had no idea that they had those pipe shelves at Hobby Lobby. Actually, it’s even cheaper than building your own, because those pipe flanges are $3-$5 each, and it looks like each pipe bracket has 2 of them on it! I’ll need to remember to check there next time!
Thanks, Jenny! Those pipes were a lucky find!
Gorgeous! I love this so much!
This is so pretty!! What a great use of space!
Those pipes were such a good find. Nice work!!
It is such a lovely space now and what a transformation in such a small area – love it and I have a college student that would love if you could do her space 🙂
Amber, email me some pictures of the space and I’d be happy to help! 🙂
How cool! I didn’t realize those weren’t actual pipes. Very neat! Love the look, doing something similar in my living room. thanks for sharing !
Beautiful! The shelves turned out great, and those industrial pipe brackets were such a find!
Absolutely love this, especially the creativity! Totally pinning 🙂 xo
Aww…thank you Jess!
Never thought of looking for industrial pipes at Hobby Lobby! Thanks for the tutorial! love it!
Wow, the shelves came out so nice! What a wonderful storage solution for tight spaces!
I love me a great industrial project!! This is perfect 🙂
These are fabulous! And what a functional space for your daughter. (Bet Hobby Lobby will be sold out of those brackets for a while!) Thanks for sharing, Cynthia