DIY Kokedama Plant
If you’ve not heard of a Kokedama plant, it’s a ball of soil covered in moss, in which you can grow a plant. Kokedama means moss ball in Japenese and it’s a form of bonsai.
I discovered these recently and had to give this a try for myself. It’s a great little project if you’re missing your garden time during these winter months!
I did this in two different ways. First, I’ll show you the traditional way of making these yourself. Then I’ll show you a shortcut to getting one done quickly.
Supplies for KokeDama Plants
- Sphagnum Peat Moss
- Long Fibered Sphagnum Moss
- Sheet Moss
- Bonsai Soil (optional)
- Twine
- Fishing Line (for hanging)
- Small Plants (such as ferns)

Preparing the soils
First, take a bunch of your long-fibered sphagnum moss and soak it in a bowl of water. Put this aside while you prepare the soil ball.

For the soil ball, I read about several different ways to prepare it, which got confusing because there were many different soils suggested. So I tried a few. This is what worked well for me.
I mixed sphagnum peat moss with bonsai moss. After trying a few different ratios I realized the sphagnum moss held together well with a good amount of water. The bonsai moss doesn’t really hold together at all. The purpose of the bonsai is to help the plant retain moisture.
For that reason, I’m not sure the bonsai soil is totally necessary. But I did add some to my mix.
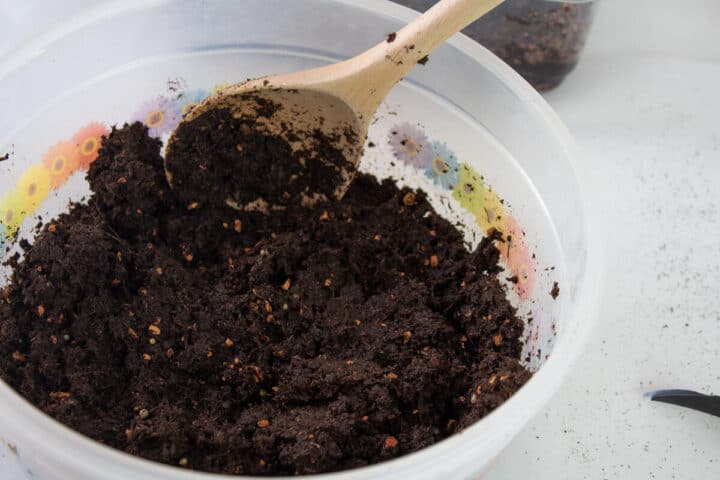
I didn’t measure the amount of water I used, but I added enough to make it a solid mud ball that held together. This part I enjoyed, I like getting my hands dirty. However, it is messy and would be best done outside.
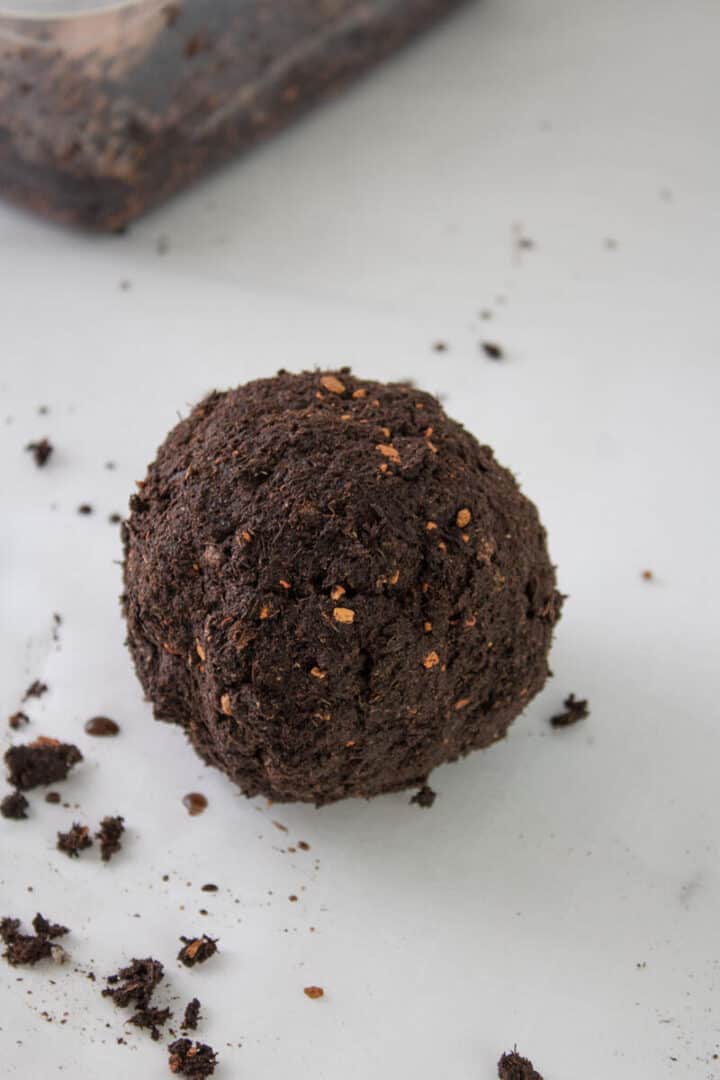
I used very small fern plants for my kokedama plant. After your soil ball is formed, you can crack it in half. Remove excess dirt from around the roots of your fern and place the fern between the two halves.
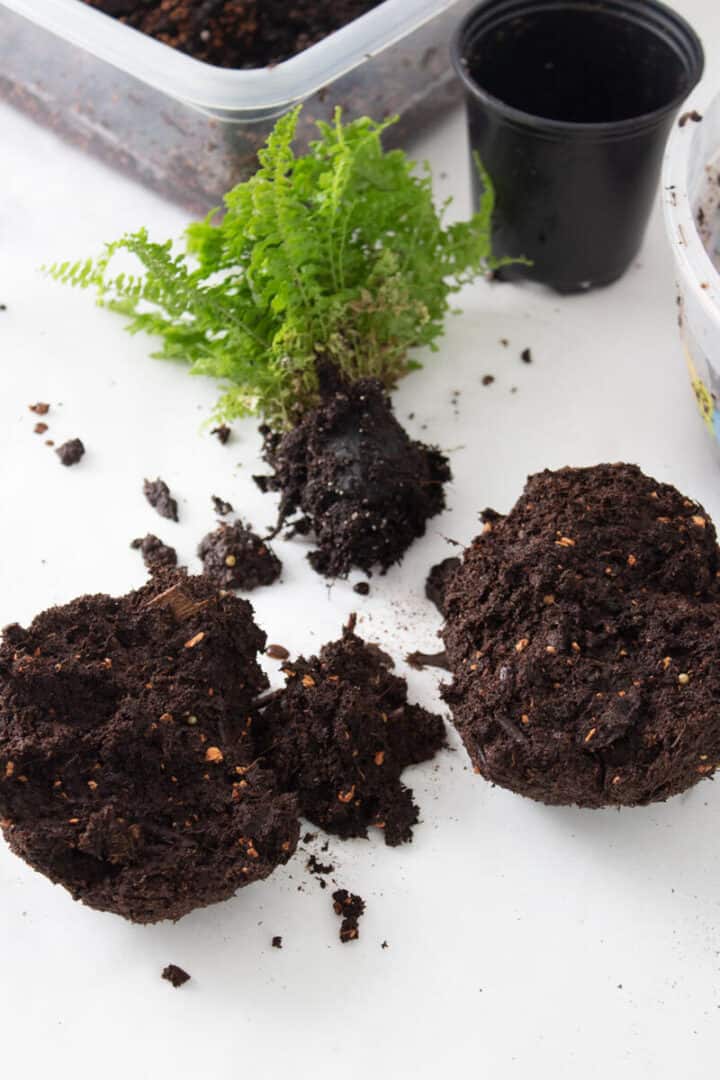
Then form it back into a ball. You can add more water if needed to help it stay together.

Next, wring out the long-fibered sphagnum moss that was soaking in water. Wrap that around the outside of your soil ball. (I didn’t take a photo of that step.)
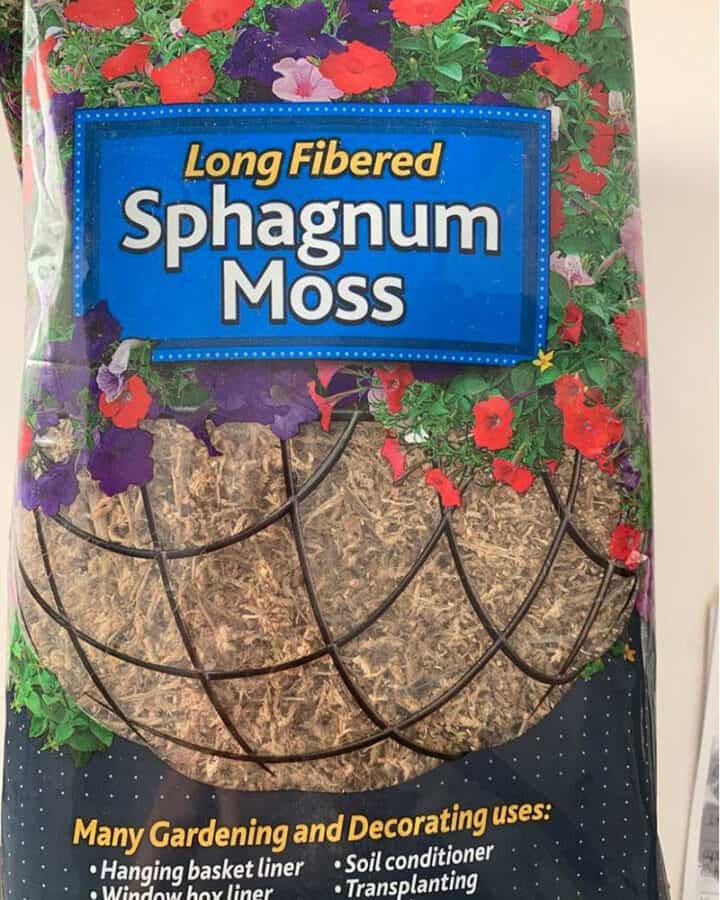
You can stop there if you want, but I don’t love the dried look of the sphagnum moss. For that reason, I also used sheet moss and wrapped that around the outside of my soil ball.
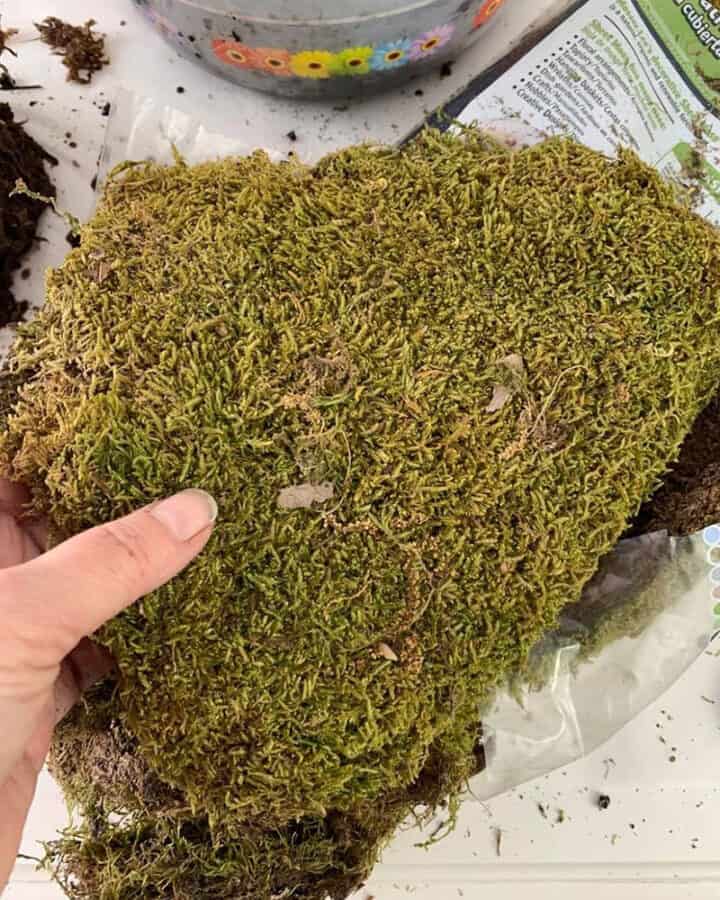
The sheet moss is too thick as is to wrap around the ball, so I pulled it apart and added it in sections. It helps to add more water to make it stick. A spray bottle would be helpful here but I just wet my hands to make it stick.
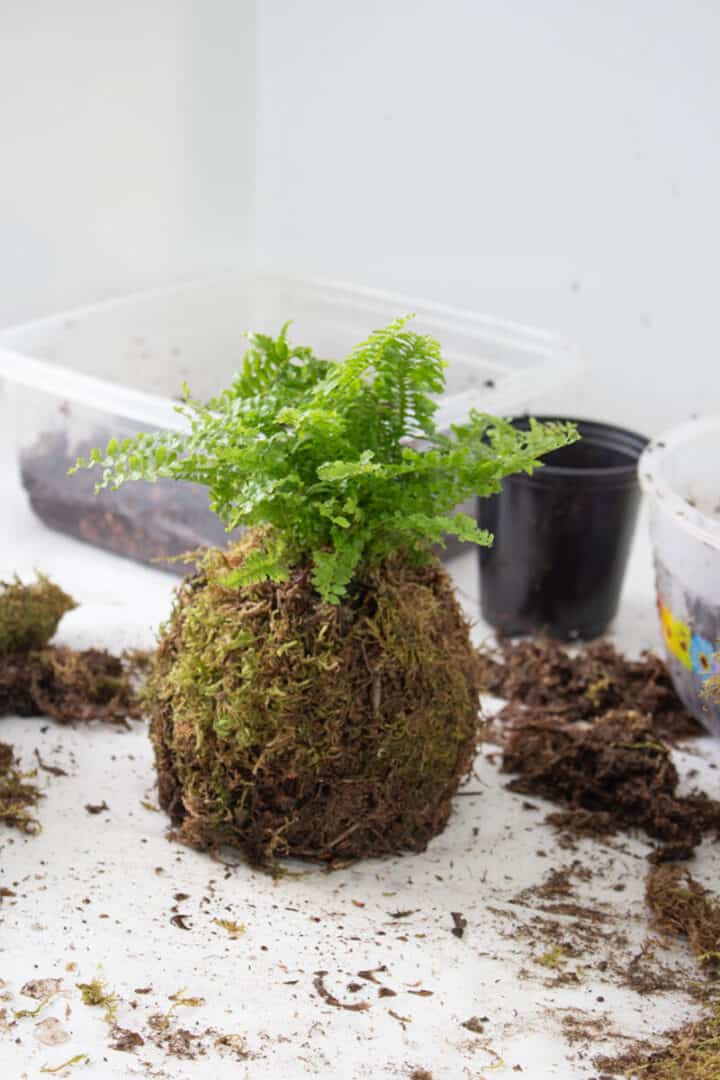
Lastly, wrap your kokedama plant in twine or fishing line to keep it all together. You can also use string to hang it up.

Kokedama DIY Quick Recap
As I mentioned, there are many different suggestions out there on which soil and what moss to use. It can get confusing!
You could easily make your own kokedama plant using just the sphagnum peat moss for the soil ball and the long-fibered sphagnum moss for the outside. Easy!
Another Easy Kokedama Plant DIY
After I had picked up the supplies to make my own kokedama plant, I discovered pre-formed kokedama moss balls for sale online. (I also noticed these). They were on clearance so I grabbed a few of them to try those out as well.
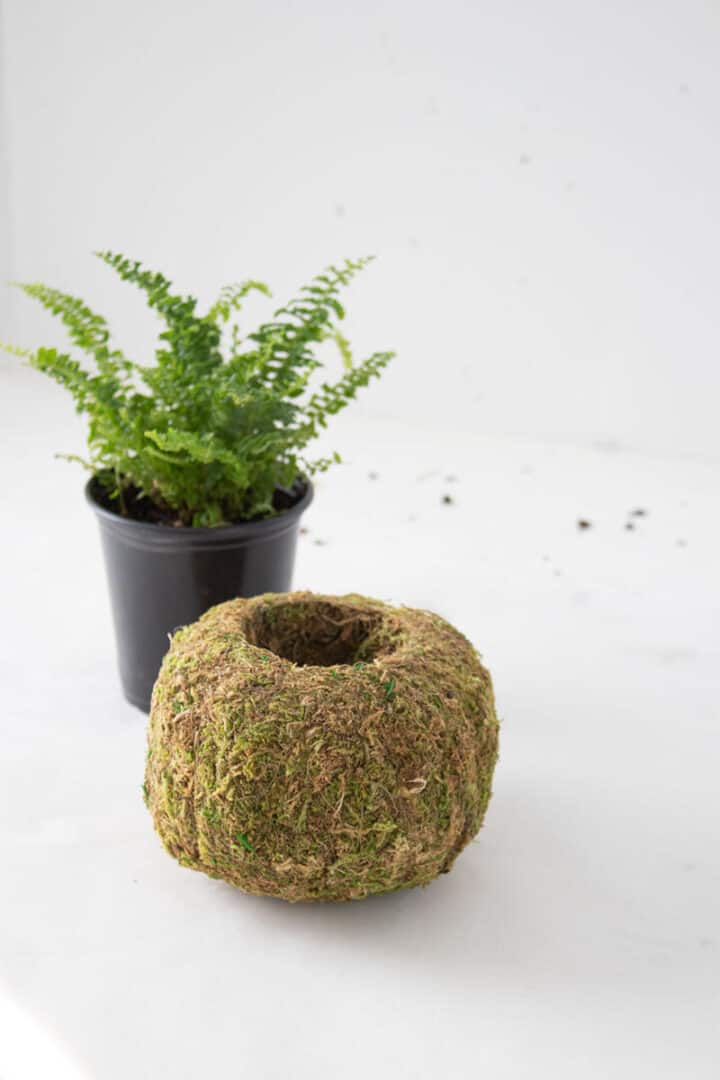
For these, you simply add your plant to the preformed moss. Super simple!
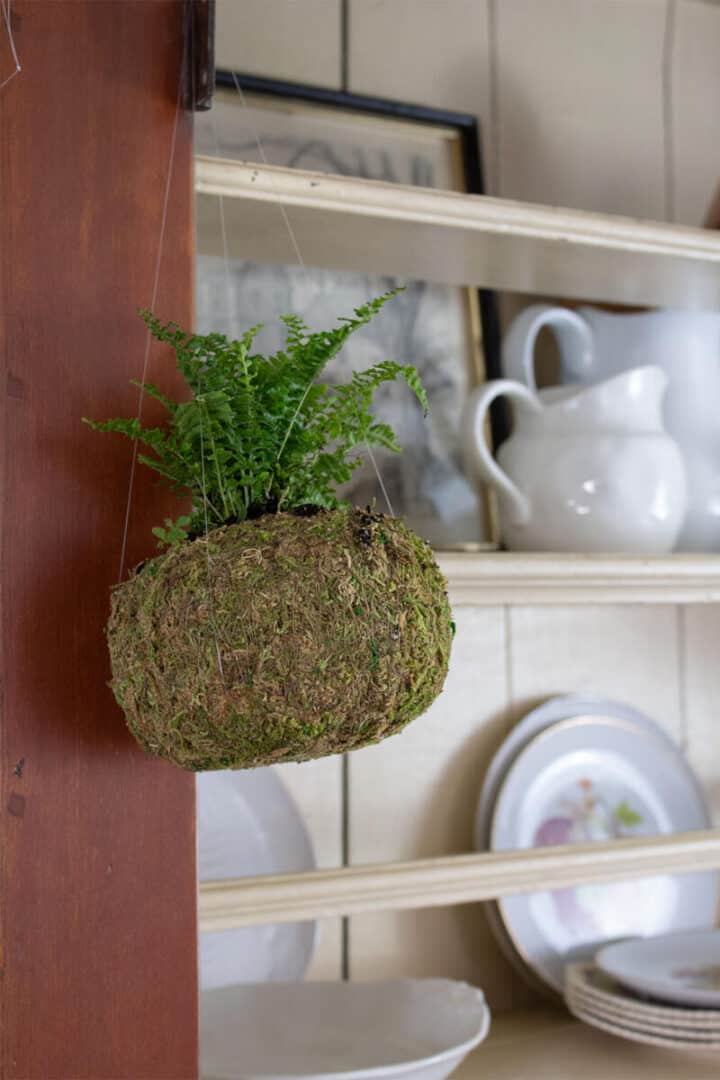
How To Hang Kokedama
To hang my kokedama plant, I used fishing line. Take a long piece of it and fold it in half so it’s doubled. Next, tie a knot in the loose end.
Then I placed the moss ball on top of the center of the fishing line and pulled each end up, sort of like a sling. Lastly, I tied the top pieces together.
This was the least annoying way I could find to do it, and it was easy enough. They look super cute hanging up.

Isn’t that fun? It’s great garden therapy for these winter months!


