DIY Backyard Fountain from Planters
Don’t you just love garden fountains? Recently I had an idea to make my own DIY backyard fountain using stacked terra cotta planters.
It was surprisingly easy to put together! You could use any type of outdoor planters for this, it doesn’t have to be terra cotta.
Supplies Needed For Backyard Fountain
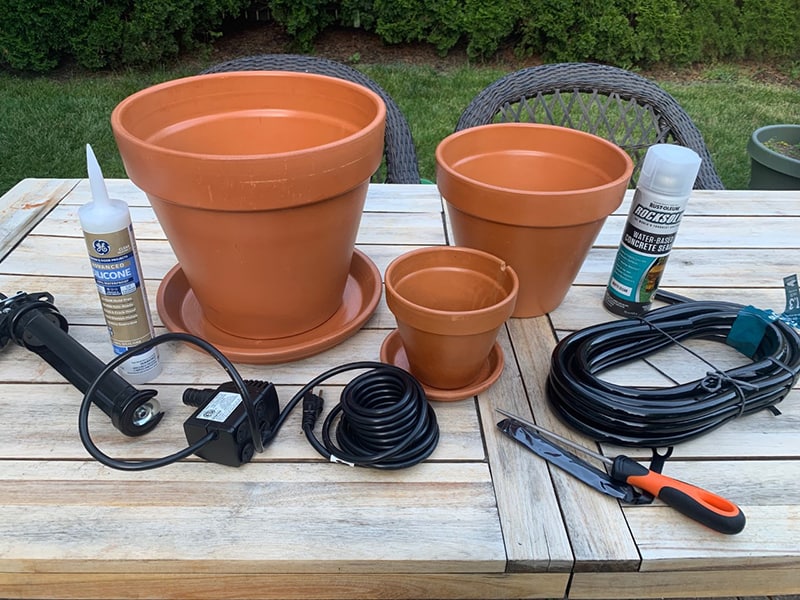
- 1 Large Terra Cotta Saucer
- 1 Small Terra Cotta Saucer
Building the Fountain
The idea was to stack the pots with the pump inside the bottom pot. The rubber tubing, which is sold separately, then attaches to the pump and you can run it up through the center of the pots to the top.
The larger pots have the drainage hole which is large enough for the tubing, but on the smaller pots and the saucers, you will have to enlarge the hole. For the saucer, I drilled a hole in the center.
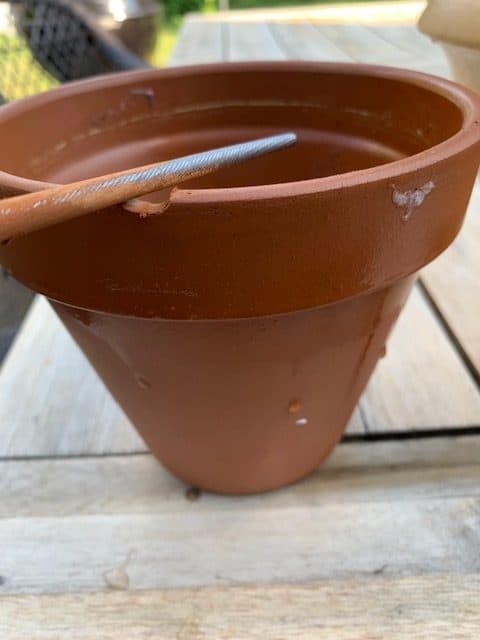
Before drilling or filing any pots, soak the terra cotta in water to make it easier and to help prevent cracking. Use a scrap piece of wood under the saucer when drilling through.

For the smaller pots, I used a file to enlarge it.
Next, the smallest pot needs to be notched up top for the pump wire to run through. You’ll need this because that pot will be placed upside down for stacking.
After you’ve prepared the pots for the wiring, you’ll need to spray them with a waterproof sealer. I used Rustoleum concrete sealer.

To be honest, I didn’t love the Rustoleum spray. It sprayed on milky white and says it will dry clear but it doesn’t. I had to spray and wipe in on with paper towels to get rid of the white. Also, it’s a bit runny which is another reason I used the paper towels to help apply it. Almost as if I were applying a stain.
Let them dry completely before moving on to the next step.
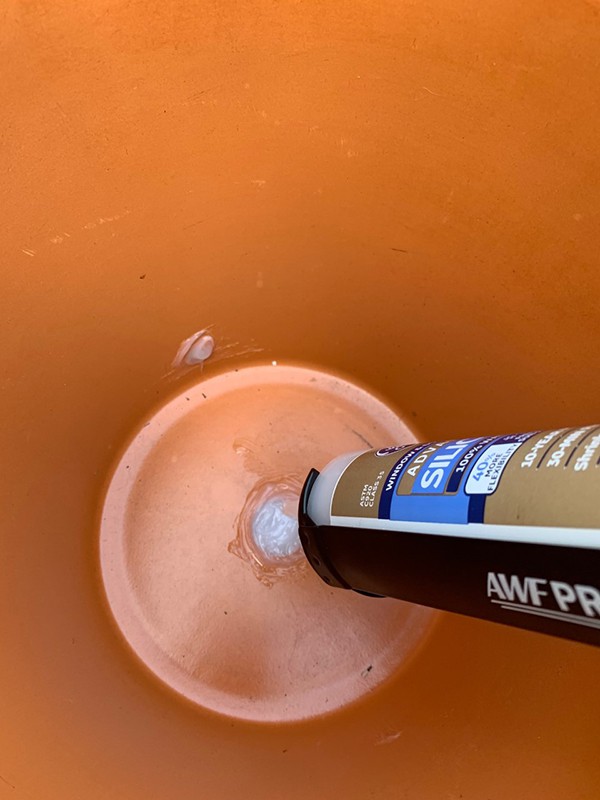
Next, you’ll need to add a waterproof silicone sealer to stop up the hole in the bottom pot. I used GE brand advanced waterproof silicone. Let that dry before moving on and wait 24 hours before adding any water.
How To Use The Fountain Pump
Now it’s time to assemble the fountain. The pump comes with a black cap that needs to be removed before attaching your tubing to it. It took me quite a while to figure that out, as it wasn’t specified in the directions! Save that cap for later.

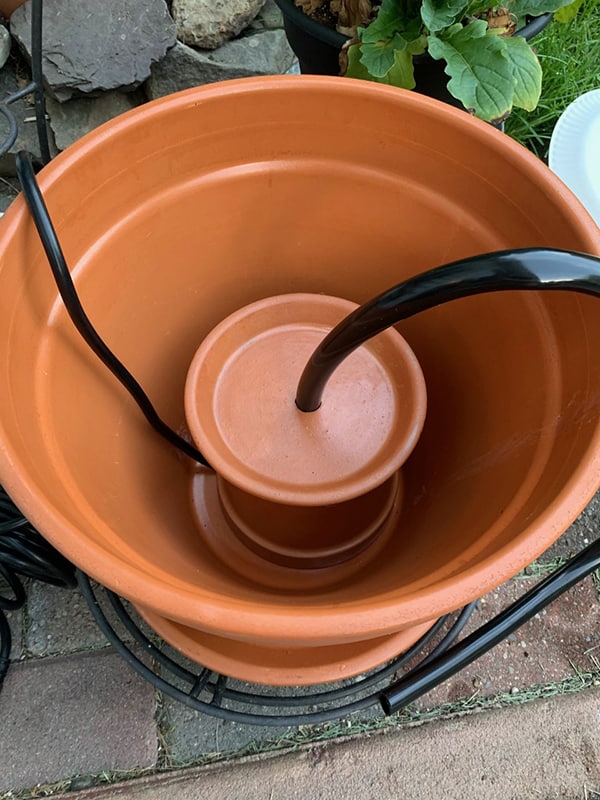
Place the pump in the largest pot with the wire draping over the back. I really wanted to be able to run the wire through the side of the pot and seal that up with silicone but because the plug is large, I was afraid it wouldn’t hold up to water for extended periods.

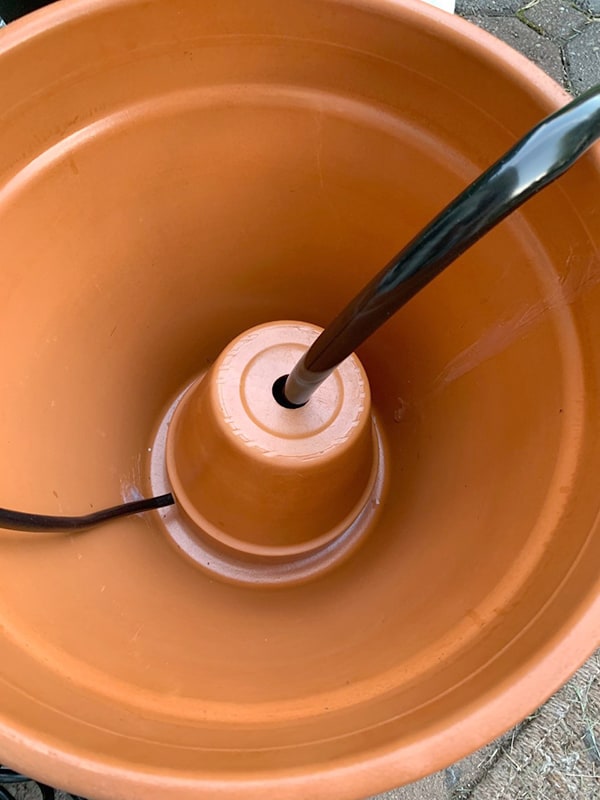
Next, take your small pot with the notch and place it upside down over the pump. The notch will fit right over your small outlet wire. Run the rubber tubing up through the drainage hole of the planter.
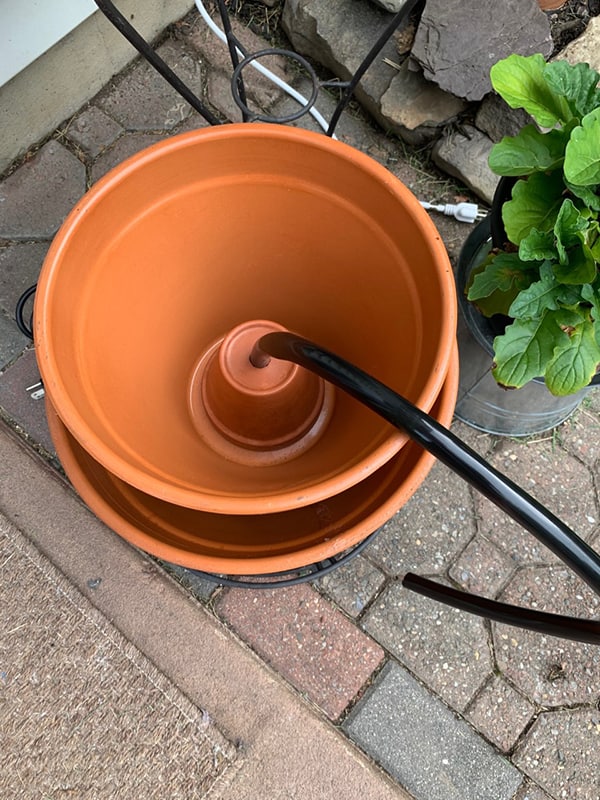
Next stack the small saucer on top of the first pot and run the tubing through that.
Add your 10-in pot on top of that. I used a second smaller pot inside this one to help hold the tubing up straight.
One thing I forgot to take photos of is where the tubing comes through the hole of the planter, it is a good idea to add more of the silicone sealer around that to seal it completely. The downside to that is if the pump needs to be cleaned in the future it will be more difficult to disassemble. Be sure to adjust the pump to your desired flow settings before adding the sealer.
If you don’t use the silicone sealer in these areas as you stack your pots, the water may drain from the upper pots so I would suggest doing it.
Finally, cut the tubing to your desired height. And remember that little cap we took off the pump? Now you add that piece to the top of your tubing and you’re ready for the water.

Alternative Garden Fountain Idea
If you don’t want to take the time to create this stacked fountain, you could simply buy the pump and put it into anything that holds water for a really simple fountain! You could use an electric water pump or a solar pump, whichever you prefer! Both are around $20!
Isn’t my little backyard fountain cute? The sound of the water adds a little ambiance to our backyard. It’s especially nice at night when the string lights are lit.
That’s a wonderful idea.
What is the purpose of spraying with a waterproof sealer?