Budget-Friendly Gallery Wall
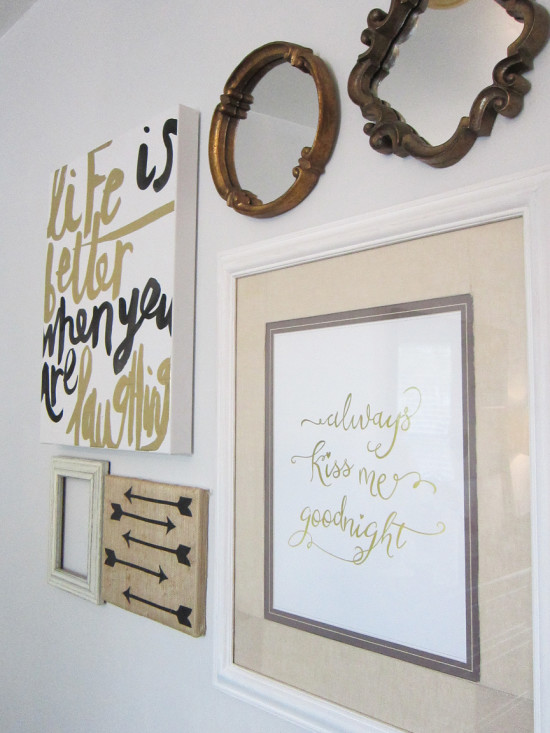
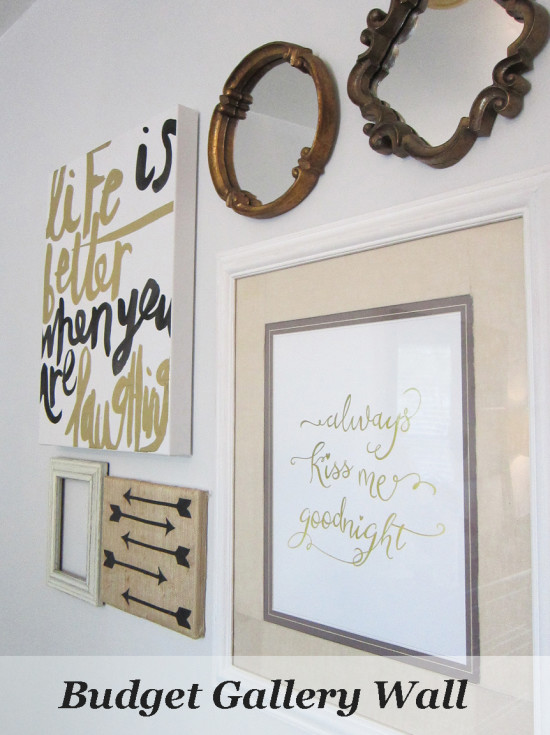
You may have noticed the gallery wall in the post I shared recently. After giving my daughter’s closet doors a makeover, I needed to add something to the wall next to it because it was completely bare. I really didn’t want to go out and buy all new wall decor. I was able to put this wall together using only things I already had, with the exception of 1 new art print.

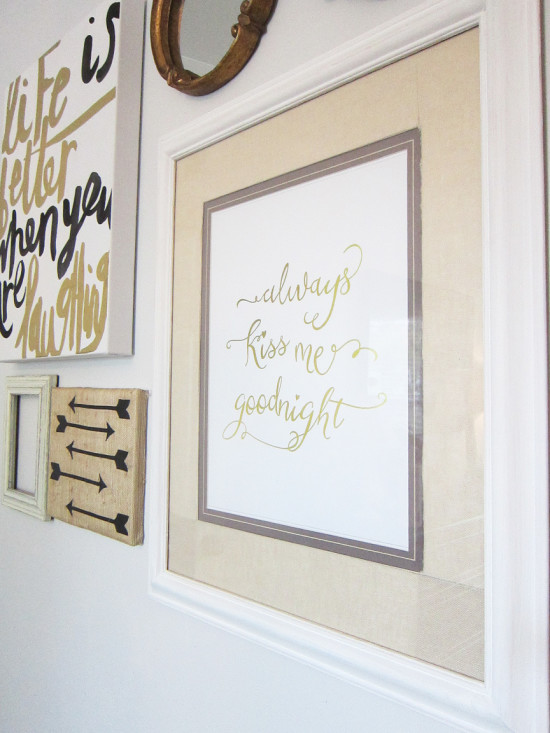
My daughter loves the phrase “always kiss me goodnight” so I started with that. I googled the phrase + “free printable” and found the print that I used. You can find it here. I found an existing frame that I wasn’t using anymore, and removed the original photo that was in it. Then I had the always kiss me goodnight printed at Walgreens to fit my frame.

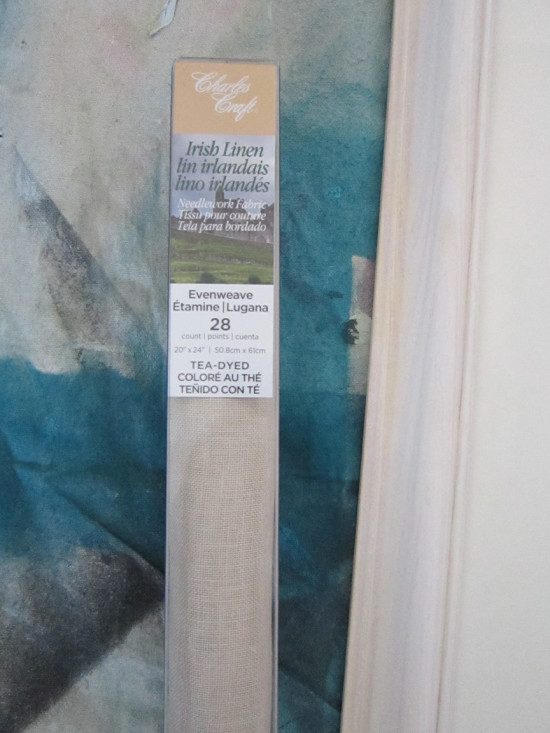
The frame itself was whitewashed, but since my daughter’s wall are a very light gray, I decided to paint the frame a more pure white. I also took out the existing matt, and recovered it with some Irish linen I found at Michael’s.
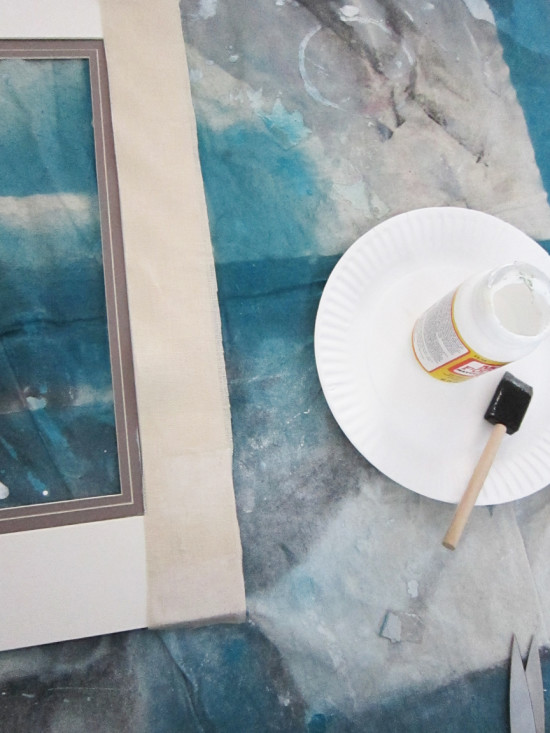
I used Mod Podge to adhere the linen to the matt, because no project is complete without Mod Podge. I like that the linen added some texture to the frame. I also added some texture with the arrow print canvas.
![]()
This was another DIY project. My daughter had picked up some blank canvases to use in her dorm room, but ended up not using them. I starting digging through my box of wallpaper and fabric remnants and found a sample of grasscloth wallpaper, and I used that to cover the canvas. Then I printed out some arrow shapes and used Mod Podge to attach them.
![]()
If I were to do that one over again, I would recommend printing the arrows on thicker paper, such as poster board. I used regular printing paper and it was a little flimsy, but in the end you really can’t tell.
The two mirrors on the top right were from a set of 3 I had ordered from Joss and Main over a year ago. After I received them, I didn’t like the gold-toned frame for the room I planned to use them in. They don’t accept returns, so I held onto them. They ended up being a perfect fit for this room, and helped me carry through the gold color from the always kiss me goodnight print. I also found that little white empty frame around the house and added that to the gallery wall.
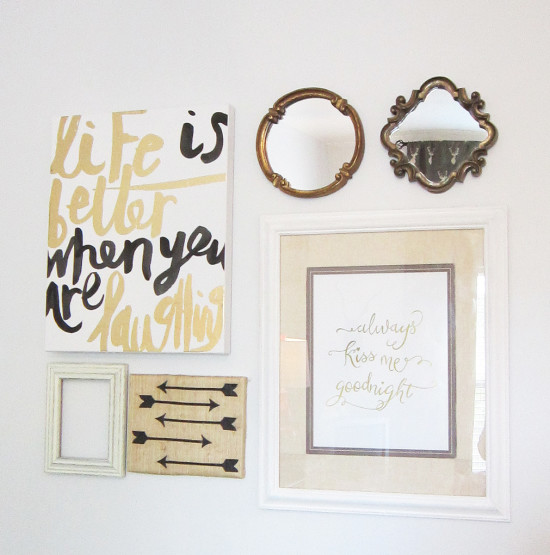
The picture on the top left is the only one that I bought for this budget gallery wall. I got that at Home Goods for $16.
I’m really happy with the way it all turned out. Not bad for a total spent of $16. If you missed the closet door makeover you can see it here.

That turned out so well! I love the arrows on the canvas, I never would have thought those were just mod podged on- great job!
Ok, confession: I always forget about Mod Podge! 🙂 Thanks for the reminder, you’re wall looks great!
Love the arrows on the canvas it looks great 🙂
I’m loving this! I’m always so impressed by your masterpieces. Pinned and tweeted. We appreciate you taking the time to party with us. I hope to see you on Monday at 7. Happy Mother’s Day! Lou Lou Girls
Looks great, and even better that you did it all for such a great price! Thanks for linking up at the Pretty Preppy Party!
What a pretty and sophisticated statement the entire collection makes! Beautifully done! XO