The Easiest Way To Hang Pictures Ever
What’s the easiest way to hang pictures on the wall?
The easiest way to hang pictures ever has been found and you guys won’t believe how simple it really is!
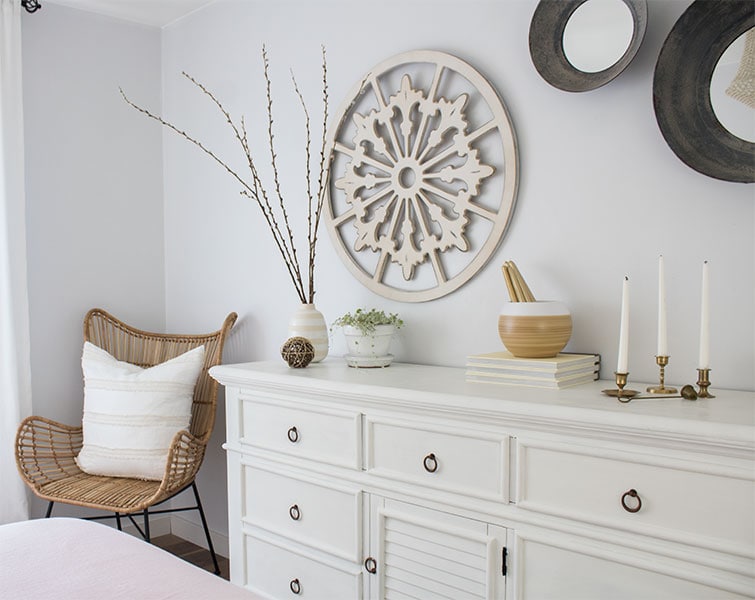
I’ve been doing some redecorating in my daughter’s room & I realized I should share with you the amazingly simple way that I hang pictures…no tools required! Not even a hammer.
I used to wait for my husband to help me hang our artwork. In case I needed something hung where there weren’t any studs, or to have him help me line up multiple pictures with his laser level. But waiting on my husband to get things done can take forever and I’m not that patient!
After doing some research I found my perfect little solution. And it’s brilliant!
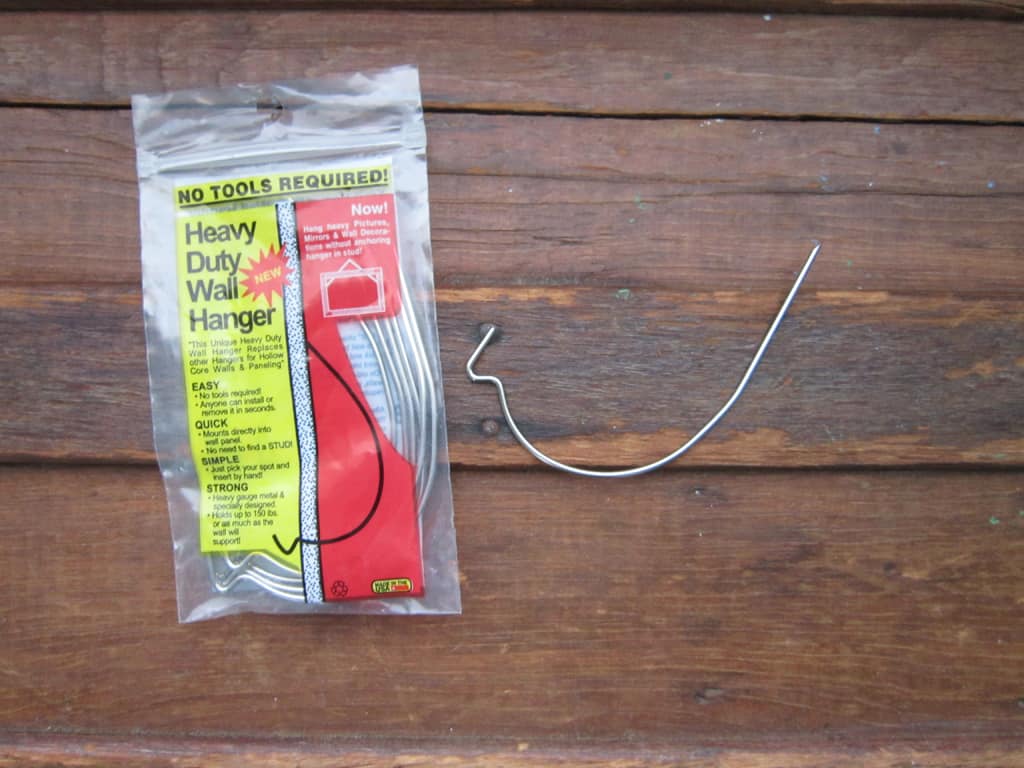
These are called Heavy Duty Wall Hanger hooks, or drywall hanging hooks. I’ve also seen the same type of hooks called other things, like Hercules Hooks. They mount directly into the wall, no need to find a stud. It says on the bag each hook holds up to 150 lbs. I’ve never hung anything quite that heavy but they are pretty strong little metal hooks.
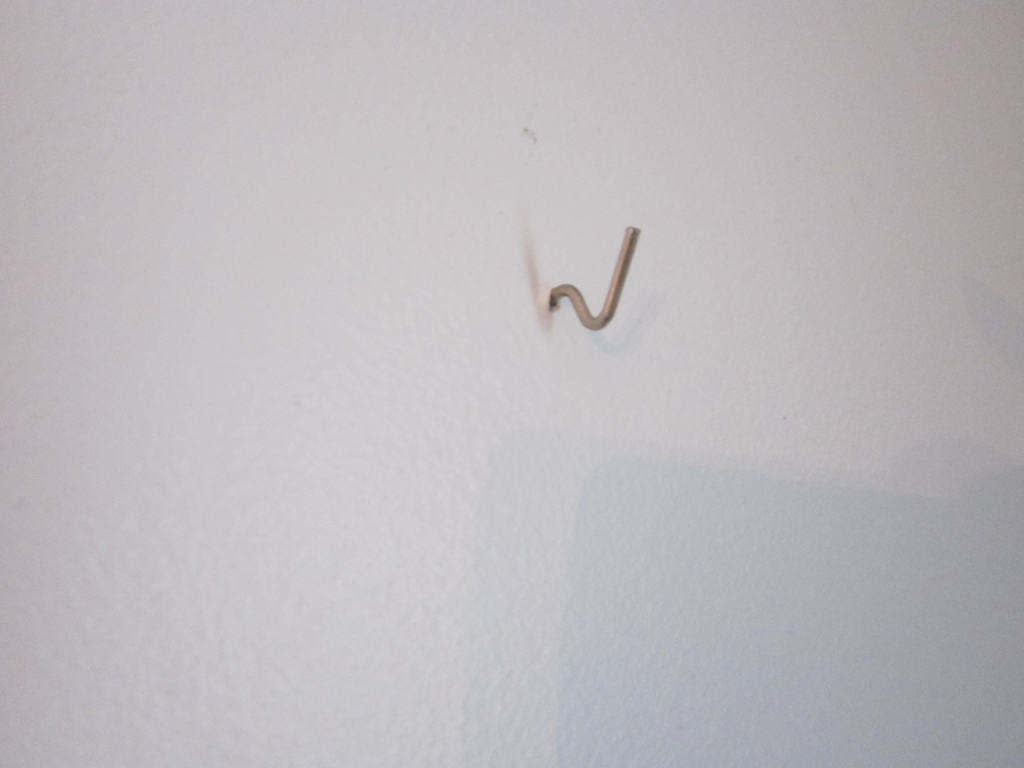
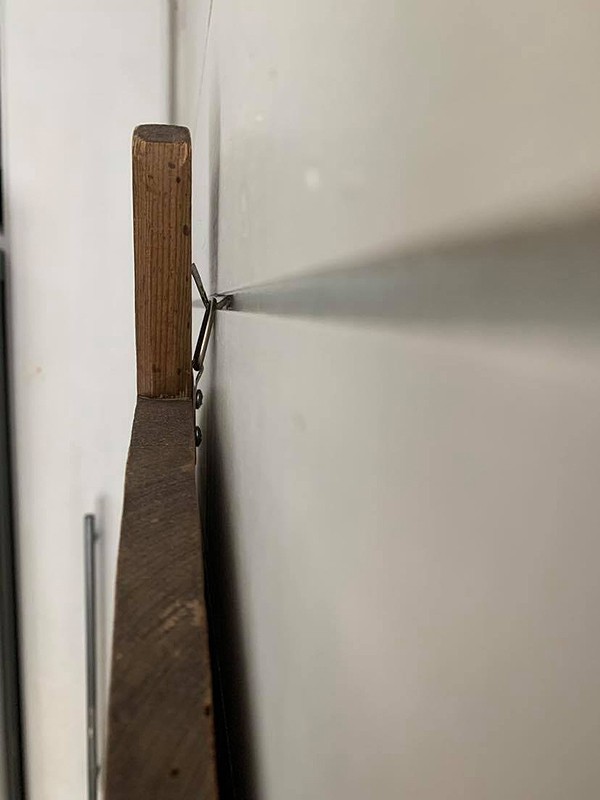
Once I tried these out, I literally could not believe how easy they are to use. You literally just screw them into the wall, using your hand, twisting the hanger back and forth while pushing in. This is what it looks like once it’s all the way in.
Another great thing about these is they only leave a very small hole when you need to remove them. I use them for larger pictures as well.
I bought an old cutting board at a flea market that was pretty large, and it was very simple to hang up in my kitchen and only needed one hook.
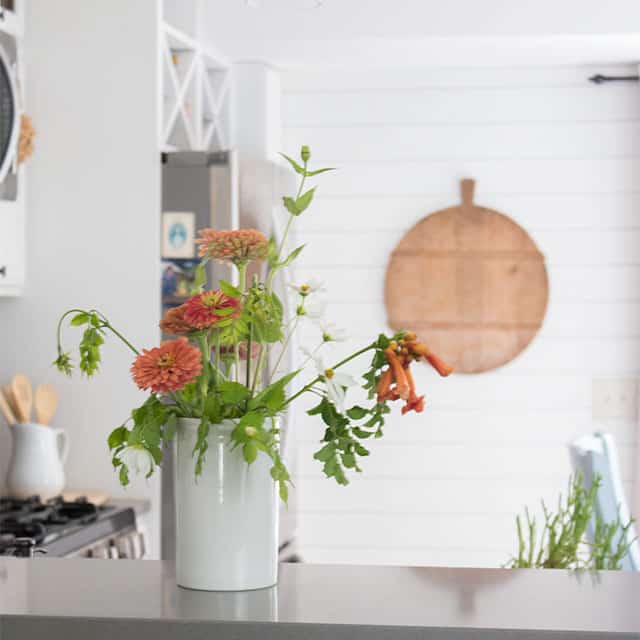
You can see they sit pretty flush with the wall. If it juts out too much, I’ll lightly tap it with a hammer to flatten it a bit.
When I do need to hang something that is on the heavier side, I will use two hooks instead of one.
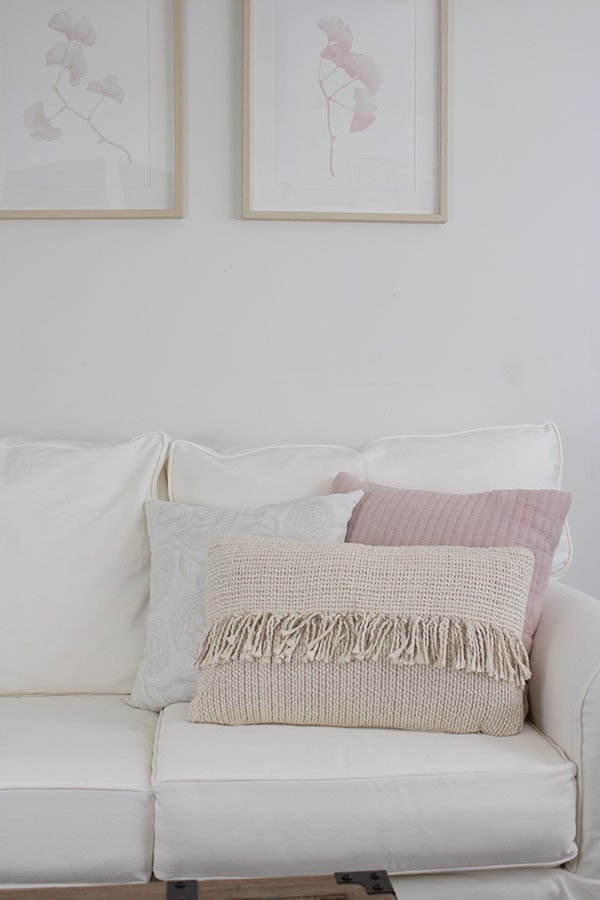
For hanging multiple photos in a row, I will use my husband’s laser level to get a straight line and just insert these picture hanging hooks along the line. Once you get your picture placement right, hanging them with these hooks is simple.
I don’t know if I would use them on very heavy items. But I would say I’ve used them for about 75% of the things on my walls.
Did I mention these picture frame hooks are very affordable too? You can get a pack of 50 hooks for under $10! Or a pack of 20 for around $6.
YOU MAY ALSO LIKE THIS POST: Hanging Pictures without nails, 8 ways
Such a great tip on how to hang art! I always go back and forth on what to do. P.S. I love that mirror in your living room. I have been keeping my eye on it at Kohls waiting for it to go on sale! Thanks for the tips!
Brittany, I got that mirror at Kohl’s, it was on sale and I had the 30% off coupon. It was a total score!
These look amazing and I hang pictures a lot. It looks like the hook coming out of the wall is pretty deep. I want to hang some canvases and wonder if they would be too long for them.
The hook that comes out of the wall is approx. 1/2 inch in both depth & height. I have used these many times for canvas pictures!
This is great! I wish I read this before I huge up my pictures today. I will keep in mind for the future though! Thanks for linking up with me today!
GREAT to know! Thanks, Roxanne!
I like your tip to use paper to lay out a design on the wall before beginning the hanging process!
We are so glad you shared with us at the Home Matters Linky Party!
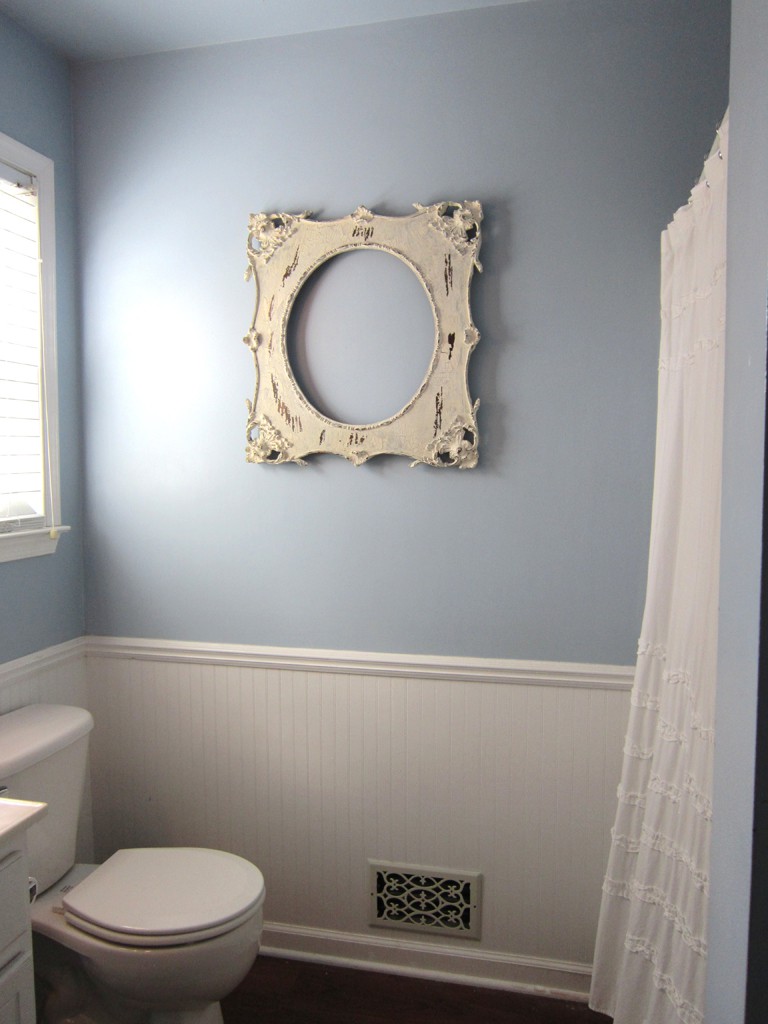
I have never seen these hooks before, but they look like a great, sturdy solution to hanging just about anything on the wall. Love the rustic frame in your bathroom, too.
I’ve seen old! Pinterest posts with people covering their thermostat and you’re not supposed to do it. Just fyi.
So much better than nails!
Awesome tip! Goodness knows I need an easy to use tool for hanging all these heavy pieces. 😉
Pinning and sharing everywhere!
Thank you so much for sharing on Show Me Saturday! Hope to see you again this weekend!
~ Ashley
We used these in my husband’s office to hang all of his plaques and degrees–they’re the best. I pinned this to the Pretty Preppy Party board (thanks for linking up!).
I remember seeing hooks like these on some cheesy infomercials. I never believed they actually work, but you’ve convinced me otherwise.
I’m terrible at hanging anything on the wall, so hopefully these will help me!
I’d love for you to stop by and link up with me at Talented Tuesday, 1 party 5 blogs, every Tuesday at 9am central!
love your decor, thanks for sharing your tips! I love the part about using recycled paper to pre arrange frames before hanging!
Thanks, Kim! I’m glad you found it helpful!