Emerald Green Arborvitae
One way to take your backyard to the next level is to invest in emerald green arborvitae trees. Doing this for our yard was the best investment we made out there. Not only are they beautiful, but they are also evergreen and create a beautiful privacy hedge when planted in a row or along a fence.
We’ve had most of our arborvitae trees for over ten years and those are about 20 feet high now. We’ve learned a lot about planting and caring for emerald green arborvitae and thought I’d share a little of what we’ve learned from our own experience with them.
I find it easiest to learn from someone who’s had success with certain landscaping plants. Sometimes the experts get too technical and my eyes start to glaze over.
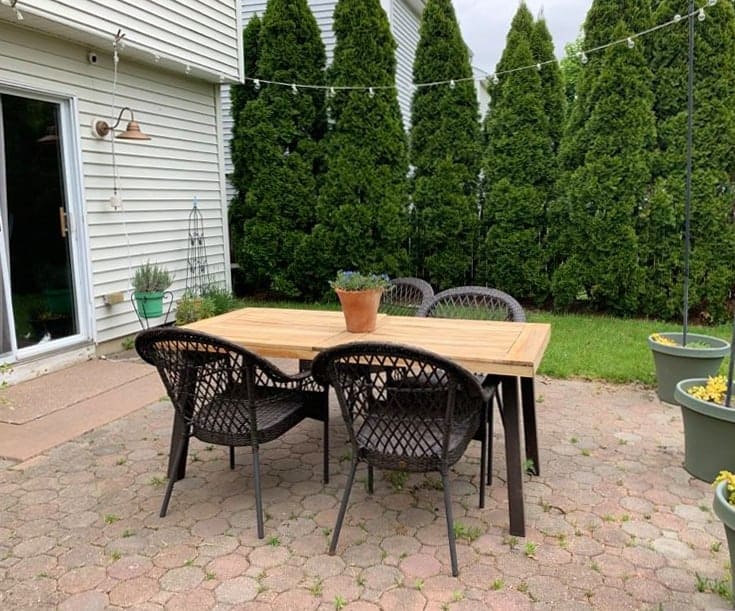
Emerald Green Arborvitae Hedge
When planted in a row the arborvitae creates a stunning privacy hedge. They will grow to approximately 10-15 feet tall. I’d say they grow about a foot a year, maybe slightly less. The emerald green arborvitae is said to be the slowest growing variety, but they have a beautiful density so, in my opinion, these are best. Patience will pay off.
The emerald green arborvitae has another plus, it doesn’t require any pruning unless you want to shape it differently.
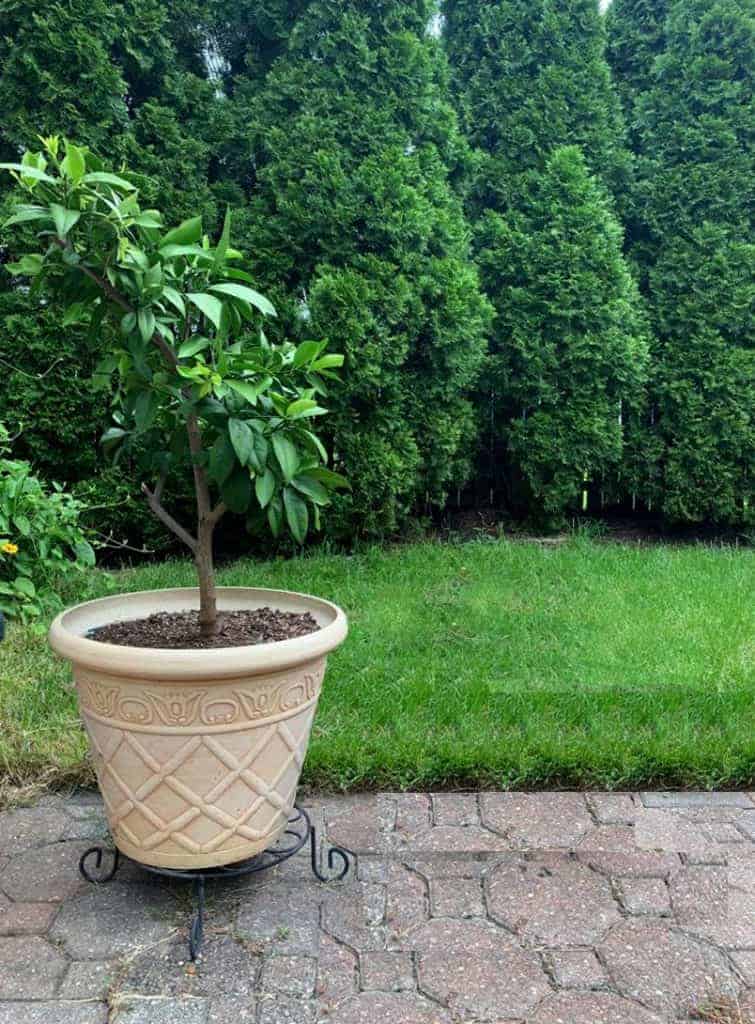
How To Plant Arborvitae
Arborvitae will grow to be around 3-4 feet wide so give them enough space in between to grow, they do fill in beautifully. They prefer full sun but will tolerate partial shade.
Dig the hole twice as deep and twice as wide as the root ball and mix in some compost.
Top with a layer of mulch to help them retain water.
Arborvitae Care
Water is the main concern when it comes to caring for arborvitae. When we first planted ours it was recommended to us that we use a drip hose. We laid the hose along the base of the trees and let it water them with a consistent, slow drip. This method really worked well for us. When first planted, this needs to be done every day.
As they become more established you can cut back depending on the weather and rainfall in your area.
If you find your arborvitae beginning to turn brown, prune those branches off. Hopefully, new growth will fill in if the tree isn’t too far gone. We have lost a few over the years that had to be replaced, noticeably after we stopped using the drip hose.
Fixing Damaged Arborvitae

Arborvitae survives the winter’s very well. The only issue I’ve had is during winters when we get an extreme amount of snow, like this year. Not only did we get tremendous amounts but much of it was heavy. icy snow. Unfortunately, that can cause the branches to separate and droop down.
As long as the branches don’t split along the bark, they can be fixed. If they split, it’s best to remove them. However, if they’re just bent you can pull them back up. You do NOT want to do this with rope or twine. If you use rope, it will begin to cut into the bark and that essentially chokes the tree.
My landscaper friend taught me that when he helped me fix one of my biggest arborvitae that got really damaged this winter. Rather than tying with a rope, you insert eyebolts into the branches. Now you can use a rope or cord by looping it through the eye of the bolt and tying those together.

This method works on larger trees but you should not use it on thin or delicate branches. In those cases you can try giving them time to see if they spring back up, sometimes they will. If not you can tie the branches together with a soft or flexible material such as bungee cord or pantyhose.
Overall, they are a relatively low-maintenance tree. Planting the emerald green arborvitae hedge really took our backyard up a notch, created much-needed privacy as well as added some shade throughout the day to our very hot and sunny yard.
Great post – We did this on both sides of the yard at our last home…the back was open to a wooded area. It was perfect…privacy and green – loved it! Retired and in an apartment now….not enought sun on our screen porch for these so I have a Faux tree to hide the fireplace vent. Miss those greens, though!
Very useful post. Thank you for sharing your experience. We’re thinking of getting these for our backyard for privacy.