DIY Wall Art Ideas – Framed Burlap
Hello there! This weekend flew by! As I mentioned in Friday’s post I spent some time at my niece’s house starting a kitchen makeover. I can’t wait to share what we are doing over there, so stay tuned. Before I started that, I made a few small updates in my family room and I have some DIY framed burlap to share with you today!
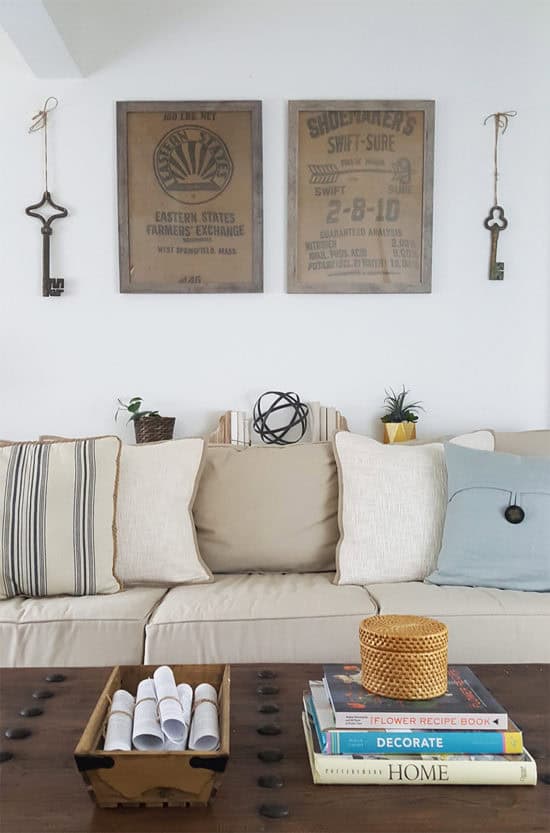
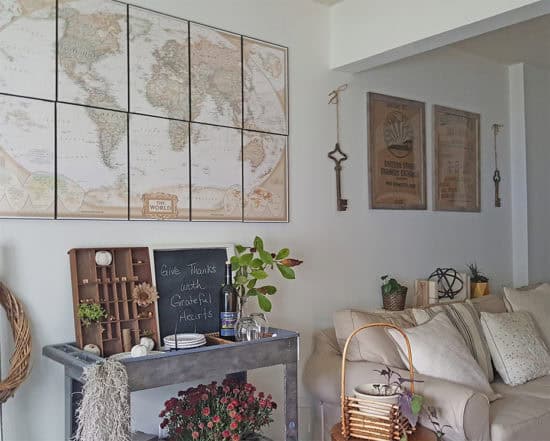
I was never 100% happy with my wall decor over the sofa in this space. It was cute, but it felt disconnected as a whole with the large-sized map print to the left of this area. I loved the framed burlap I originally put on the wall several years ago (shown below), so I wanted to expand on that.
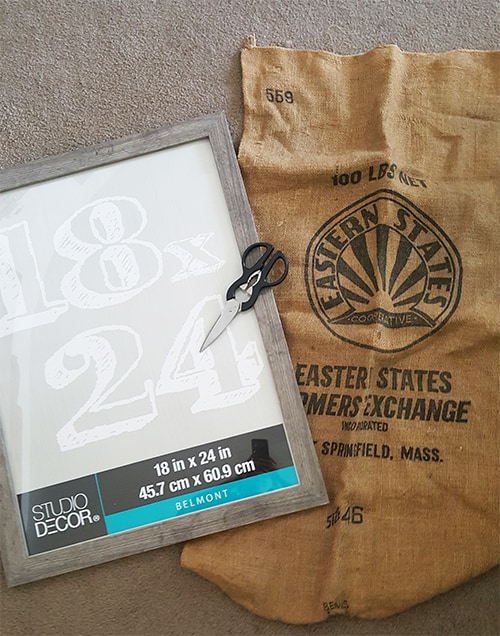
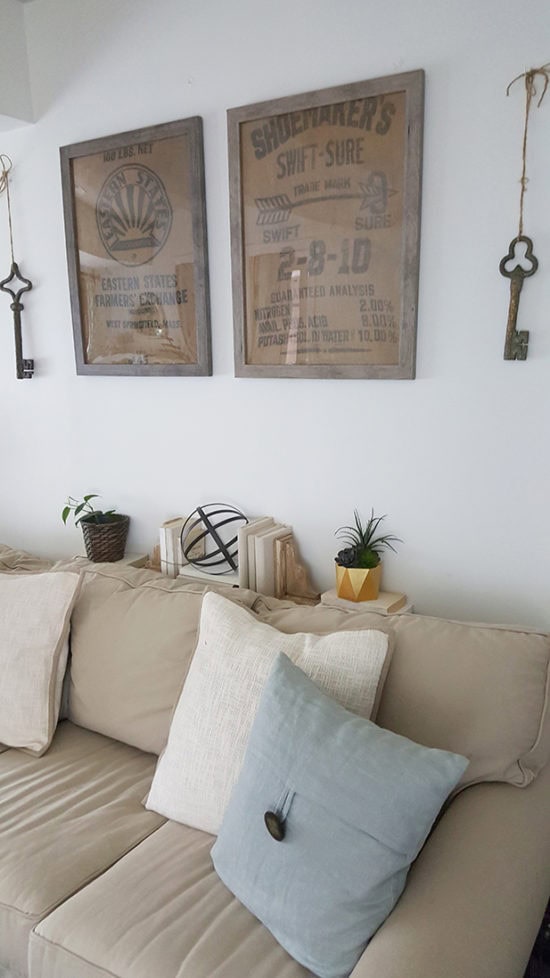
The first burlap sack I had picked up at a flea market. When I saw it that day I immediately thought it would make for cool wall decor. Recently, I saw another that I liked on eBay, in a similar size so I ordered that. I didn’t have another white frame in the same size so I picked up two more of these Studio Decor frames from Michael’s. You may remember I used these same exact frames in my bedroom. I like the weathered wood finish on them and the 18 X 24 size is my favorite. The most important reason I chose this frame is its plexiglass, rather than regular glass. Burlap is thick, and it’s a little tight getting into the frames. Plexiglass has a little give to it, I would be afraid real glass would crack or shatter.
What You Will Need for Framed Burlap*:
To begin, first cut the back off of the sack so it’s not so bulky. Then trim it down to size, leaving about an extra inch all around. You want to have some overhang.
Center the sack on the backing and tape down the overhang with your painter’s tape to keep it in place.


Once you’ve done that, pop it into the frame but don’t lock it in just yet. This is the part where it’s a little snug, so you’ll have to use some force. This is why you DO NOT want to use a glass frame. Once it’s in place you may have a wrinkle or two, which is why you want to leave some overhang. Before you lock everything into place, you can tug on the overhang to smooth any wrinkles or slide it over a bit if it becomes off-center.
Because I hung my framed burlap at about the same height as my giant wall map, and because my couch has a low back, that left a bit of empty wall space between the sofa and the burlap frames.
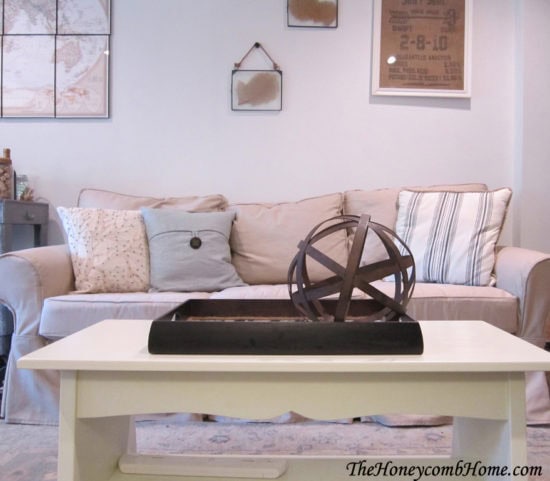
First, I placed a leftover piece of wood from my latest Shiplap project on the back of the sofa and arranged some decor on it to get a feel of how it would look. I like how it fills in the void. Originally, I had considered adding a sofa table there, but the room is a bit narrow and I don’t want to take up any additional space. I plan on adding a shelf there instead. This arrangement shown is just temporary, to see how it would look.
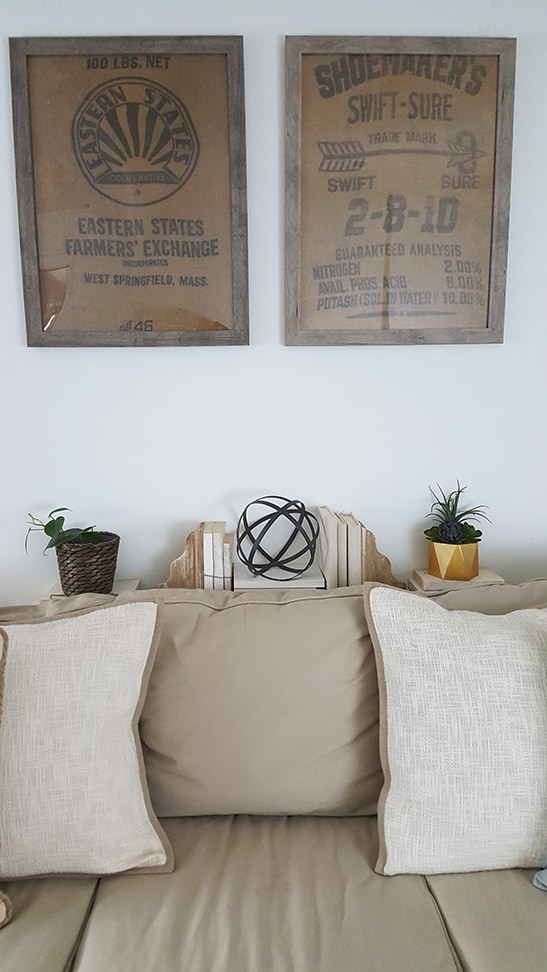
I also added two rustic keys to the wall to balance things out. We have that weird soffit dividing the room which was an additional challenge in getting the wall decor right in here. Now I feel it has a better overall flow to it.
The plexiglass is reflective so it was hard to get a really clear photo of the framed burlap, but you get the idea! Now I need to get moving on the opposing wall which has been empty since we turned this room (which used to be my one car garage!) into the family room.
Now I’m ready to take down all of my fall decor and get working on Christmas. What do you think, too soon?
*This post contains affiliate links, you can read my full disclosure here.
What a great idea! I love how rustic the frames look! I would love for you to share your projects with us at our Friday Favorites Link Party at http://lightandsavvy.com. Pinning for later.
Thank you Christine, will do!
I JUST came FRom michael’s looking to have A 15×20 inch burlap sack custom FRAMED…Quite a costly idea, UNFORTUNATELY! DECIDED to ASK google and here I am…so simple!! Thank you, this will be perfect!
I’m so happy you found this helpful! Custom framing can get pricey!
These are fantastic! What a simple project with a huge impact!
Thank you Alyson!
These look great!
Thanks Amanda!
These are so fun!! They look great!
Really like this idea. Thanks for sharing.
Well this is cool! They look great behind your couch too 🙂
So fun! They look great! I love the look of burlap anywhere in a home. It’s never too soon to decorate for Christmas 😉
These are a great idea! Love them!
These are wonderful! Thanks for sharing at Vintage Charm–pinned!
These are so cool! I love how they turned out.
Love this project and pinned it to our Vintage Charm link party board 🙂
I like how it adds a very rustic look to the room, without going overboard. It’s a very interesting and inspirational idea. Thank you for sharing!
a header that had rotted in half that took a bit of elbow grease to remove those strips, but hey, free ain’t always easy. Also, two turned posts that were stuck in concrete in 5 gallon buckets. We cut the posts out of the buckets and are using one today.