Reupholstery and Vintage Chairs
 Have you priced dining chairs lately? They’re not cheap! I’ve been on the hunt for a set of four chairs for my little breakfast nook for years and I really just didn’t want to pay full price for them. Even moderately priced decent chairs start at around $200. I’ve always loved this set* but at $920 for four that was way out of my budget. I also love this set which is more affordable but still comes in at $560! Fortunately for me, I stopped at my favorite antique store last week and scored big time. A set of four vintage chairs for $75 (total)! Of course they needed some paint and reupholstery but at that price I was up for the challenge!
Here is a shot I took of two of them after I got them home.

These were in amazing condition to start with. What I really loved most about these is the curved back. Perfect for my round table! I also love the cane backing, the open weave is great in small spaces.

As you may remember we turned our garage into a family room about four years ago. I carved out a little breakfast nook in that space, but I never had a full set of chairs in there. After a year or two I did pick up these two ladder back chairs, but I really needed a full set so all four of us could sit here together.

To begin, I removed the four cushions and painted these vintage chairs with Annie Sloan chalk paint in pure white. I know last week I talked about DecoArt brand chalk paint, which I do like very much, but until I see it stands the test of time I’m sticking with Annie. You can see my guide to painting chairs with chalk paint here, so I won’t repeat that today. I did it exactly the same way but I opted not to distress these.
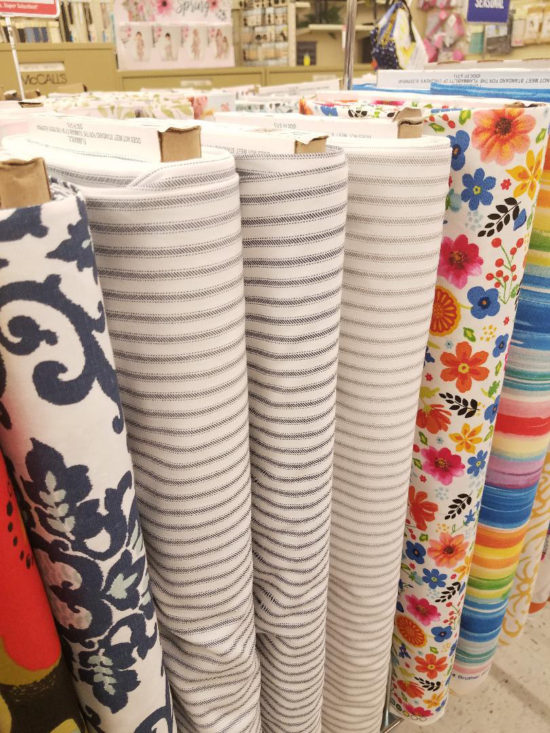
Red is my least favorite color so even though these chair cushions were like brand new, I needed to recover them. I’ve reupholstered vintage chairs before, and I always remove the old fabric but in this case, it was in such pristine condition, I decided to reupholster right over it. I went to Hobby Lobby to look at fabric and saw this beautiful ticking stripe fabric.
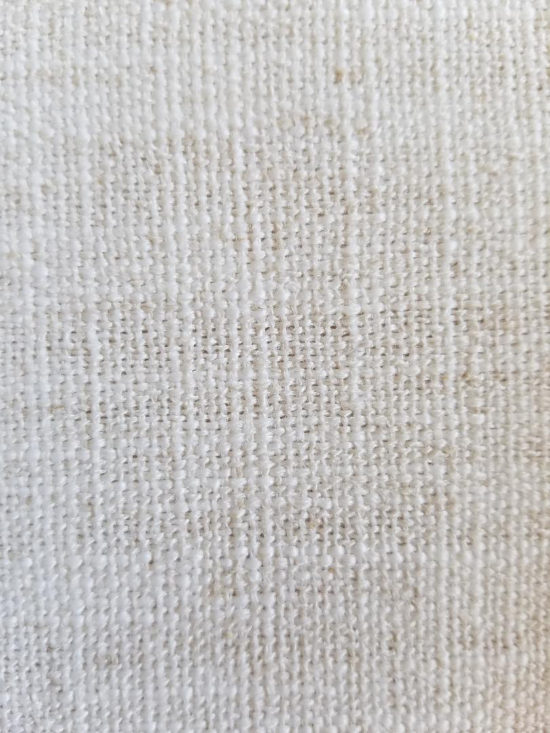
As much as I loved that fabric (and will definitely find a use for it) I decided it wasn’t right for these chairs. I opted for this linen basketweave fabric instead. The saleswoman recommended buying two yards. She said it would be more than enough for four chair cushions and she was right.
At this point I should also mention that I do not sew. Tried it. Hated it. Won’t ever try it again, lol. So this is my no-sew version of reupholstery. I started by spreading my fabric out on my kitchen table and laying two of the cushions on it to get an idea of where to cut.

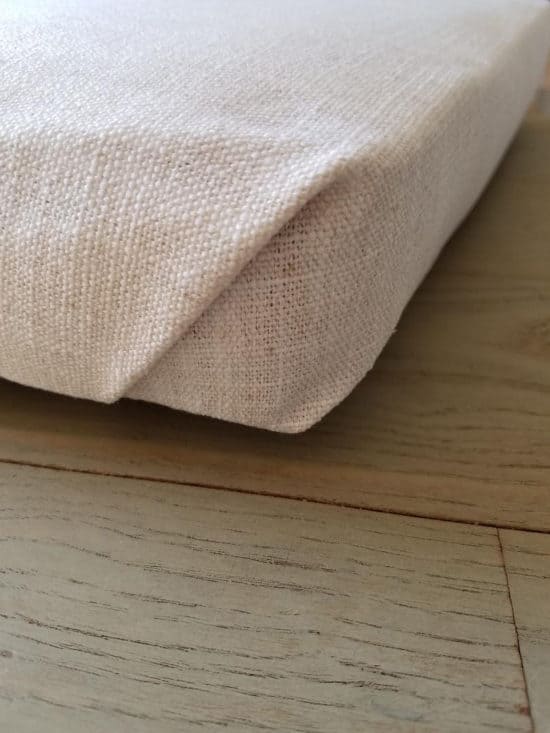
I cut out two squares for these two cushions, making sure there was enough overhang to pull to the backs of the cushions. Then I trimmed each section to the shape of the chair, leaving just enough overhang to wrap around without being bulky underneath.
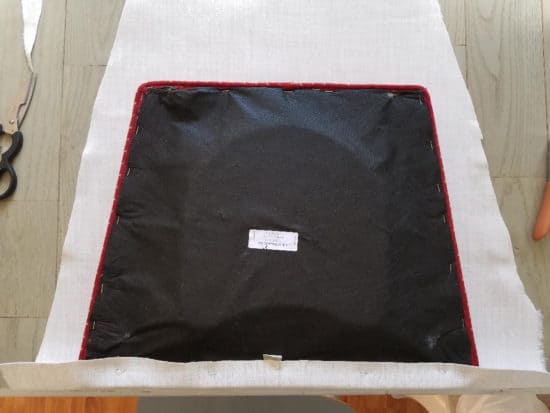
I used this staple gun (which is actually for wire, but it worked for this) to secure the fabric to the backs of the seats. I went around the four sides, leaving the each corner section undone. For the corners, I approached them as if I was wrapping a present. I put together this picture collage to show how to upholster the corners, I think the visual here will be more helpful.
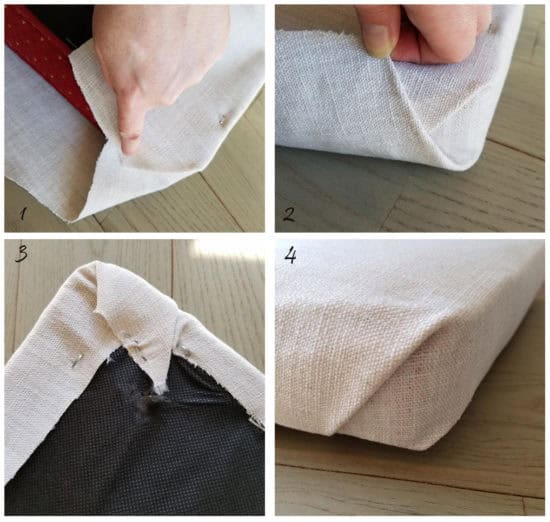
- Tuck the corners as if wrapping a present. 2. Fold the fabric and pull around the bottom, pulling as tightly as possible. 2. Staple in place, being sure not to cover the holes where you will need to screw the seat back onto the base. 4. How it looks finished.
It only took me about two hours to do the reupholstery on all four. I bought these chairs on a Friday and by Sunday I had them completely refinished. It was a rainy/snowy weekend so I couldn’t use my paint sprayer on these, which would’ve helped it go much faster. Here’s a sneak peek at how they look in the room. (I’ll be sharing more of this space on Monday.)
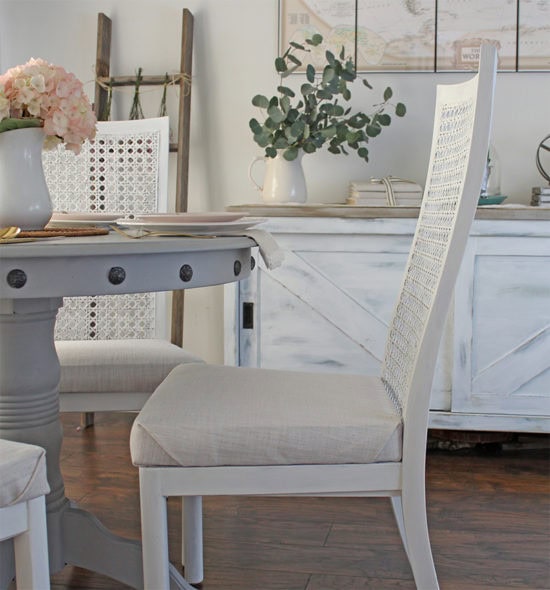
Not bad for $75, right? I think I love repurposed furniture even better than new. Reupholstery isn’t as intimidating as it might seem, it’s definitely a doable DIY project. Especially if it saves you $500 or more! The sad part of this little story is that antique store that I love so much is closing its doors after 20 years. There’s no other place like it around here so it’s going to be very missed!

PIN IT:

*This post contains affiliate links, you can read my full disclosure here.
Those turned out absolutely beautiful! I have a similar situation and this gives me inspiration & hope that I can possibly do this myself, thanks!
Thanks Melissa, I’m so glad! Let me know how it turns out!
I do reupholstering too. However, following your steps will be easier for me. I noticed that you wrapped your fabric as wrapping a gift, I have not done it like that but I love it. Please send more tips, pictures to my email below at arlene4sure@aol.com. Thanks ‘
I totally hate to see vintage furniture painted white and then sanded in places to make it look like it was used. When someone wants to have a good antique set of chairs in a antique furniture they will have to try to get rid of that white paint and sometimes you just can’t get it out of the wood and that cane in the back of those chairs is so very expensive and I think it would have to be replaced and after you do all of that repair you would have a fortune in those antique chairs.
Learning how to refinish with chalk paint.
Also how to do chair reupholstering.
Hello! I just came across your blog today and saw this post on your chairs. I’m refinishing old chairs with the cane as well and just finished painting them by hand. (it’s been raining here also so I can’t use my paint sprayer) My question…how did you fill the cane in so completely without using a sprayer? I’m painting mine green and the cane was previously a white and I’m having a really hard time covering it. I would appreciate any advice that you can give…thanks!
To be honest, a paint sprayer is the way to go on this one. I did it by hand because it was winter and I couldn’t use my sprayer either but that is the best way to get complete coverage.